The art of being Grannie

Grannie’s Yeast Rolls

Grannie's Rolls

That’s the spot in my Grannie’s kitchen…the place I spent hours perched on a little metal stool, learning that there’s an art to being a Grannie. Her house has a kind of magic to it. The stairs creak and are lined with old photos, there’s a buzzer in the floor under the dining room table that I still punch with my foot and a side porch draped in the shade of magnolia where I spent hours watching Grannie dig in the dirt with a silver spoon.

Grannie's kitchen

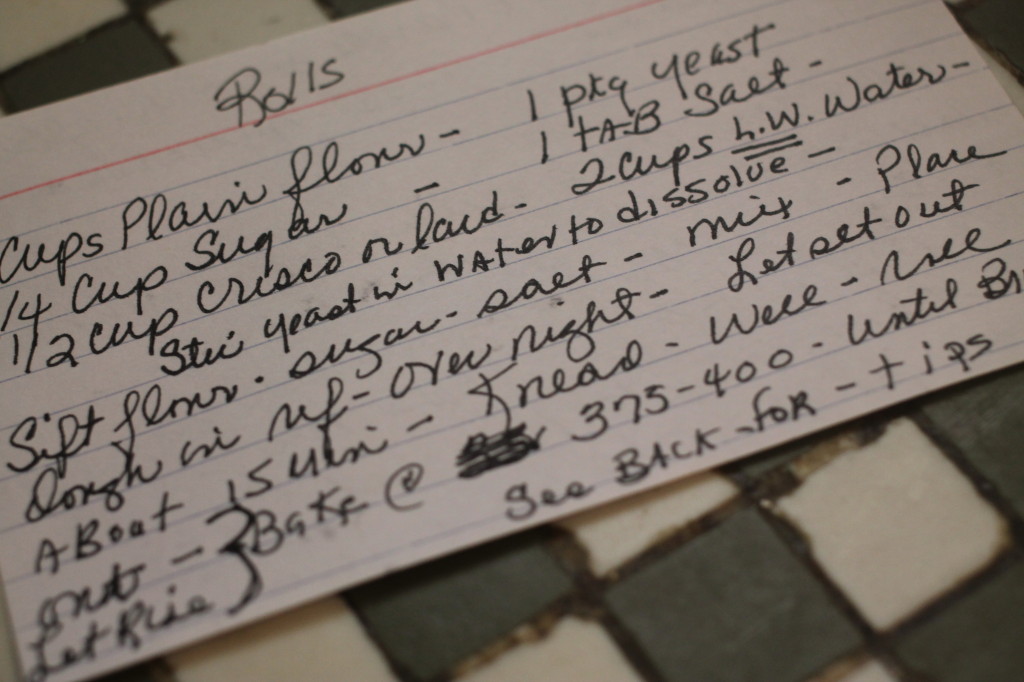
In her kitchen, we would talk and share stories, she’d let me sip her coffee with lots of cream and sugar while she made my grandfather’s favorite creamed potatoes, sneak her dog, Angel, pieces of ham and make pan after pan of yeast rolls. In all that time spent in Grannie’s kitchen, watching her every move, it never occurred to me that she hardly measured a thing when she was cooking, even when she made those rolls.

That’s just part of her art of being Grannie!
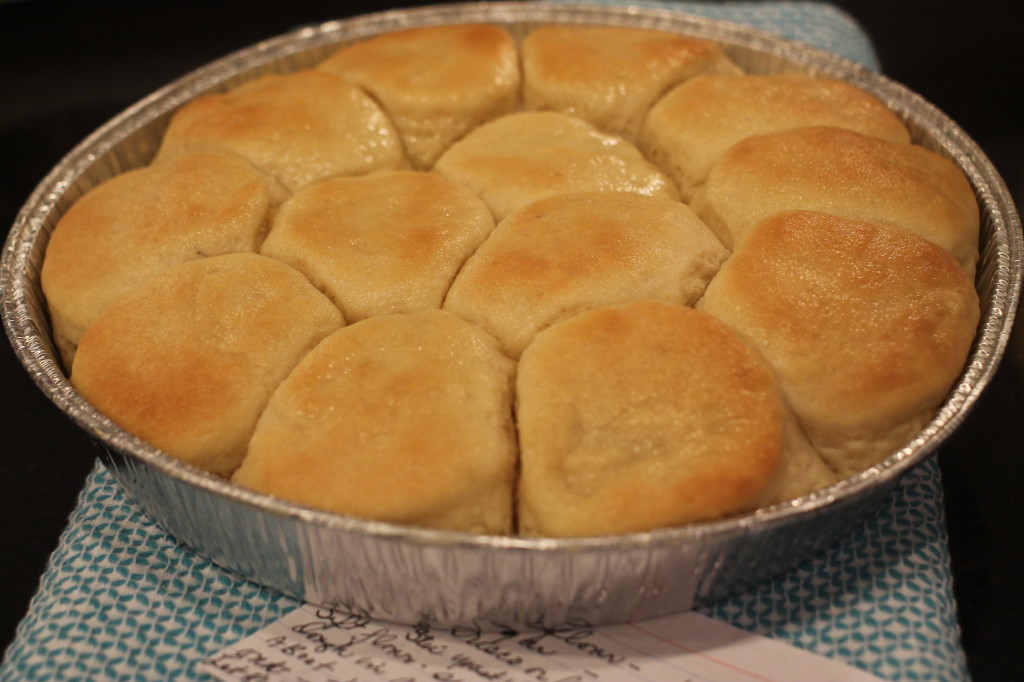
Grannie's Yeast Rolls
Yeast Rolls
Write a review
Print
Ingredients
  1. 7 cups all-purpose flour
  2. 3/4 cup sugar
  3. 1/2 cup Crisco or lard
  4. 1 pkg yeast
  5. 1 tbsp salt
  6. 2 cups lukewarm water
  7. butter for pans and brushing tops of rolls
Instructions
  1. Sift flour, sugar and salt;
  2. Dissolve yeast in lukewarm water, should be the temperature of a baby's bottle and set aside;
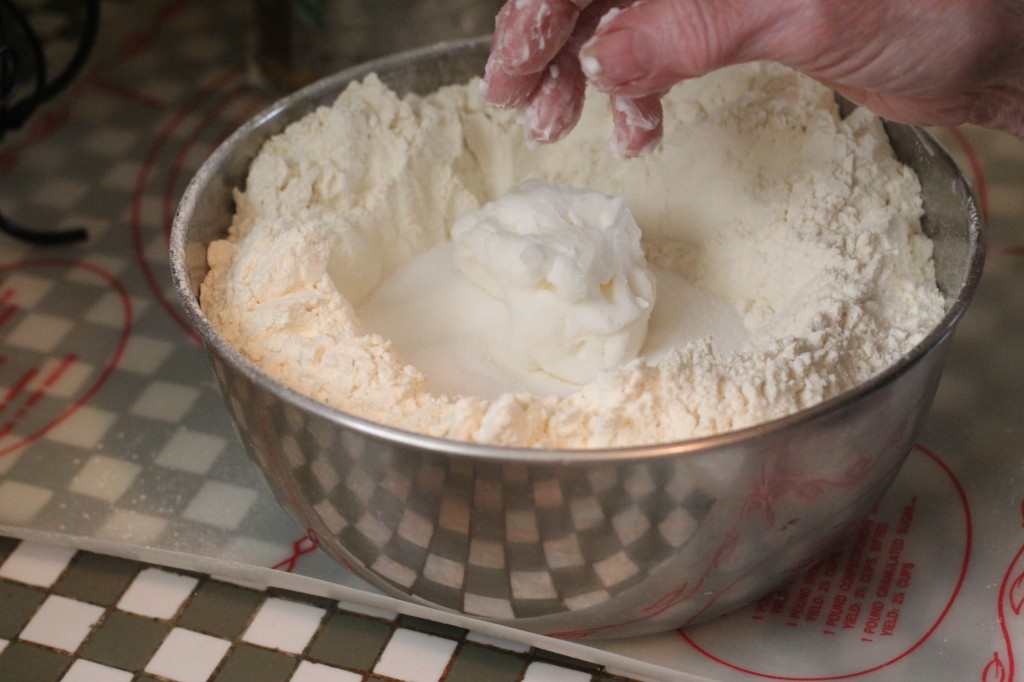
  3. Make a well in the center of the flour mixture and drop Crisco in center of the well;
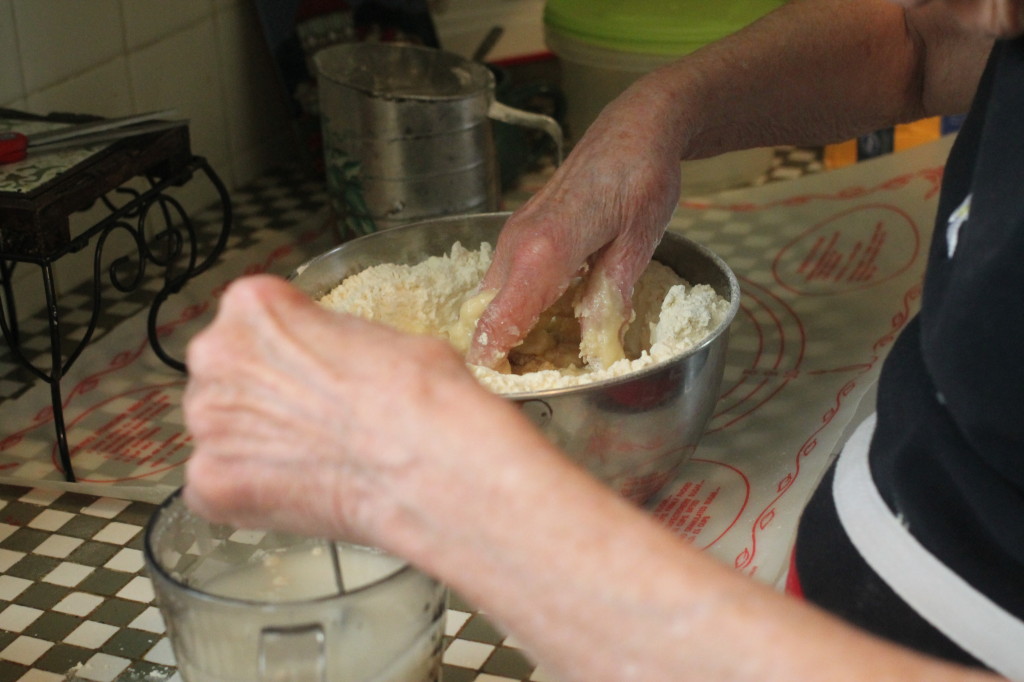
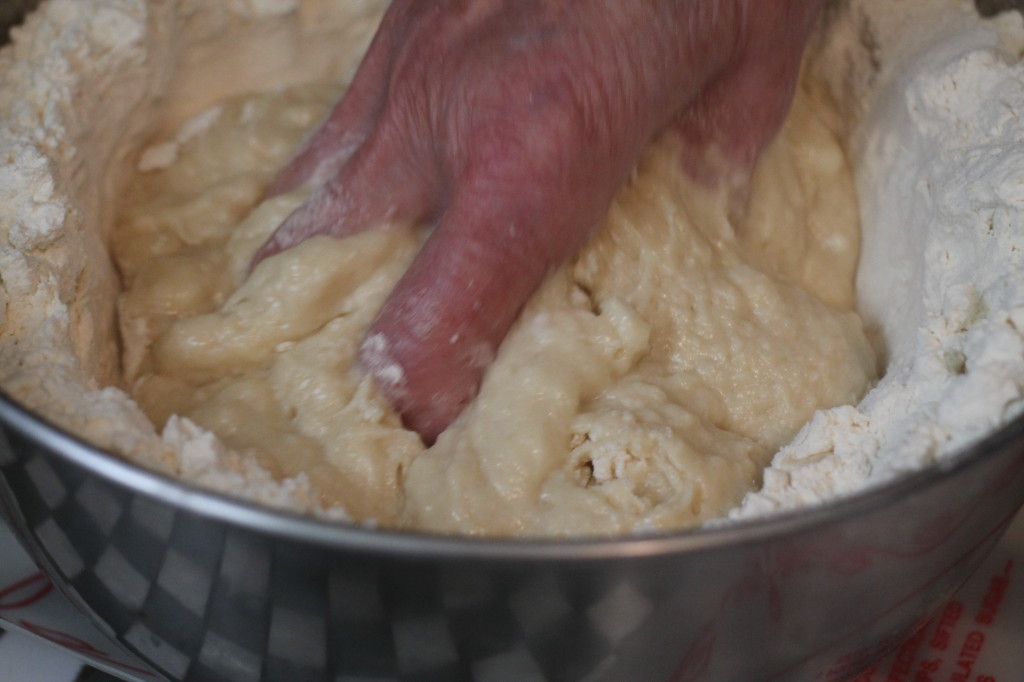
  4. Little by little, add water/yeast mixture and mix by hand;
  5. As you mix, you'll be pulling flour from the sides into the well, Grannie says that you usually don't use all the flour;
  6. She can tell by the consistency of the dough when it's ready;
  7. The dough will still have a wet feel but hold's together;
  8. She also says that it is nearly impossible to over-work the dough;
  9. Once the dough is ready, place in a covered container and refrigerate overnight;
  10. Preheat oven to 350 degrees;
  11. Before kneading the dough, let sit out for about 15 minutes;
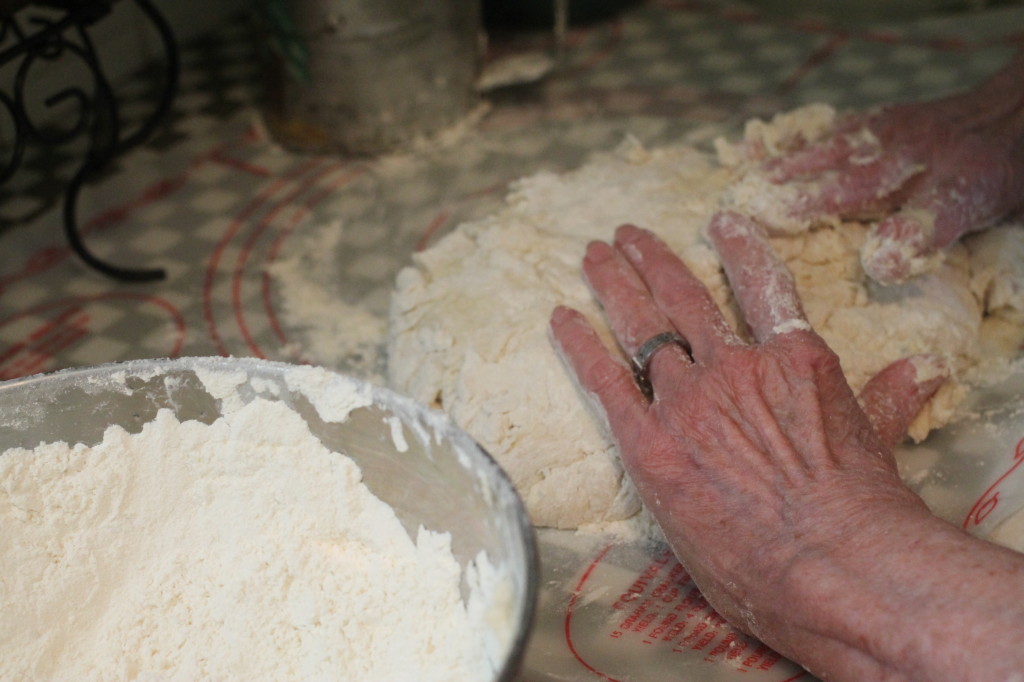
  12. Drop onto a floured surface and knead well, about 50 times;
  13. Place about 2 tbsp of of butter in round pans, put in oven and let it melt;
  14. Remove the pans and turn off the oven;
  15. Roll-out dough and cut into desired shape (1.5"-2" round);
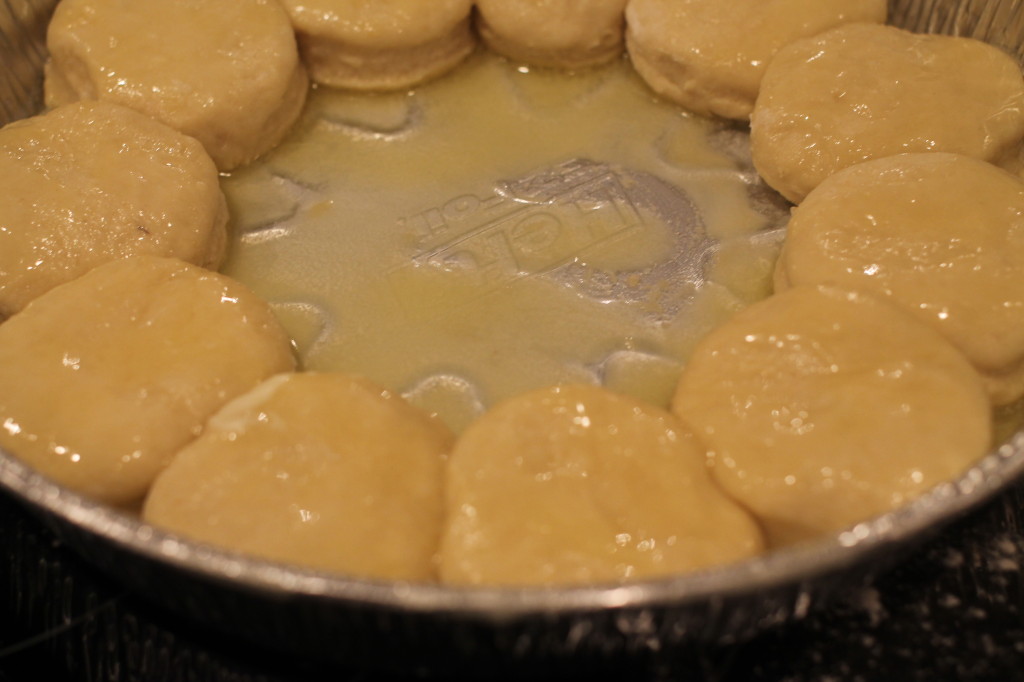
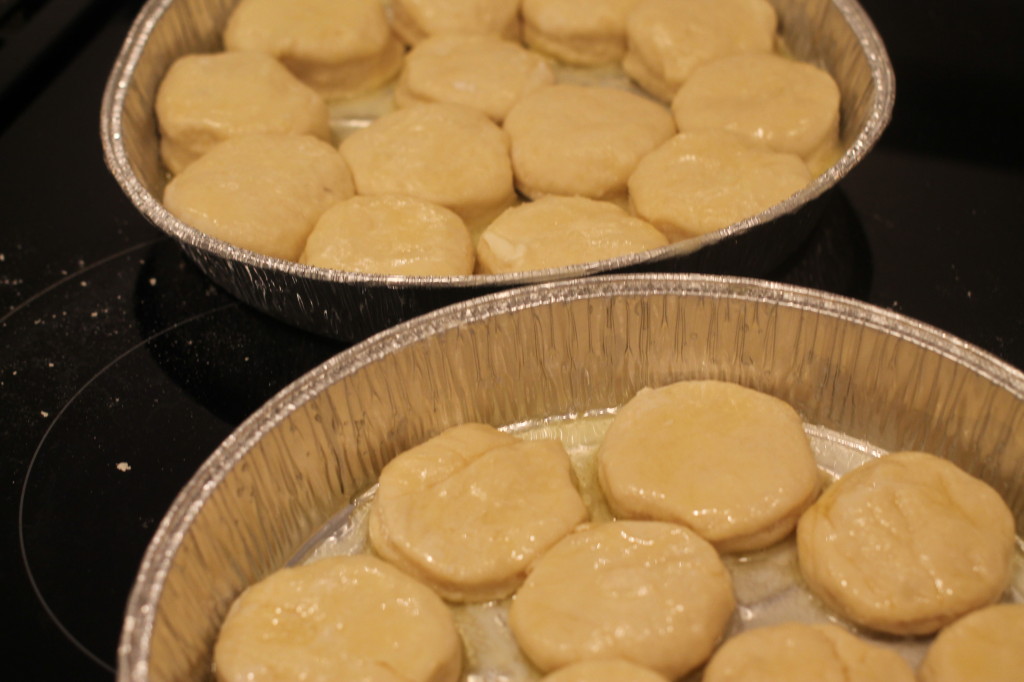
  16. Dip both sides of roll into the melted butter and place in the pan;
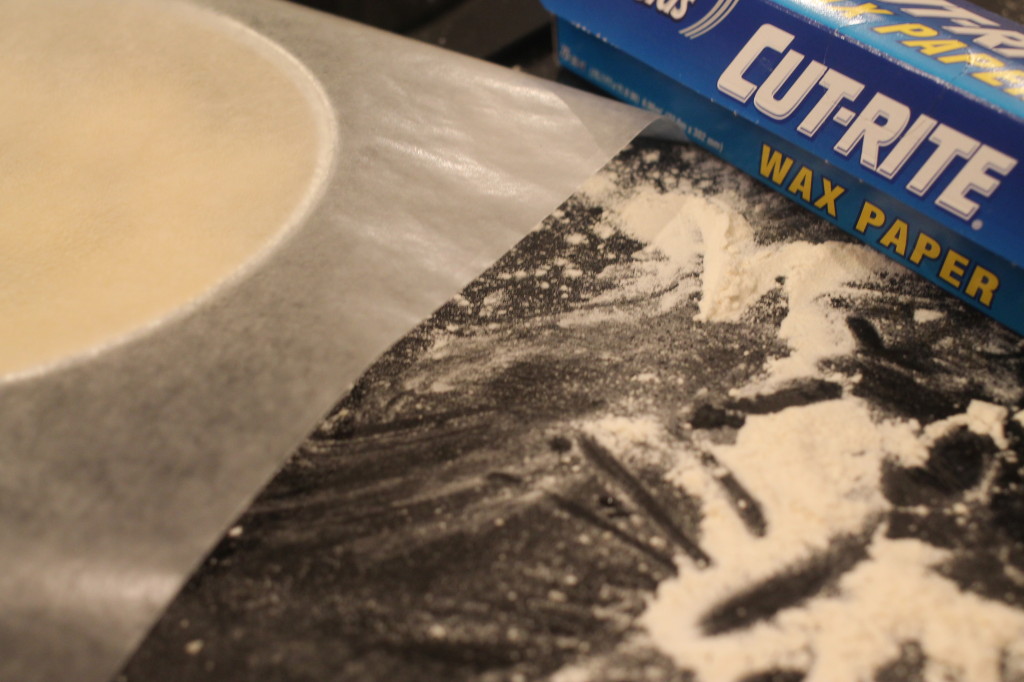
  17. Place a piece of wax paper spray with non-stick spray over the rolls and put into the warm over to let them rise;
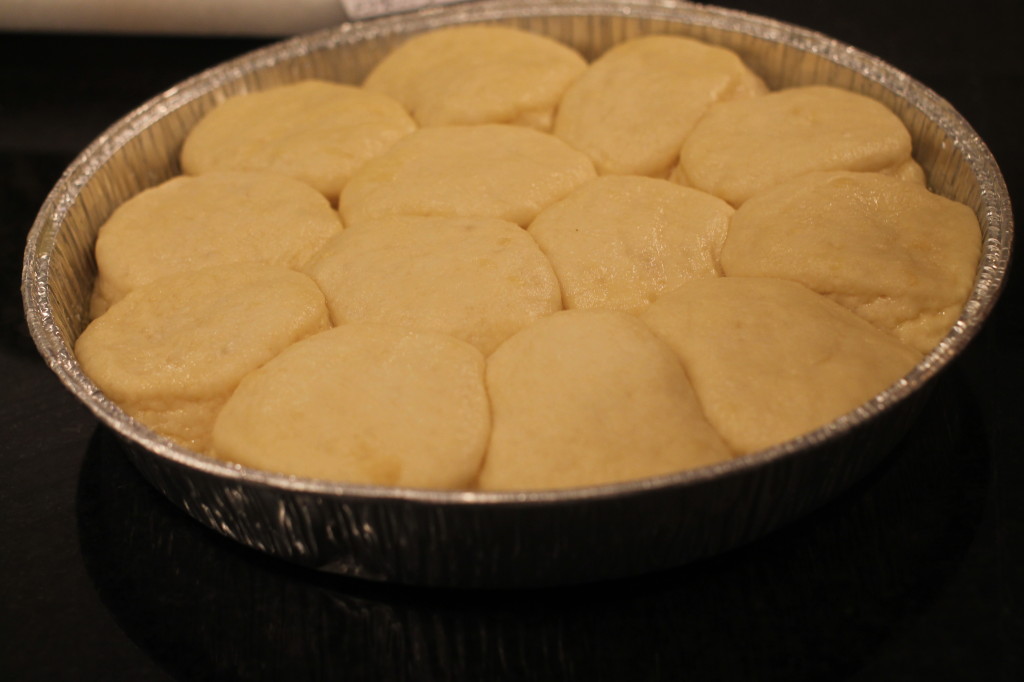
  18. I let mine rise for about 2 hours but as long as they have doubled in size they'll be ready to bake;
  19. After rolls have risen, remove from oven and set aside;
  20. Heat oven to 375 degrees;
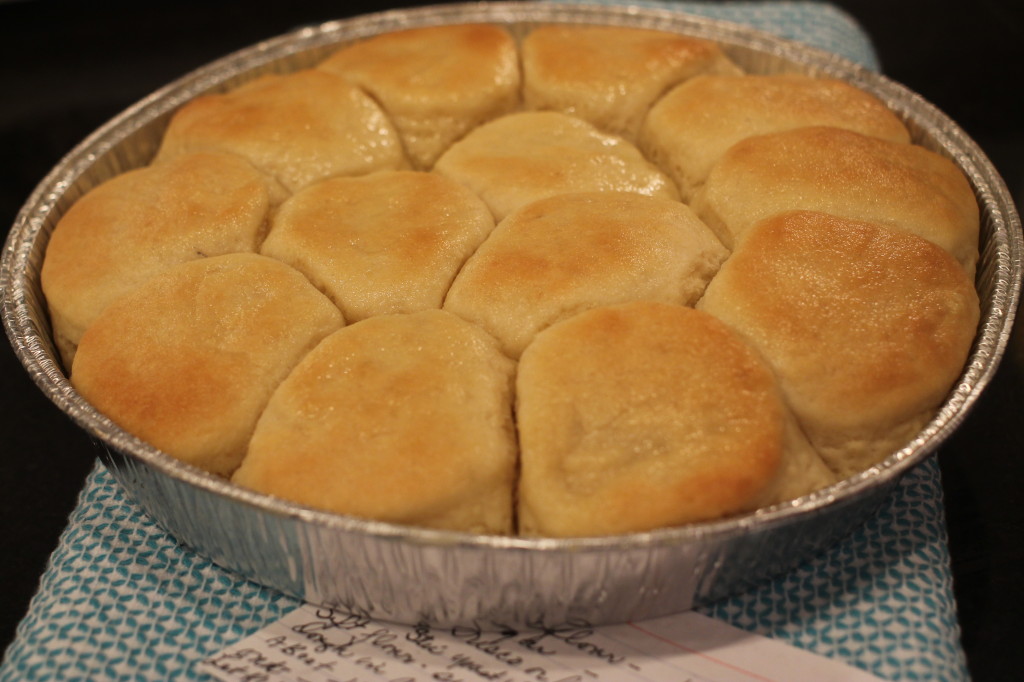
  21. Place rolls in oven and bake until golden brown (10-15 minutes), remove from oven and brush with melted butter.
Notes
  1. Grannie made it clear that you cannot handle the dough too much. She said to roll out scraps and make as many rolls as you can. She has make anywhere from 4-6 dozen from this recipe.
  2. To make a Parker House roll, cut a larger circle of dough, dip both side in butter then fold over and place in pan.
  3. Makes 4-5 dozen rolls.
  4. Once the rolls have been proofed and are ready to bake, you can cover tightly in foil and freeze for up to two months before baking.
http://lolleighcooks.com/

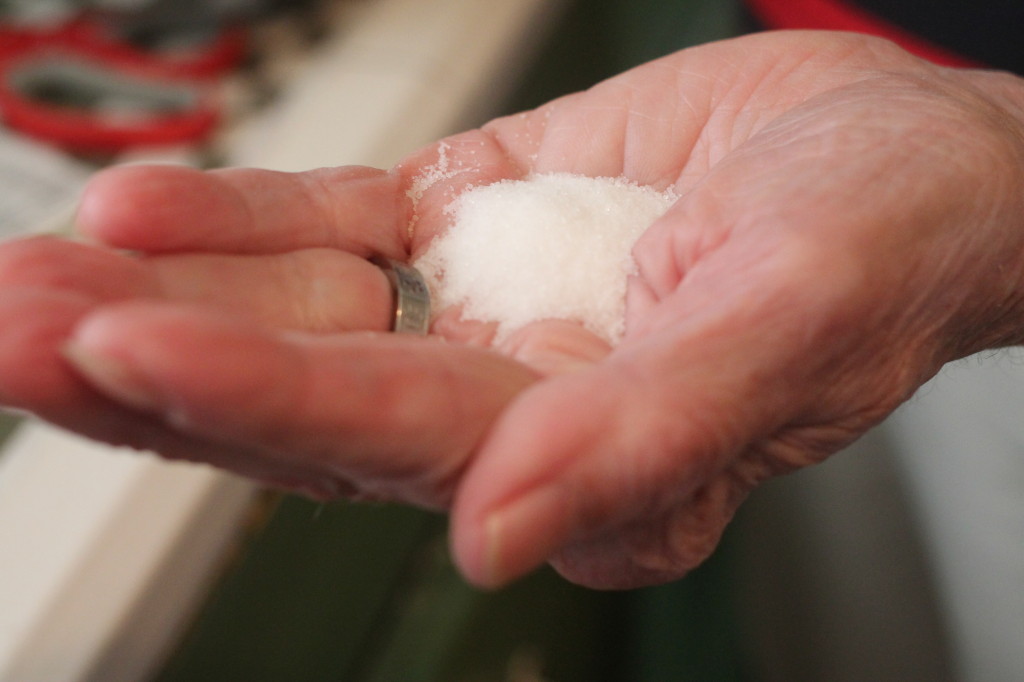
measuring salt

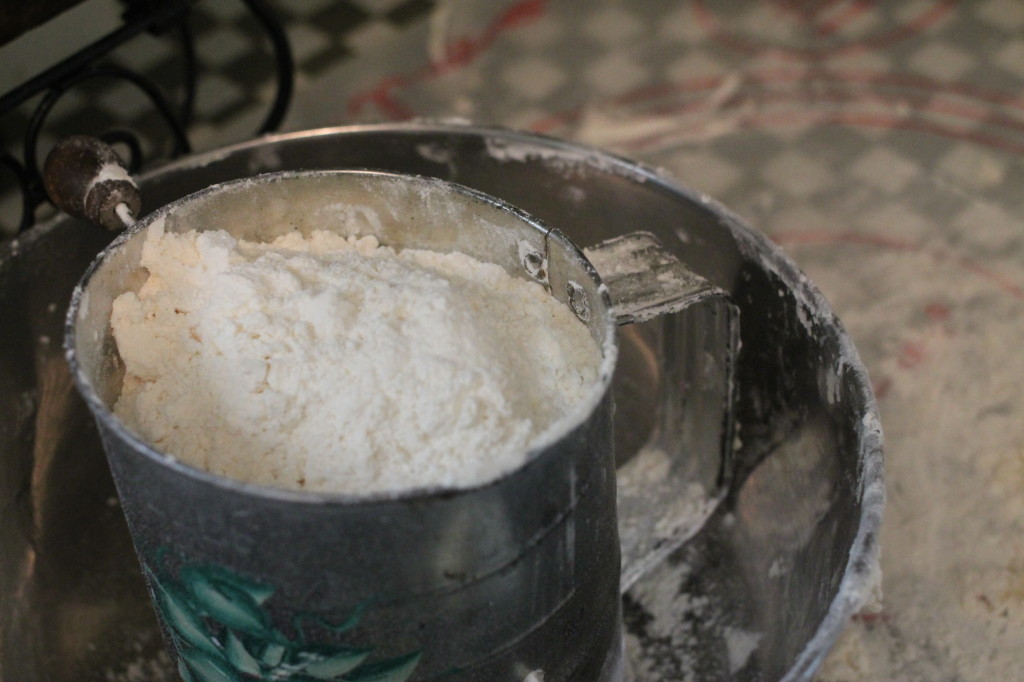
Sifted Flour

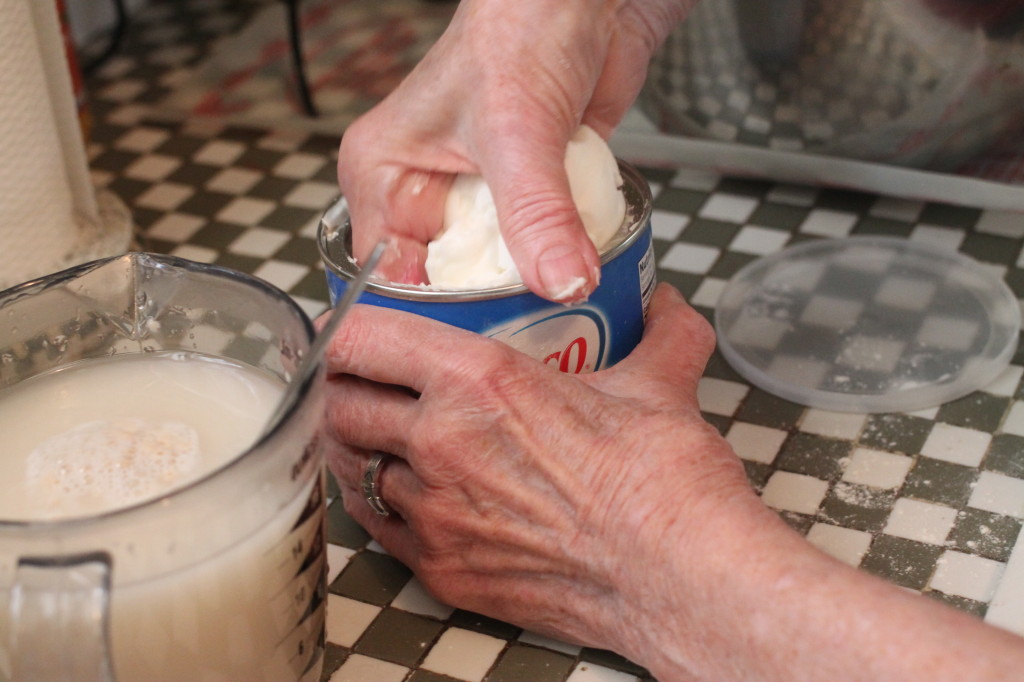
Crisco

Flour and Crisco Adding water and yeast

Dough

Kneading dough

Prepped rolls

Prepped rolls

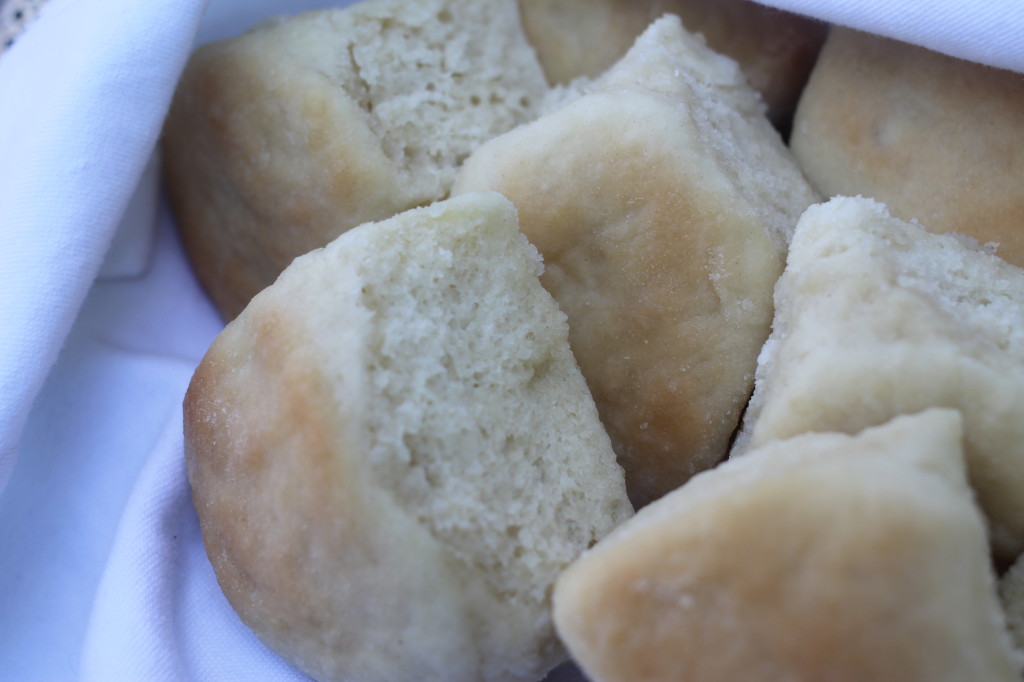
IMG_0583 Proofed rolls Yeast Rolls

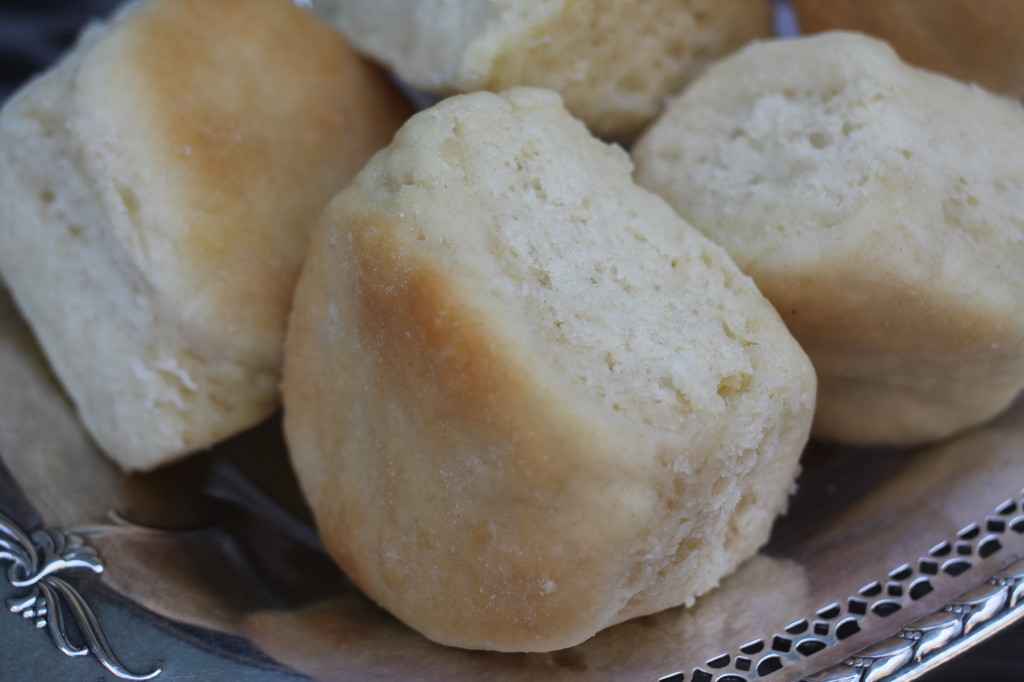
Rolls in silver tray

My Grannie has been making these rolls since 1948. As I stood looking over her shoulder and taking notes, I felt like that little girl perched on the metal stool watching her continue to perfect the art of being Grannie.

signature

IMG_0514IMG_0573IMG_0532

Bad Dog

Peanut Butter Dog Biscuits penny

I should have known she was trouble from the beginning. She was brought into the University of Tennessee Veterinary Hospital as a stray with a badly broken leg and proceeded to jump off the gurney and run on three legs down the hallway.  

The first time I saw her she was a mangy mess sitting in a cage with that broken leg. She scooted over to me, licked my hand and I was smitten. Little did I know that she would turn out to be the world’s worst dog! I don’t think she had even been in a house before, she was scared of the vacuum and just about everything else. She quickly learned that my bed was a much better place for sleeping, the trash can was full of snacks and those big brown eyes could get her out of trouble.

For 13 years, I have never known a better friend. She was my first baby, my family when I lived far away from home, a protector when my son was born and a shoulder to cry on when my ex moved on. She’s the dog that sheds all over my house, snatches food off the counter, knocks the pillows off my bed and keeps me up at night snoring but that’s just who she is and I love that about her. She gets around pretty good for a 91 year old girl and continues do whatever she wants…and I let her.

Peanut Butter Dog Biscuits
Peanut Butter Dog Biscuits.
Write a review
Print
Ingredients
  1. 2 cups whole wheat flour
  2. 1 tbsp baking powder
  3. 1 cup peanut butter
  4. 1 cup milk (skim or lowfat)
Instructions
  1. Preheat oven to 375 degrees.
  2. Combine whole wheat flour and baking powder in a small bowl.
  3. In a large bowl, using a mixer, combine peanut butter and milk until well blended.
  4. Stir the flour mixture into the peanut butter mixture. It will be a stiff dough.
  5. Roll out dough to about 1/4" thickness and cut out cookies in desired shape.
  6. Place cookies on a parchment paper lined cookie sheet and bake for 12-14 minutes.
http://lolleighcooks.com/

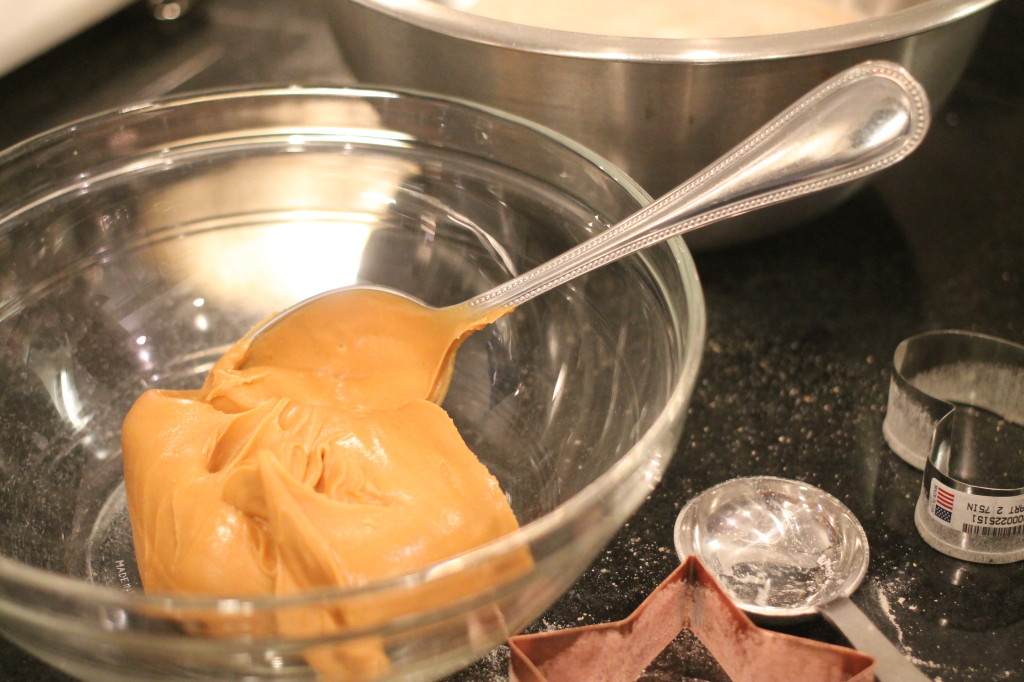
 Peanut butter

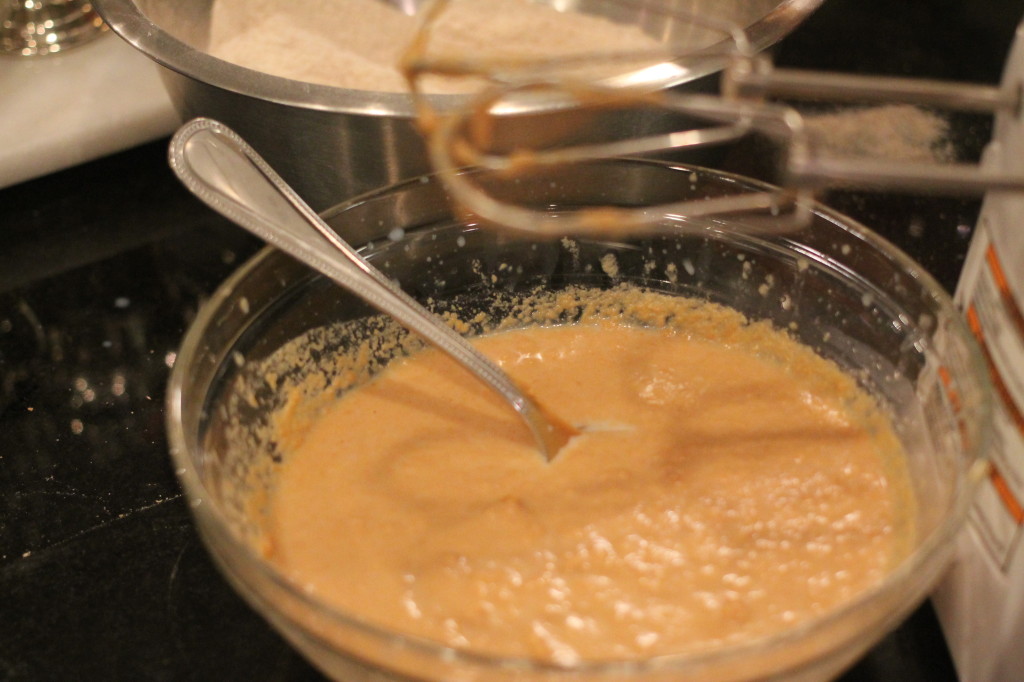
Peanut butter mixture

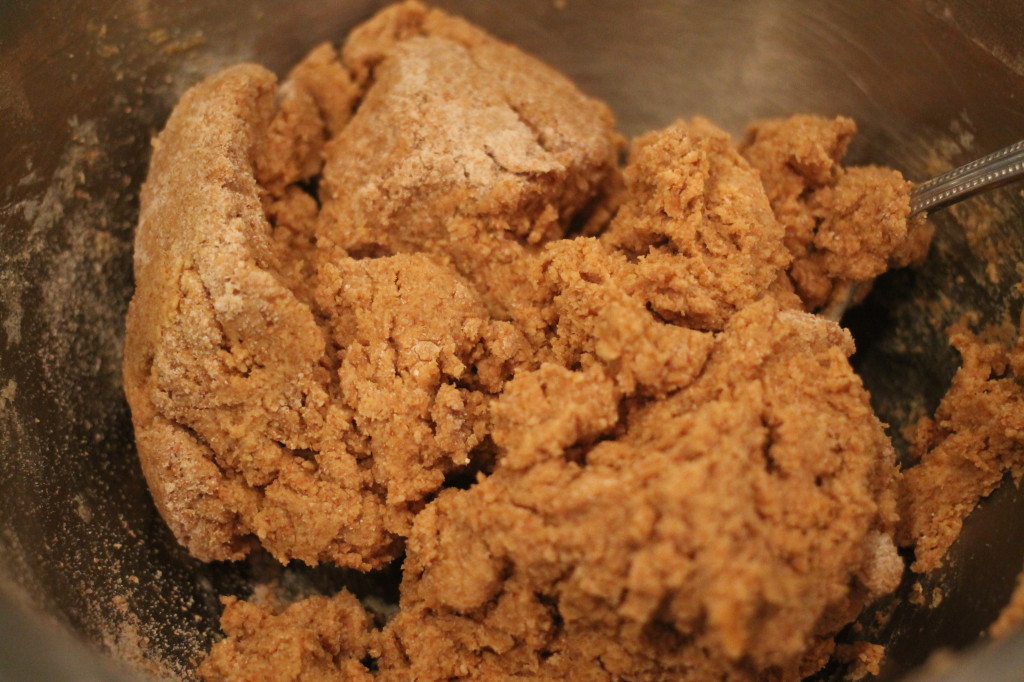
dough

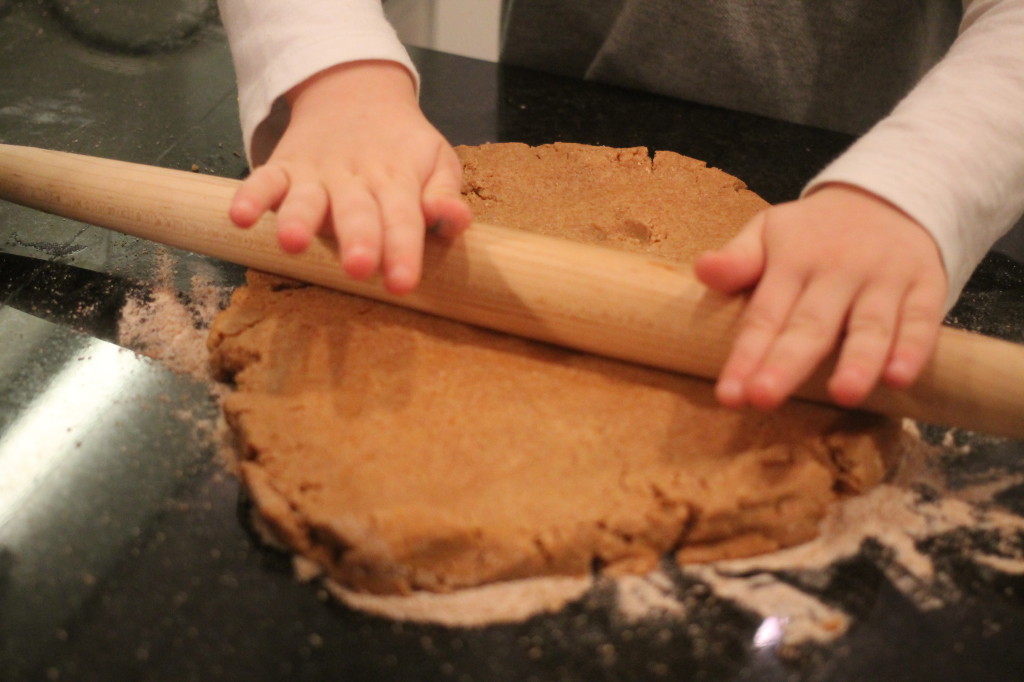
rolling out dough

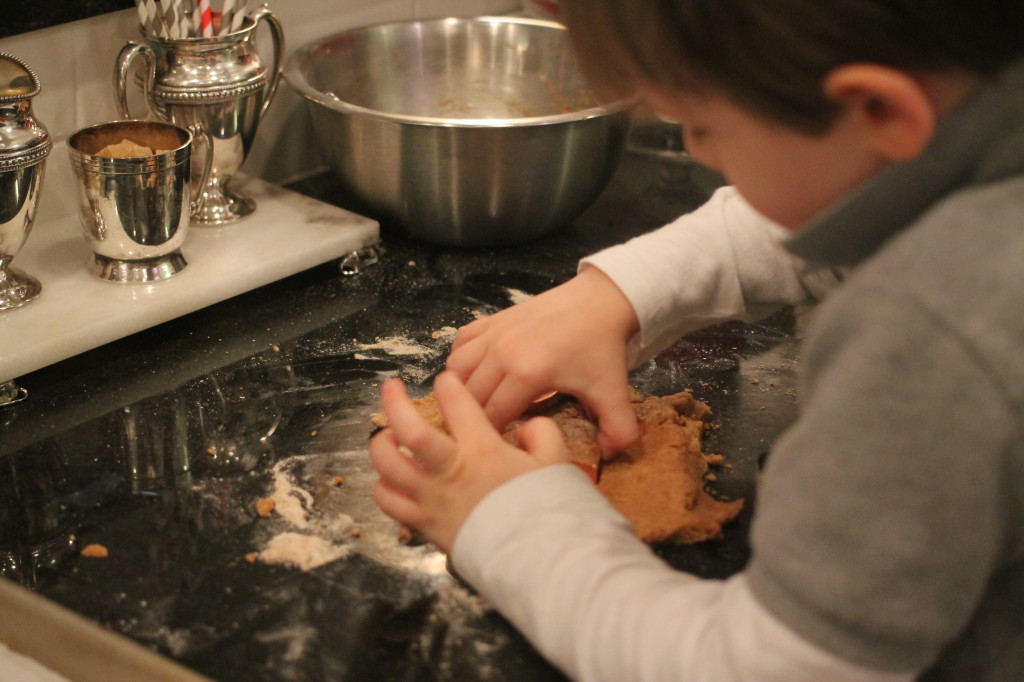
cutting cookies

baking cookies

Sweet pea

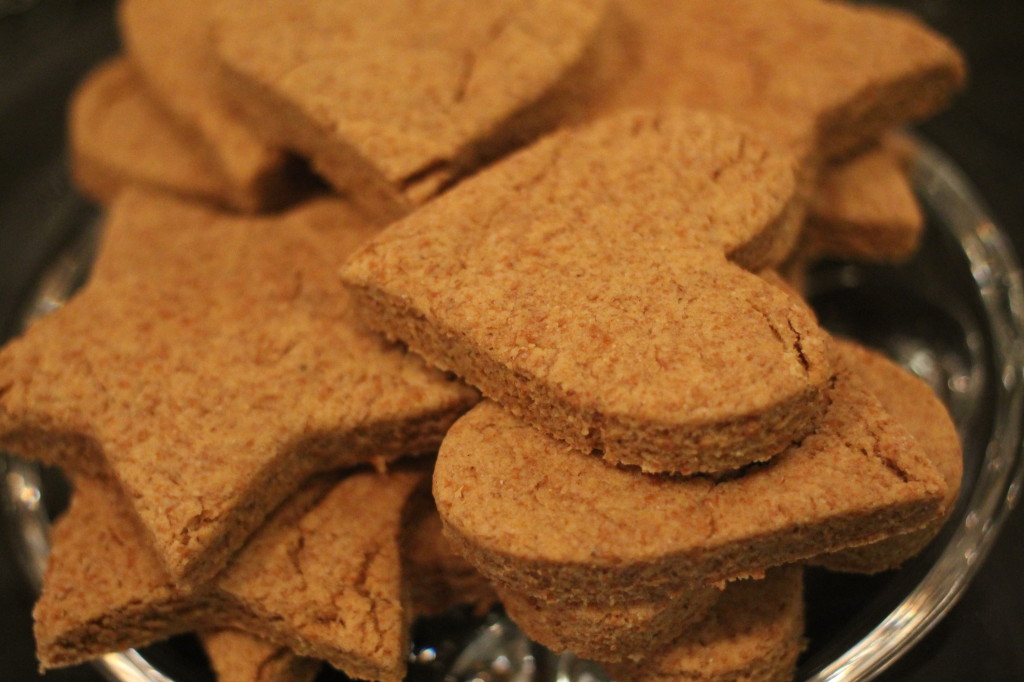
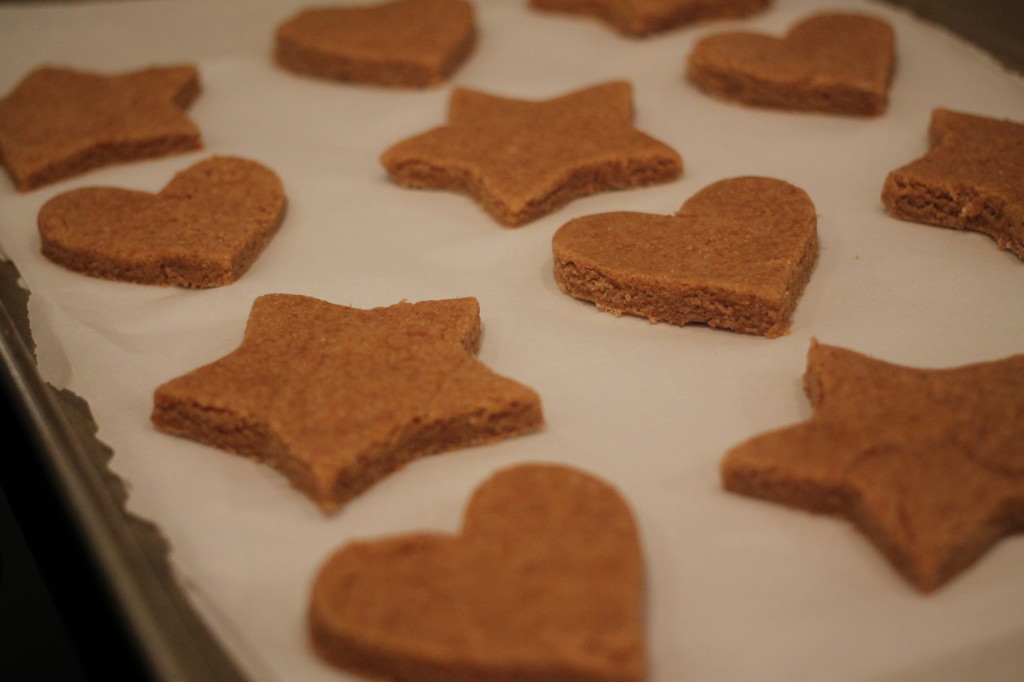
Peanut Butter Dog BiscuitsA batch of these peanut butter dog biscuits don’t last long. Sweet Pea sits in the kitchen until she thinks she’s eaten every last one.

signature


Wise Words, Smart Food

Warm Brussels Sprout Salad with Bacon

There are two things that Southerners just know…the first is that bacon makes everything better. Secondly, we have a way with words…

sign

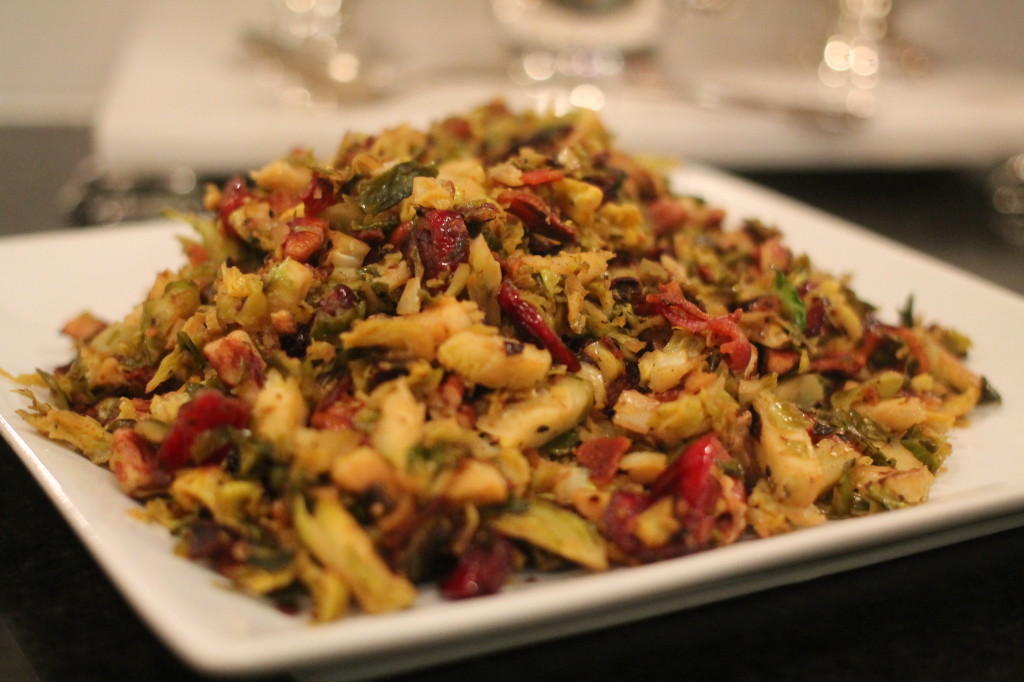
Warm Brussels Sprout Salad with Bacon
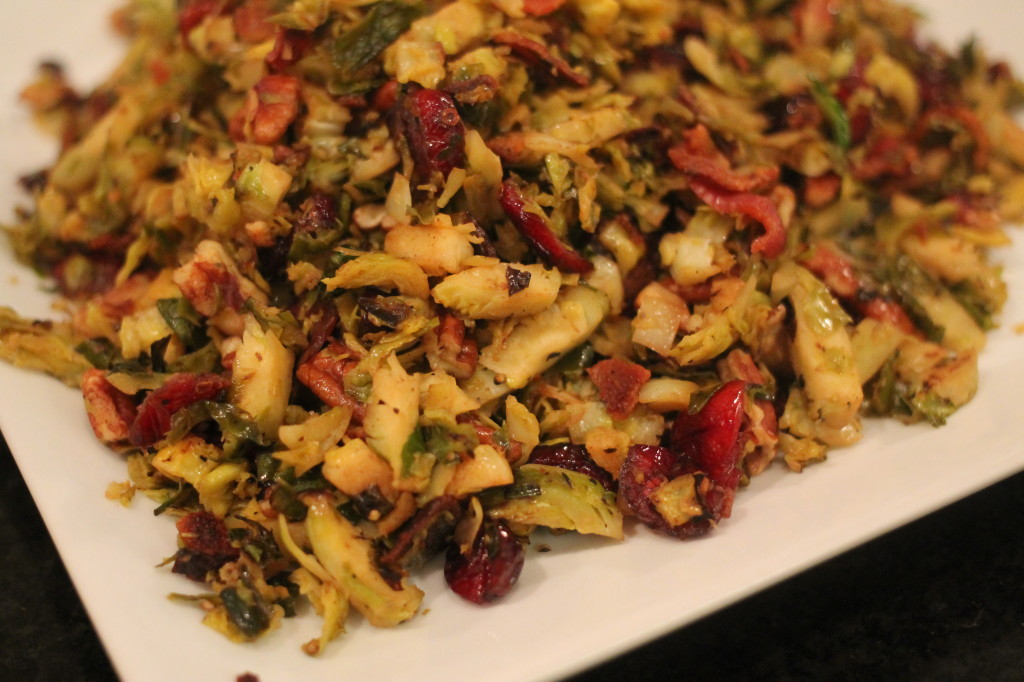
Shaved brussel sprouts with bacon, cranberries and pecans.
Write a review
Print
Ingredients
  1. 4 slices bacon
  2. 1 1/2 - 2 cups brussels sprouts, shredded or shaved
  3. 1/2 cup pecan pieces, toasted
  4. 1/2 cup dried cranberries
  5. 1/4 cup apple cider vinegar
  6. 1/2 tsp dijon mustard
  7. 1 tsp sugar
  8. 1/2 tsp salt
  9. pepper to taste
Instructions
  1. In a large skillet, cook bacon until crispy and set aside to crumble.
  2. Reserve about 1 tbsp of bacon fat in skillet.
  3. Whisk together vinegar, dijon mustard, sugar, salt and pepper and set aside.
  4. Heat bacon fat over medium high heat and add shredded brussels sprouts, let cook for about 5 minutes.
  5. Pour the vinegar mixture over the sprouts and continue cooking, stirring occasionally for 5 more minutes.
  6. Stir in dried cranberries letting mixture cook for 5 more minutes.
  7. Add crumbled bacon and toasted pecan pieces, stir well and let cook for a few more minutes.
  8. Serve warm.
http://lolleighcooks.com/
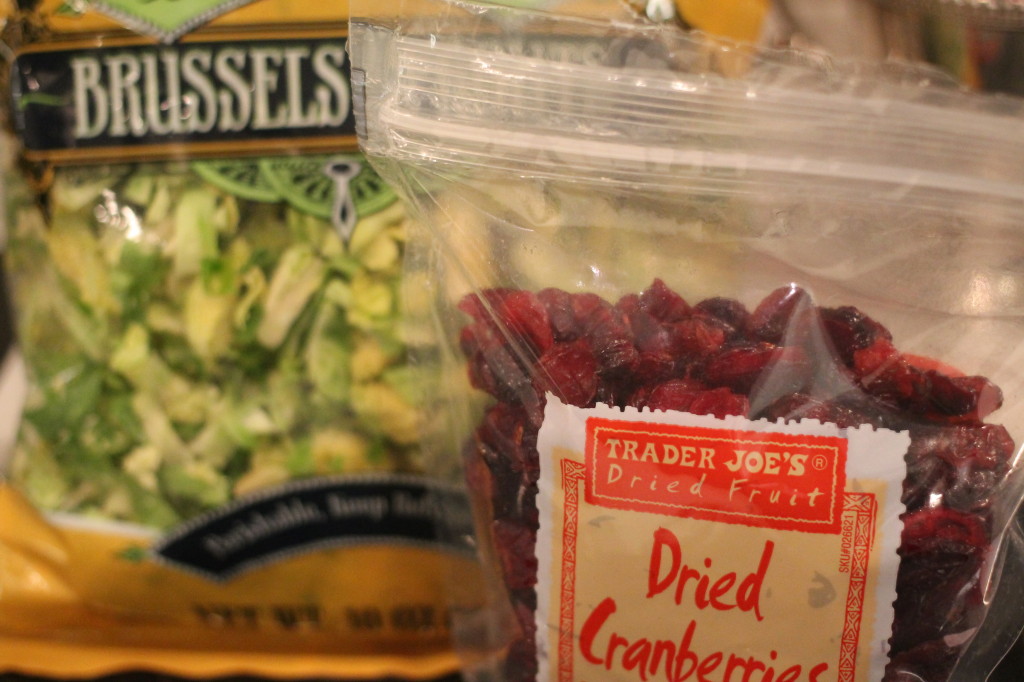
Trader Joe's Shaved Brussel Sprouts

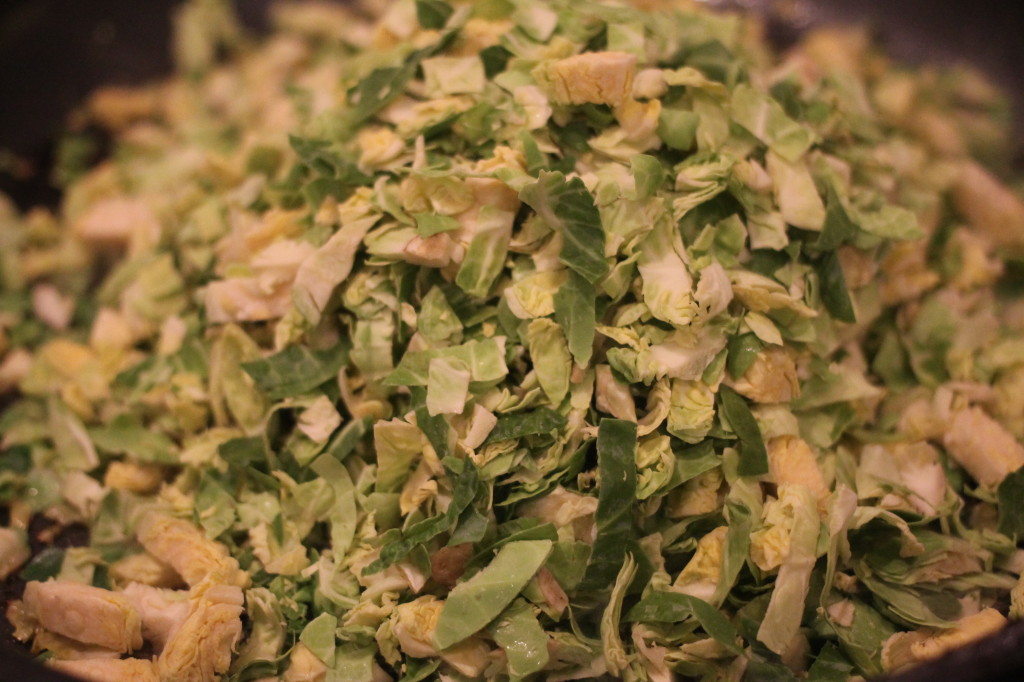
Shaved Brussel Sprouts

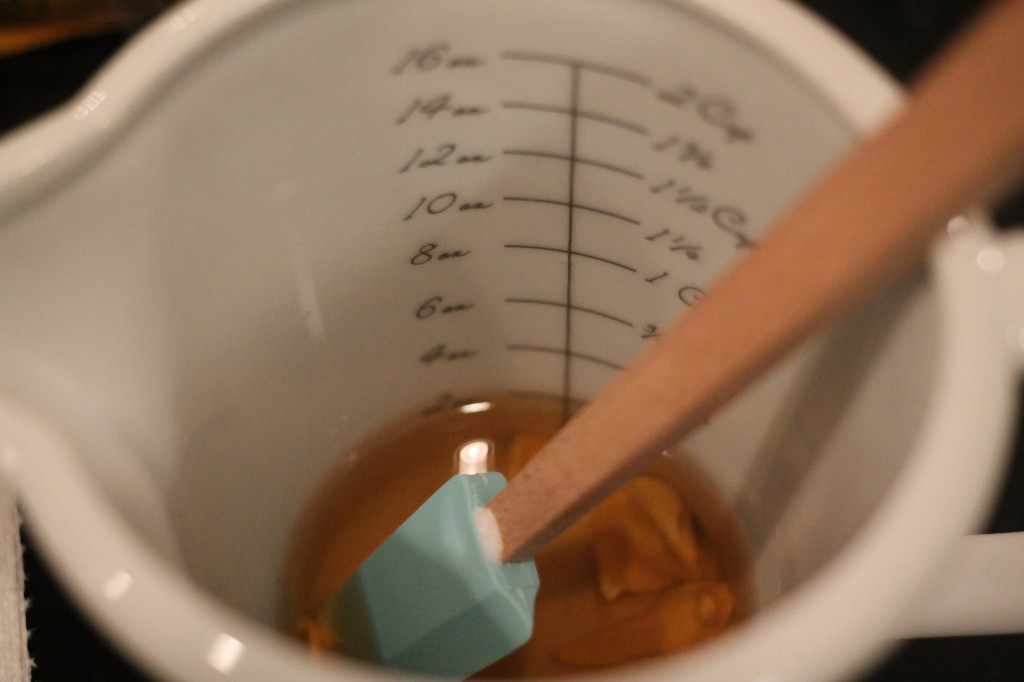
Vinegar

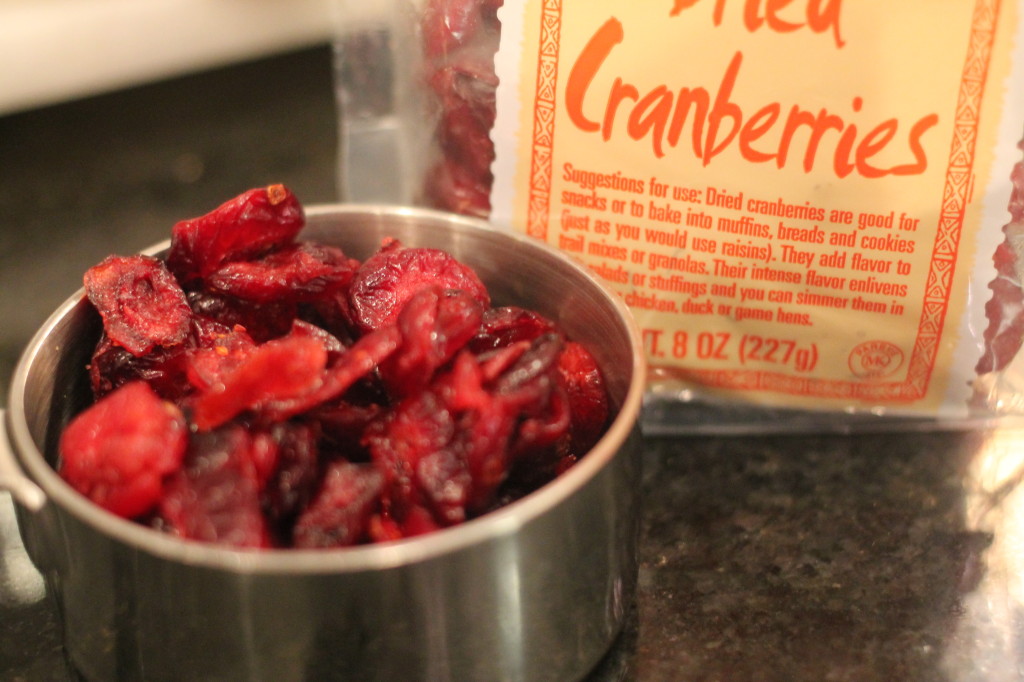
Dried cranberries

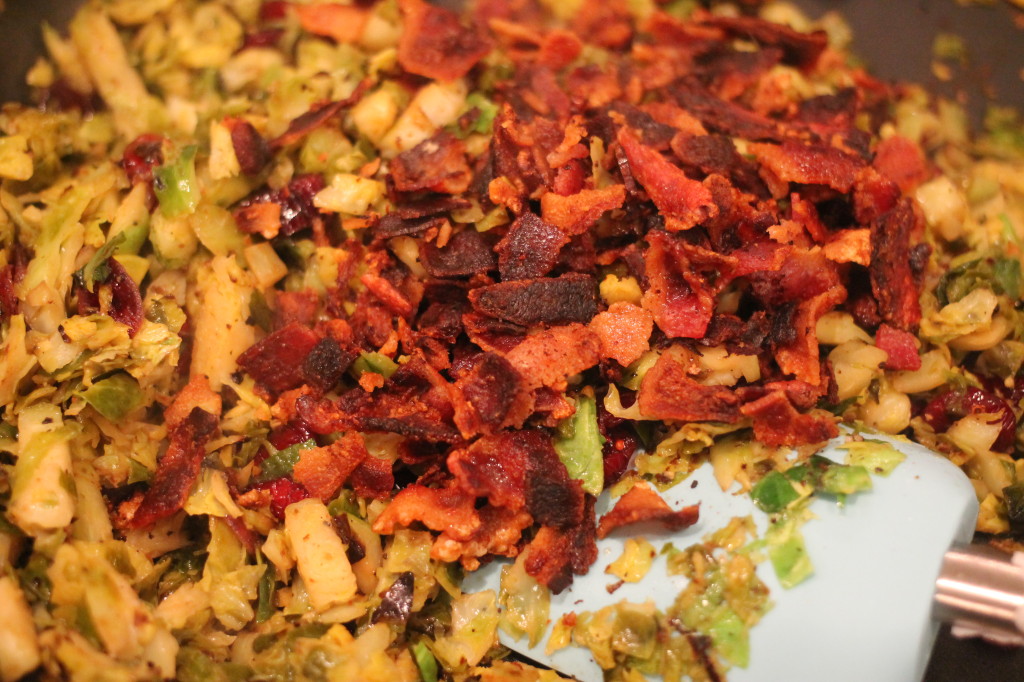
Brussel Sprouts and Bacon

Warm Brussel Sprout Salad 

Every time I go to Trader Joe’s, I discover something new and fabulous. I had never eaten a brussels sprout a day in my life until I discovered shredded brussels sprouts in the produce section. Somehow a bag of shredded sprouts seemed much less intimidating than whole brussels sprouts…and besides that we all know that bacon makes everything better!

signature

War Eagle, what?

Baked Pimento Cheese Dip

I was born into a long line of Tennessee Volunteers. I’m pretty sure my granddaddy’s blood ran orange. My great uncle’s middle name is Neyland and on my mother’s wedding day, my granddaddy held a transistor radio to his ear listening to his beloved Vols before he walked her down the aisle. When it came time for me to go to college, there was really no question of where I would go and I headed to Knoxville.

We all just assumed that when my sister went to college she would follow the family tradition. So when she decided on Auburn, we all knew the one big hurdle…telling granddaddy. My granddaddy suffered from memory loss as he got older. Some days he was good and other days he might not recognize us. On the day my sister went to break the news, he was not real clear but she sat down and said “granddaddy, I have to tell you something, I’ve decided to go to Auburn”…he looked at her, clear as a bell, and said “the hell you are”!

So in the spirit of sisterly love, all I have to say is…War Eagle!

Baked Pimento Cheese Dip
Write a review
Print
Ingredients
  1. 8 oz package neufatchel or 1/3 less fat cream cheese
  2. 1/4 cup Hellman's mayo
  3. 1/4 cup 2% Fage greek yogurt
  4. 1 1/2 cups monterey jack cheese, shredded
  5. 1 1/2 cups sharp cheddar chesse, shredded (I use 2% cheese)
  6. 1 small jar diced pimentos, drained
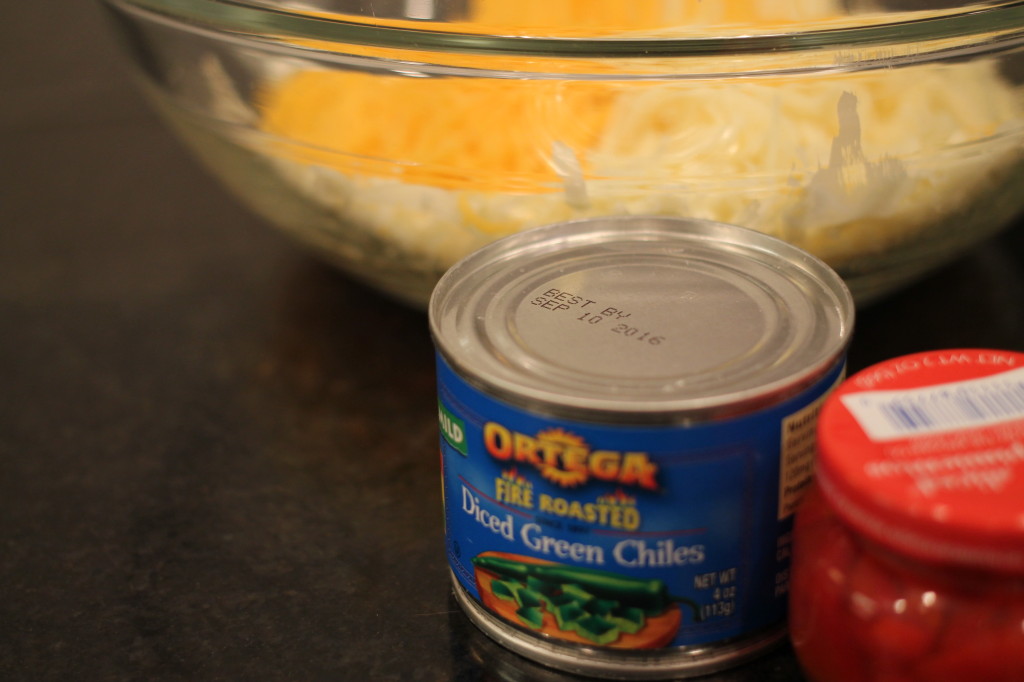
  7. 1 small can diced green chiles, drained
  8. 1/4 tsp cayenne pepper
  9. dash of worcestershire sauce
Instructions
  1. Preheat oven to 350 degrees.
  2. Let cream cheese soften in a large bowl.
  3. Add the rest of the ingredients and mix well.
  4. Bake for about 25-30 minutes, until bubbly.
  5. Serve with tortilla chips.
Notes
  1. You can easily double this recipe for a crowd.
http://lolleighcooks.com/
cheese

cream cheese

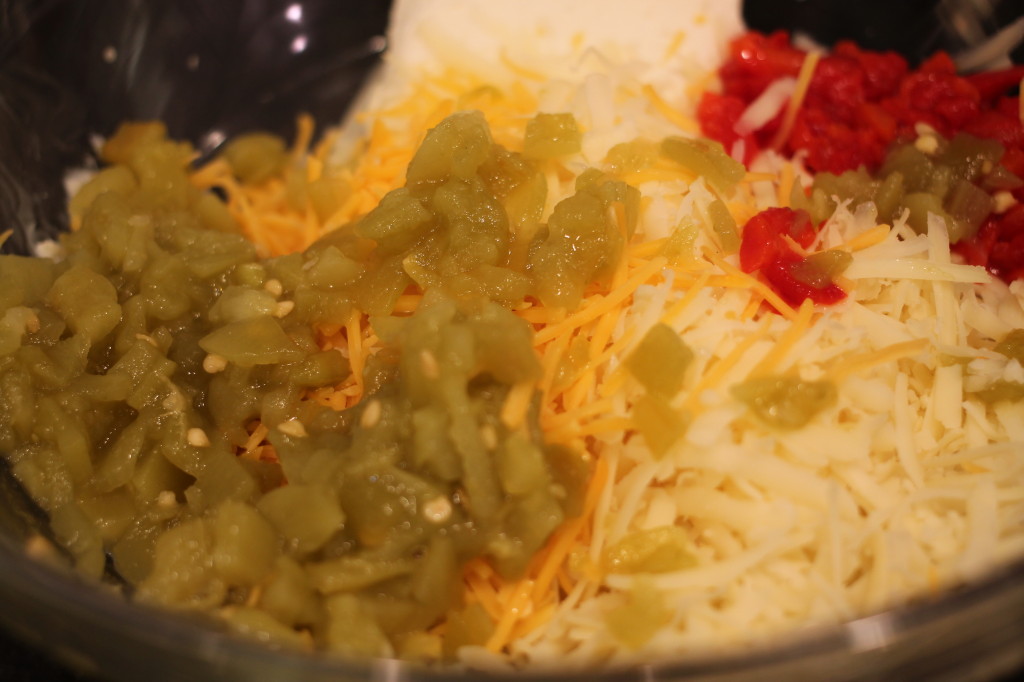
green chiles and pimentos

cheese mixture

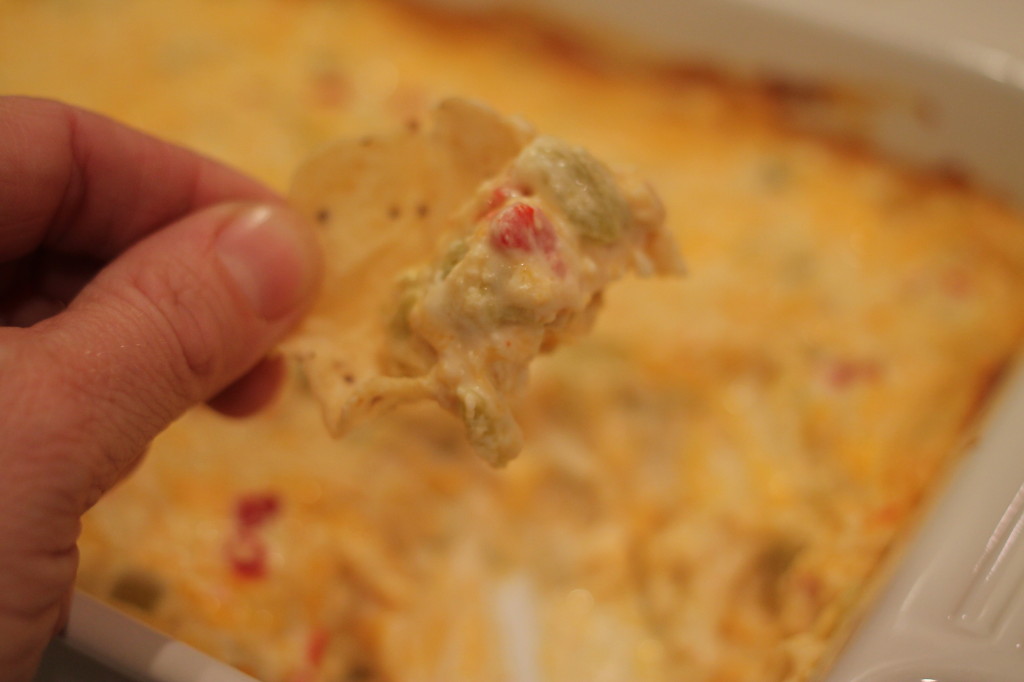
Baked pimento cheese dip


This is dip does not last long and great for a crowd. I like to serve it with Tostitos Scoops.

signature

How Nashville does weather…

Corn & Potato Chowder with Candied Bacon

If you live in Nashville, you’ve probably come to understand that around here weather is an event. A major event. If the winds are gusting 15 mph, the local meteorologist will break into your episode of The Good Wife and tell you to run for cover!

It’s no better with snow. If it’s going to snow next Tuesday, we may as well cancel school for the whole week. I can’t even imagine what will come of the deep freeze headed our way. My general rule of thumb is to not trust a meteorologist who does the weather in a cocktail dress…just saying.

Corn & Potato Chowder with Candied Bacon
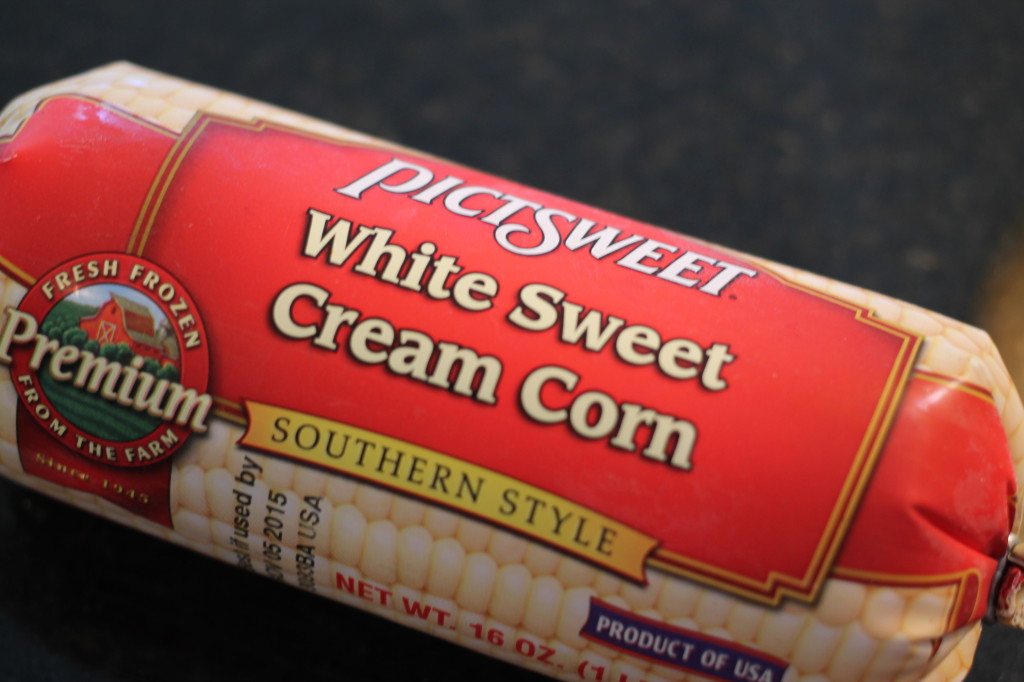
You would never guess that this creamy chowder is made with a roll of Pictsweet Cream Corn.
Write a review
Print
For the corn & potato chowder
  1. 1/2 cup white onion, finely chopped
  2. 2 tbsp olive oil
  3. 2 tbsp butter, unsalted
  4. 1/4 cup all-purpose flour
  5. 1-160z. frozen roll of Pictsweet Cream Corn, defrosted
  6. 1 cup white corn, fresh or frozen
  7. 4 cups vegetable broth
  8. 1 medium baking potato, peeled and diced small
  9. 1/2 cup half and half
  10. salt and pepper
For the candied bacon
  1. 2 baking sheets lined with aluminum foil
  2. 1 package bacon
  3. 1/2 cup brown sugar, light
  4. 1/2 tsp cayenne pepper
Instructions
  1. In a large pot or dutch oven, heat olive oil and butter over medium heat until butter melts.
  2. Add onions, season with salt and pepper, then saute until tender.
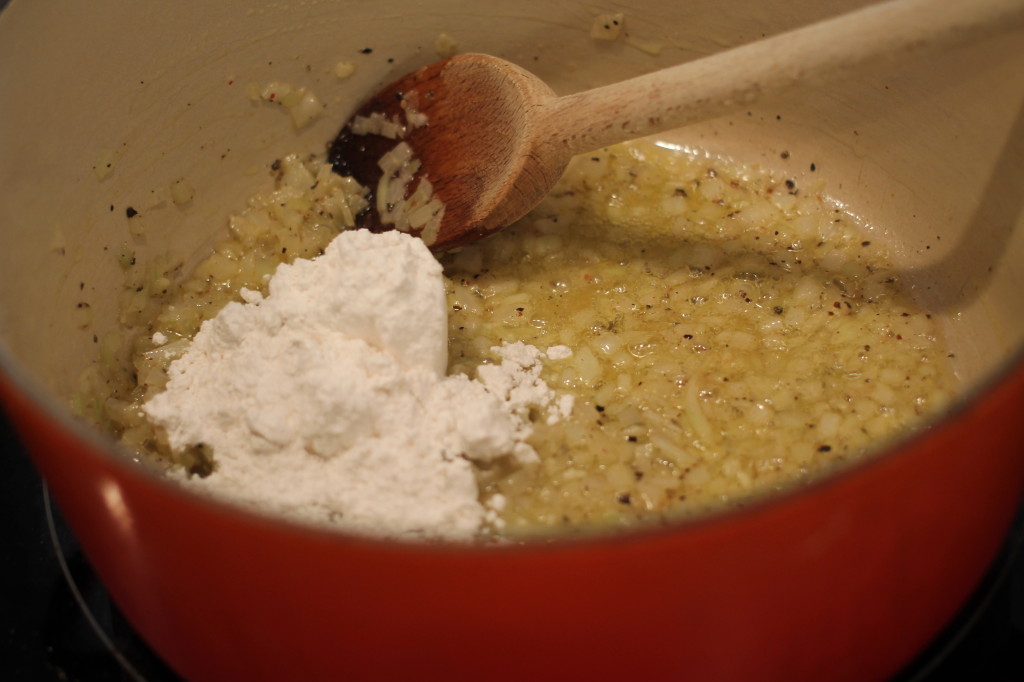
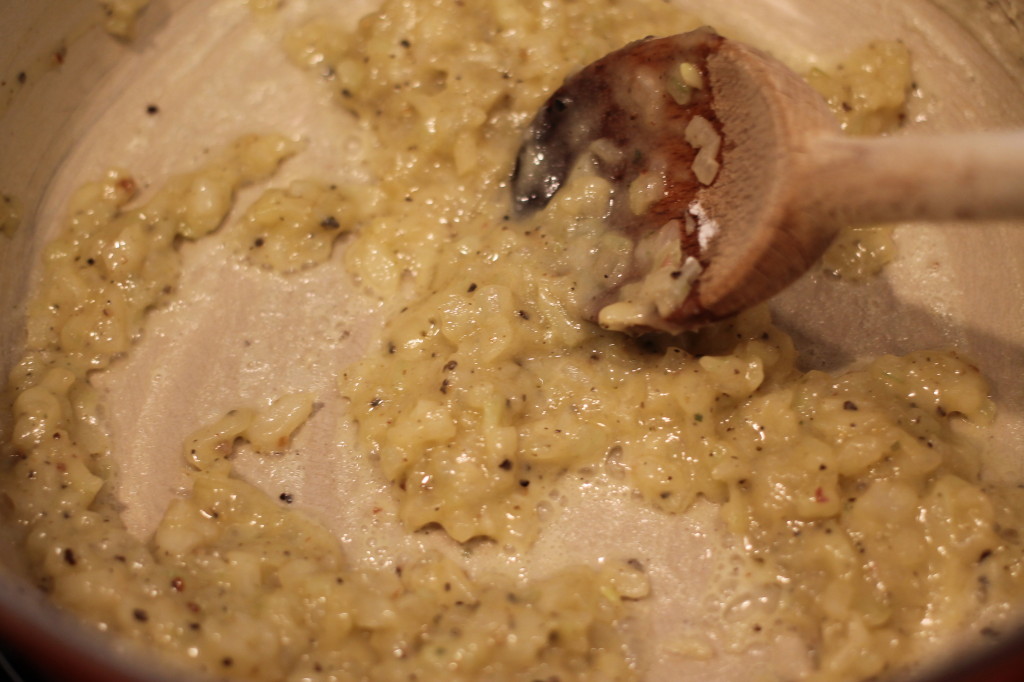
  3. Stir in 1/4 cup of flour to make a roux and continue to stir for about a minute.
  4. Pour in 4 cups of vegetable broth, stirring well.
  5. Add potatoes and bring to a simmering boil.
  6. Cook until potatoes are tender and falling apart.
  7. Gently mash up potatoes (they don't have to be completely mashed, just enough to add some thickness).
  8. Add the defrosted roll of Pictsweet Cream Corn and 1 cup of white corn, fresh or frozen.
  9. Reduce heat and let simmer for about 15 minutes.
  10. Stir in half and half, then season again with salt and pepper.
  11. Turn on low while you prepare the candied bacon.
  12. Preheat oven to 400 degrees.
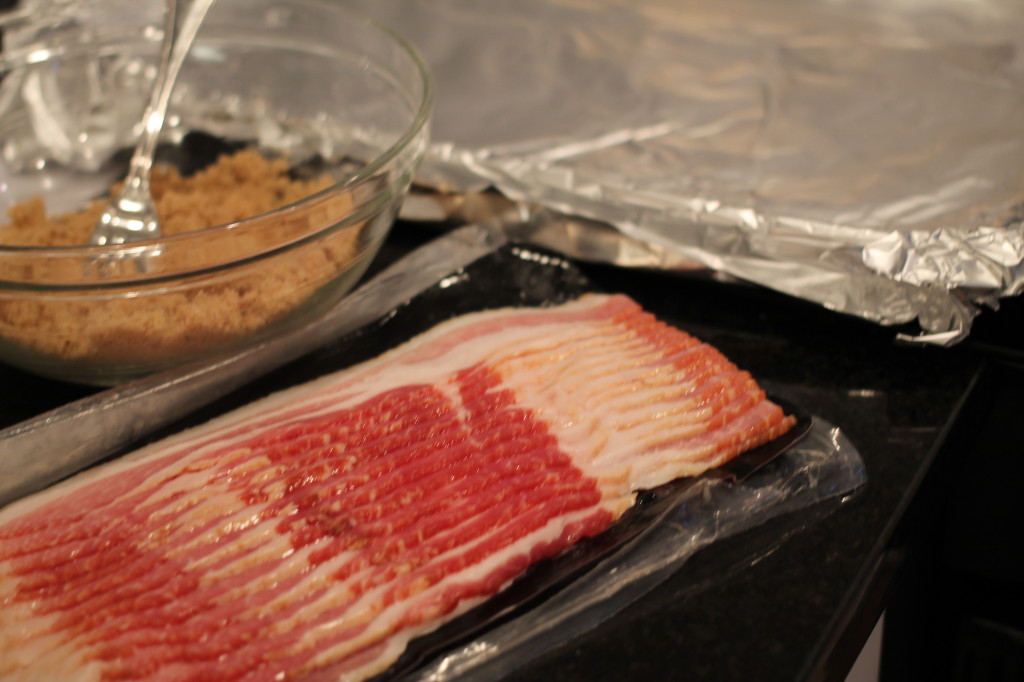
  13. After lining baking sheets with aluminum foil, lay bacon out flat on the baking sheet.
  14. Mix together brown sugar and cayenne pepper.
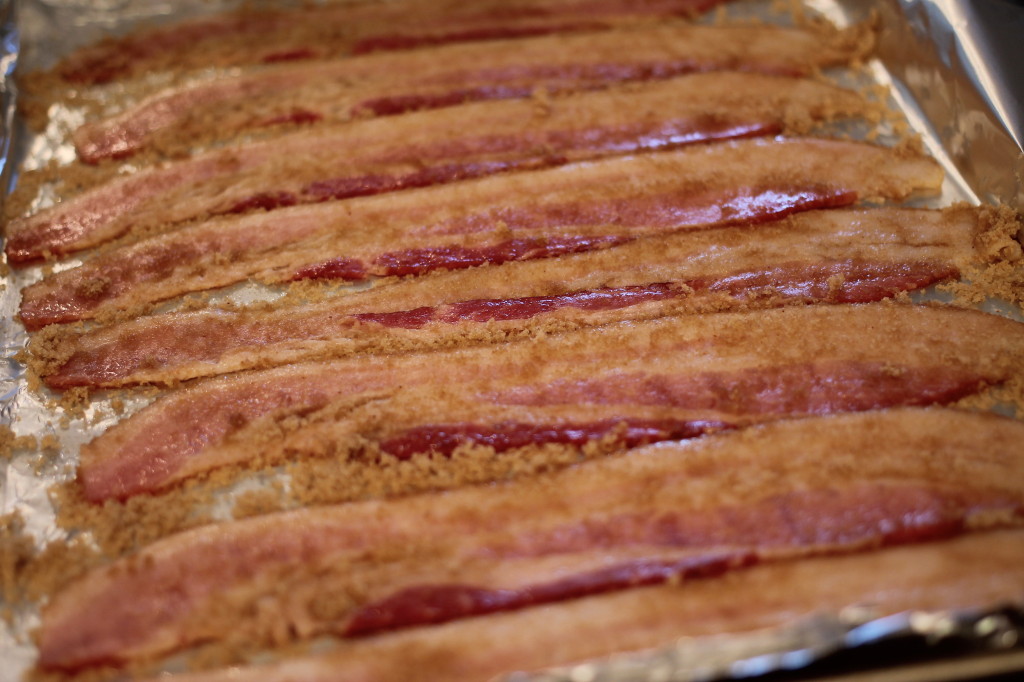
  15. Generously rub both sides of the bacon with the brown sugar mixture.
  16. Place in a 400 degree oven and bake for 20-25 minutes.
  17. I like my bacon more on the crispy side, so leave in longer until its cooked like you prefer.
  18. Remove bacon from oven.
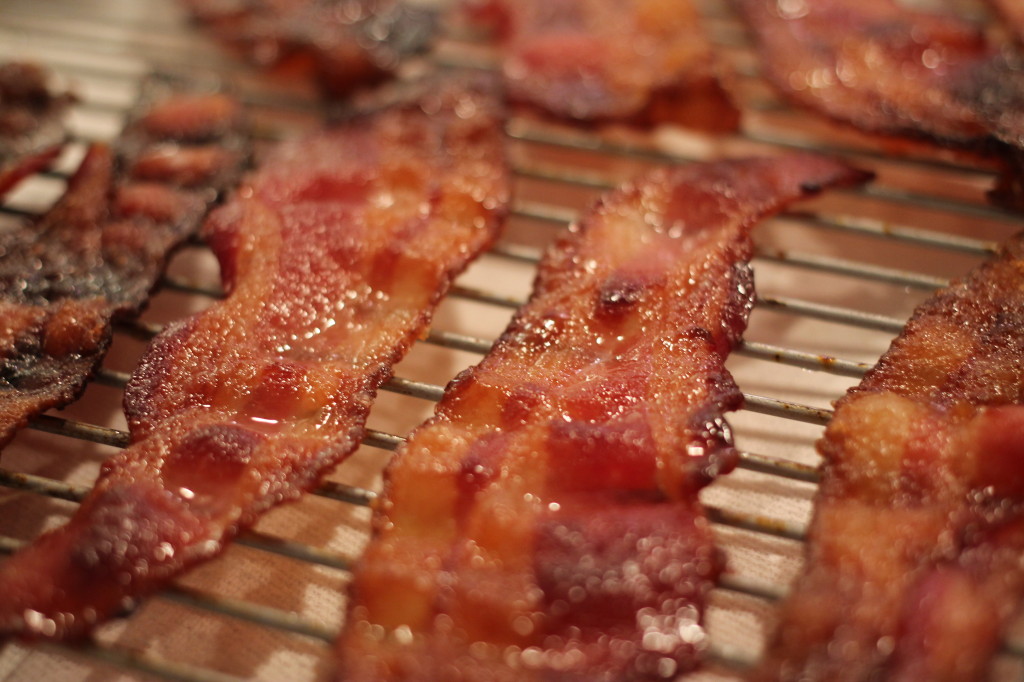
  19. Transfer the pieces of bacon to a wire rack and let completely cool.
  20. The bacon will harden like it has a candy coating.
  21. Crumble a piece of candied bacon on top of each serving of chowder.
  22. The bacon can be store in an airtight container.
http://lolleighcooks.com/

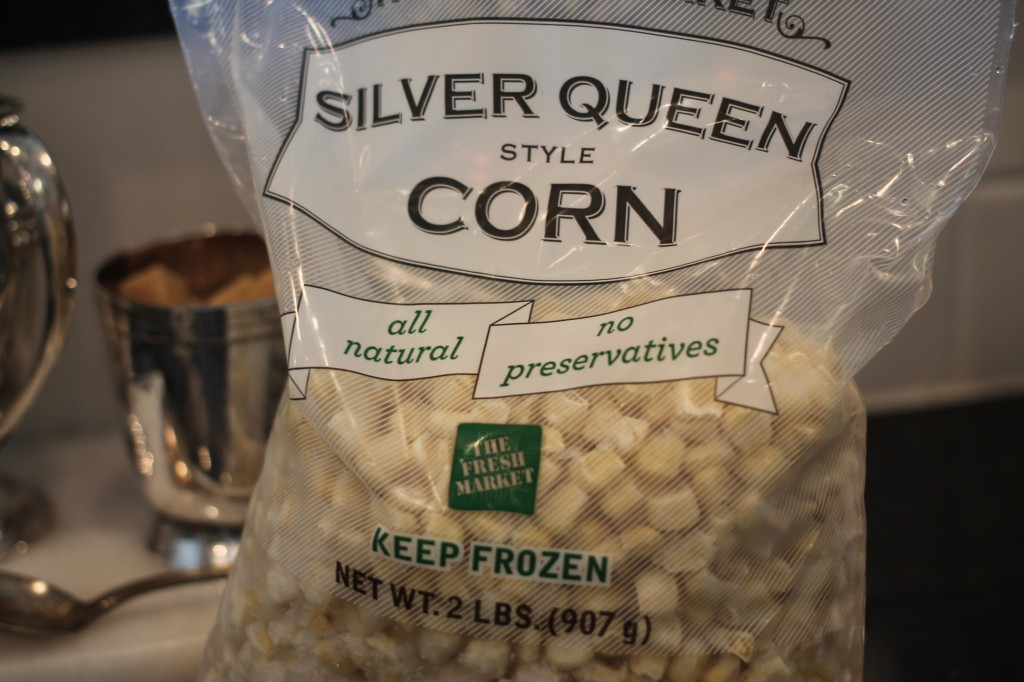
Pictsweet Cream Corn The Fresh Market Silver Queen Corn

Making a roux

Roux

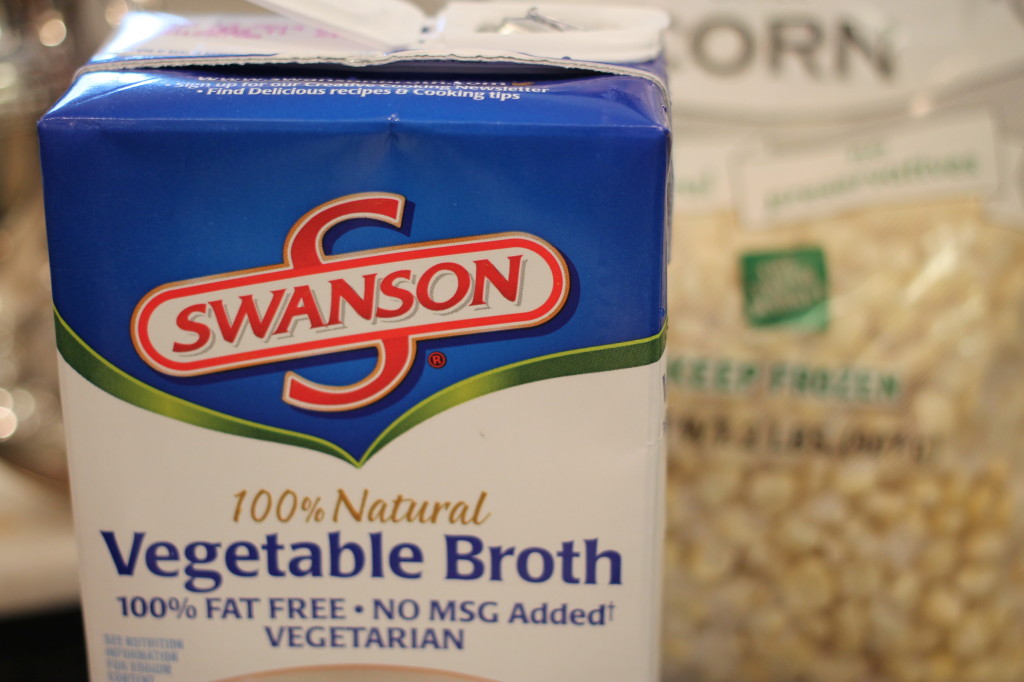
Swanson Vegetable Broth

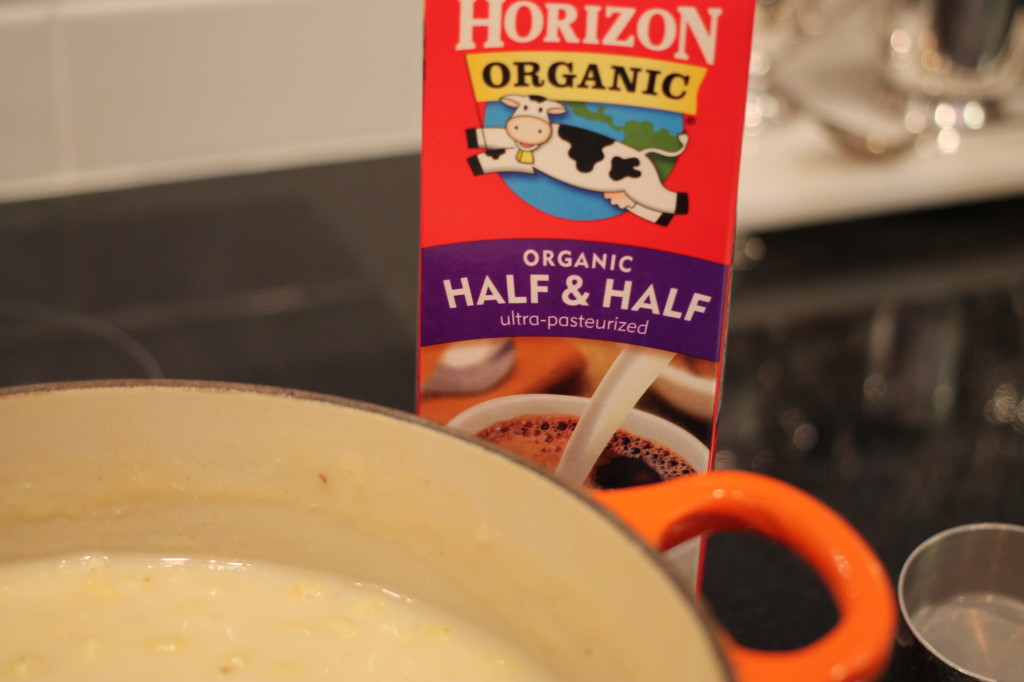
Horizon Half and Half

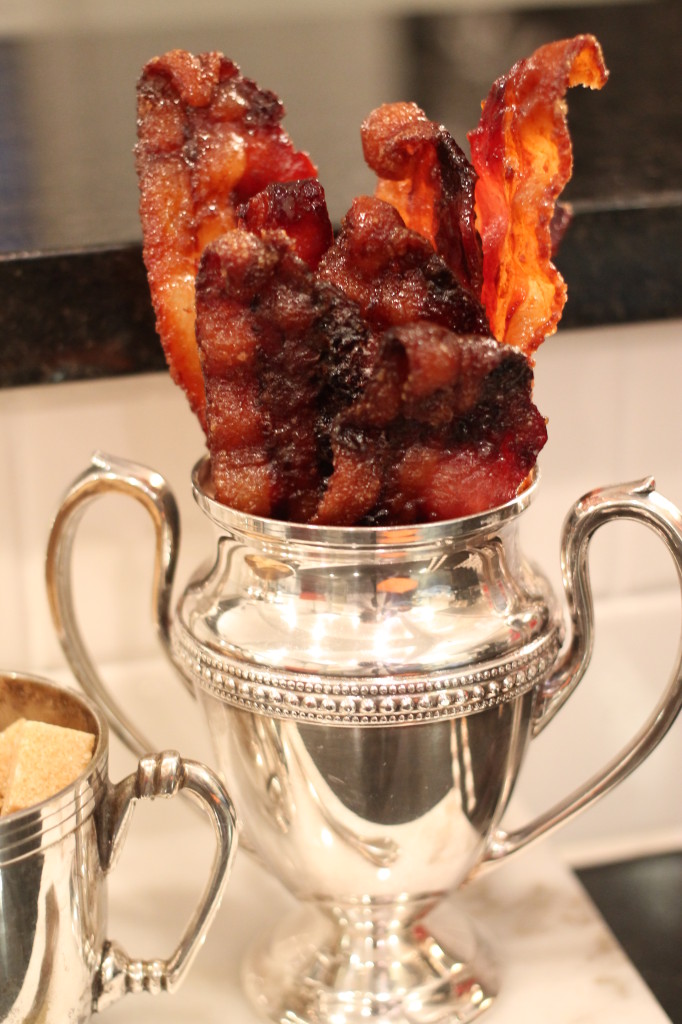
candied bacon

candied bacon

candied bacon

candied bacon

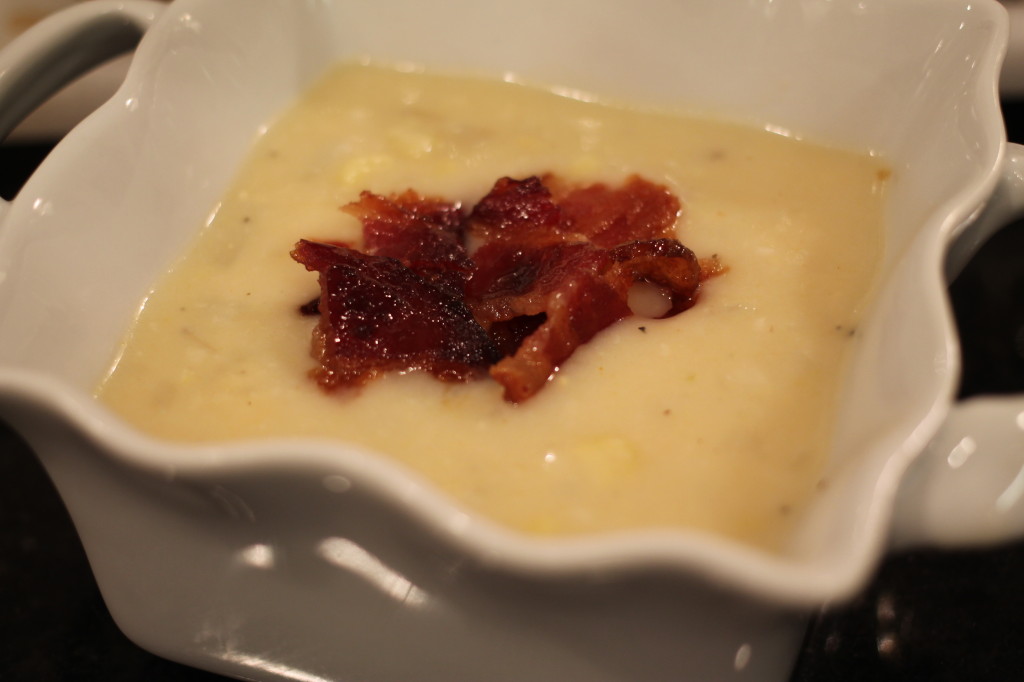
corn chowder with candied bacon

 The secret to this delicious chowder is the roll of frozen Pictsweet Cream Corn, it’s as close as you can get to real thing! One of my other favorites is The Fresh Market Silver Queen Corn. You’d never guess that this thick and creamy chowder is much lower in fat than a traditional chowder recipe.

Stay Warm!

signature


Standards

Bacon Tomato Cups

For as long as I can remember, we have had what I would call ‘Christmas Standards’. A green Frasier Fir (real), red ribbons, my great-grandmother’s candy and the same holiday snacks every year. It’s just what you do…I saw a card once that said it best, “Christmas is weird…what other time of year do you sit in front of a dead tree in the living room and eat candy out of your socks”.

The Christmas of 1989 was a doozie. That was the year mother went rogue. Mother’s favorite colors have always been shades of pinks and peaches. I should have seen it coming a few weeks earlier on that Thanksgiving evening when mother, Nana and I went to see Steel Magnolias and there it was on the big screen, Shelby planning her wedding in shades “blush and bashful”.
A few weeks later, Christmas break was beginning and as mother drove us home from school she told us that there was a surprise waiting at home. I ran in the door, so excited for the surprise! I turned the corner into the living room and dropped to my knees. There it was…that 7 foot Frasier Fir…flocked. A white tree, peach ribbon and pink accents. Oh, the drama ensued, as only a 14 year girl can deliver, proclaiming that a Christmas tree was supposed to be green with red ribbons. 

After the shock of the tree wore off, Christmas continued and so did the rest of our standards.  Of course we weren’t exactly staring at a dead tree in the living room and eating candy out of socks. That year we enjoyed my great-grandmother’s candy and our favorite snacks sitting there…staring at that peaches and cream tree.

I normally wouldn’t use canned biscuits for anything but these are a ‘Christmas Standard’, trust me…I don’t mess with standards.

Bacon Tomato Cups
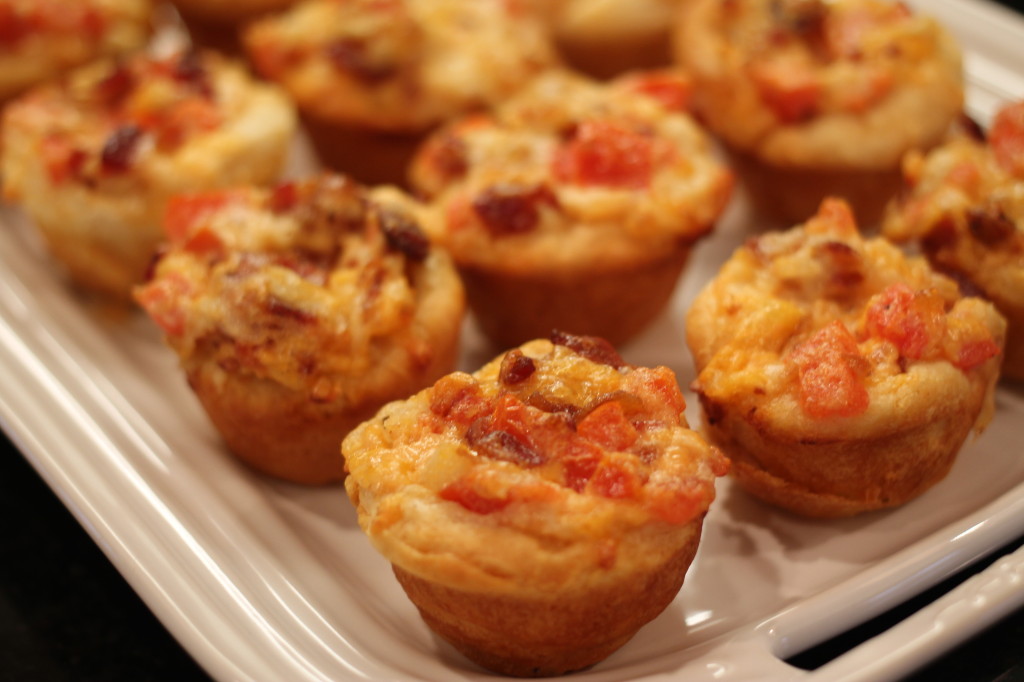
Bite-sized bacon, tomato and cheese appetizer baked in a biscuit crust.
Write a review
Print
Ingredients
  1. 1 - 12 oz package package center cut bacon
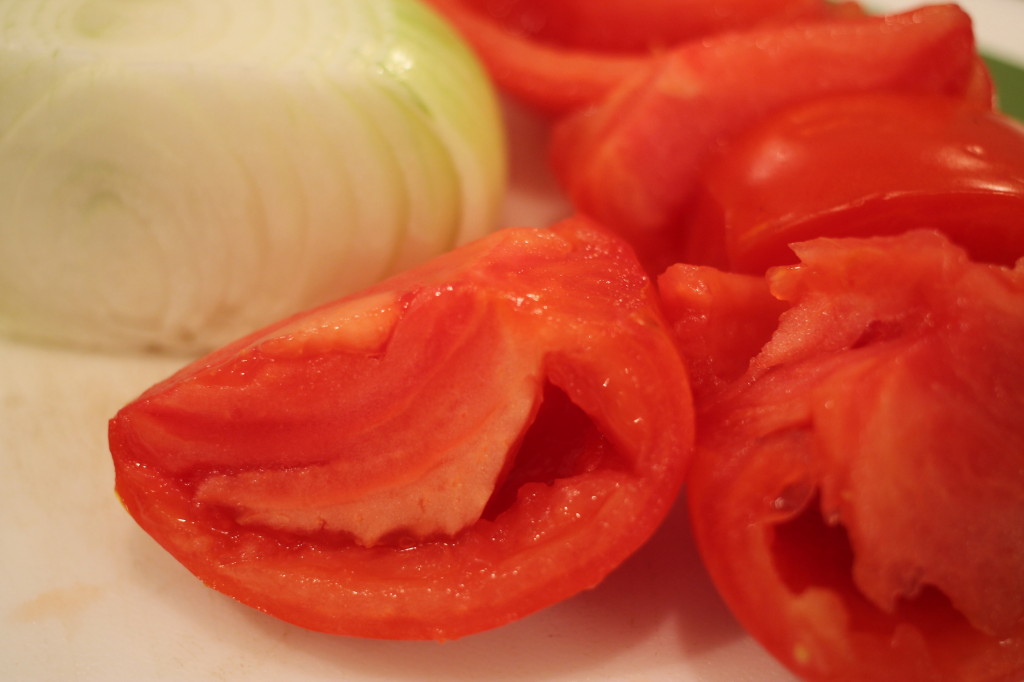
  2. 1 large tomato, seeded and chopped
  3. 1/2 medium onion, finely chopped (about 1/3 cup)
  4. 1/2 cup sharp cheddar cheese, finely shredded
  5. 1/2 cup swiss cheese, finely shredded
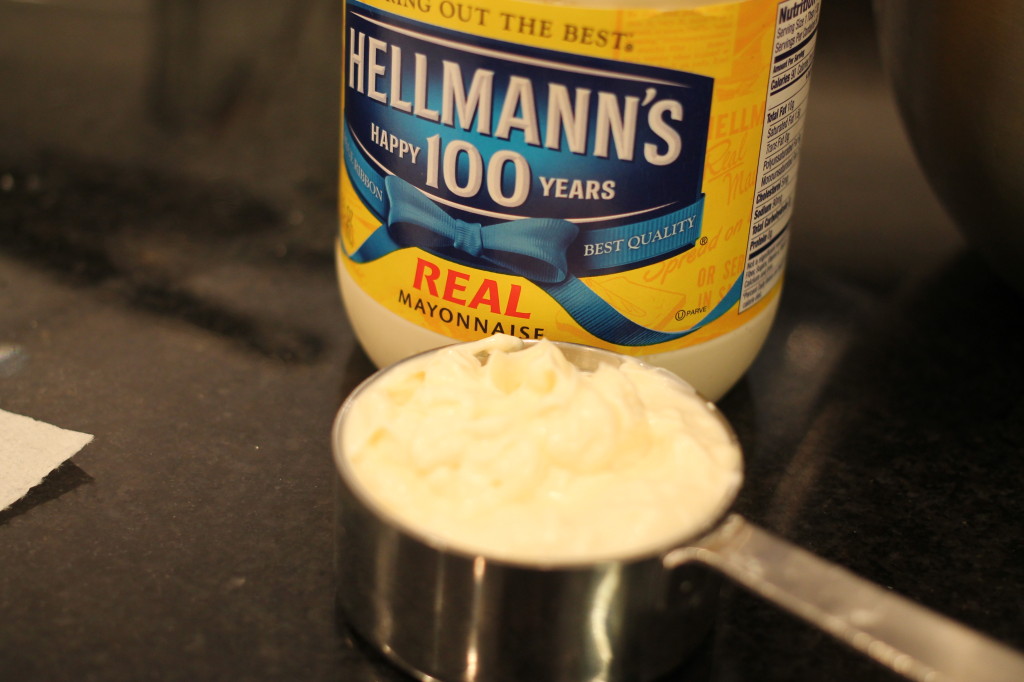
  6. 1/2 cup Hellmann's mayonnaise (I never use anything else but Hellman's)
  7. 1 - 10 count can flaky layer biscuits (must be the flaky kind)
Instructions
  1. Preheat oven to 350 degrees.
  2. Chop and fry bacon until crispy then transfer to paper towel lined plate.
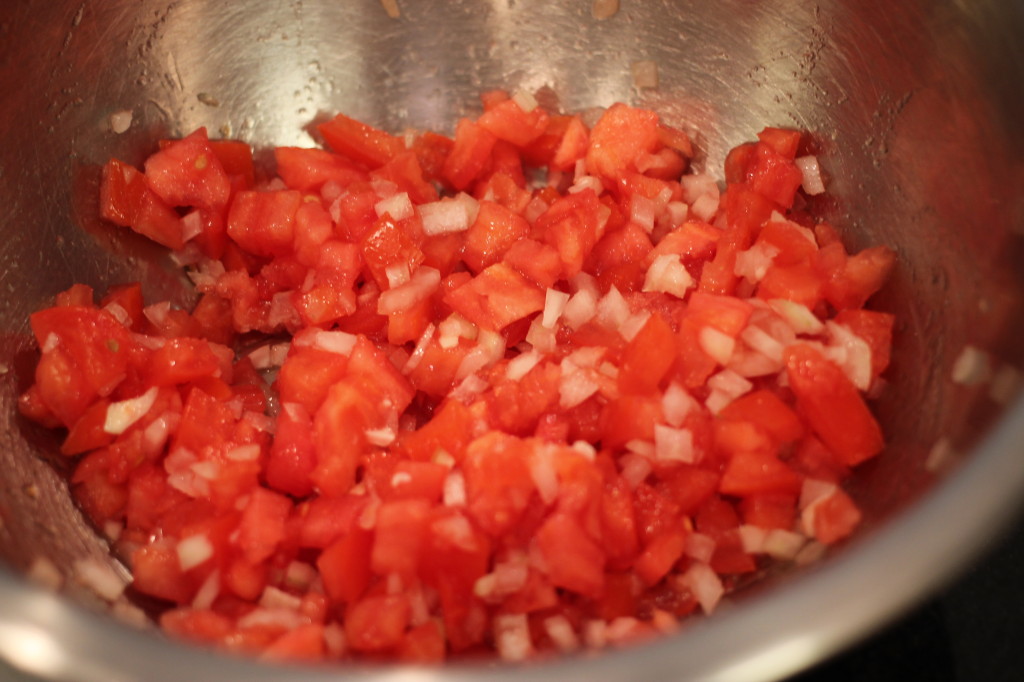
  3. Seed and chop tomato into a small dice.
  4. Finely chop onion.
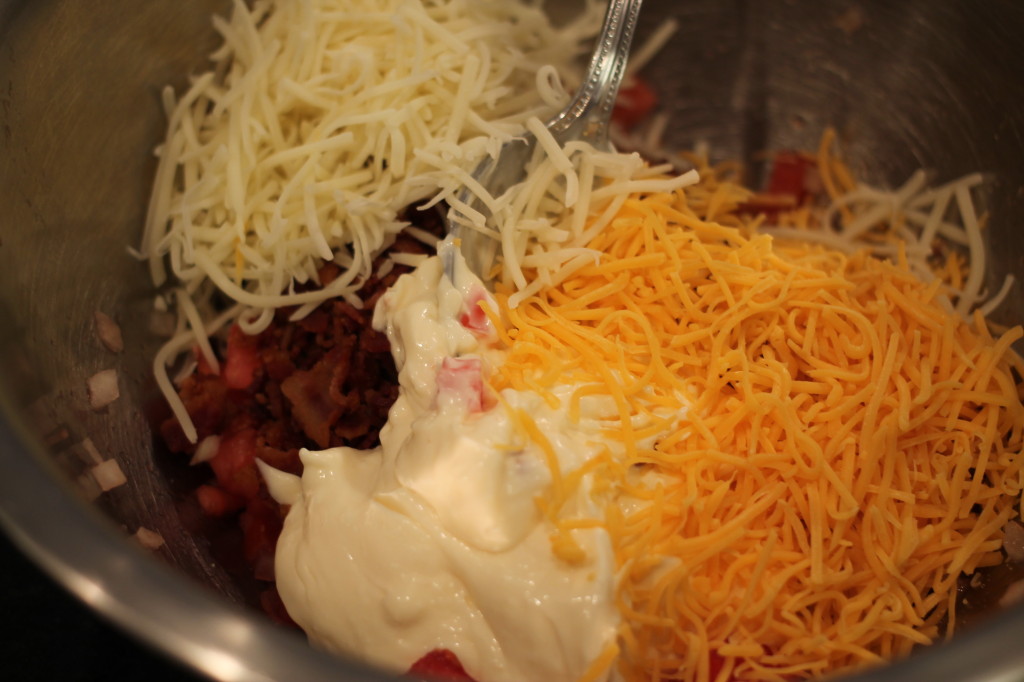
  5. In a bowl, combine tomatoes, onion, cheeses, bacon and mayonnaise then set aside.
  6. Spray a mini muffin pan with non-stick spray. This recipe makes about 2 dozen cups.
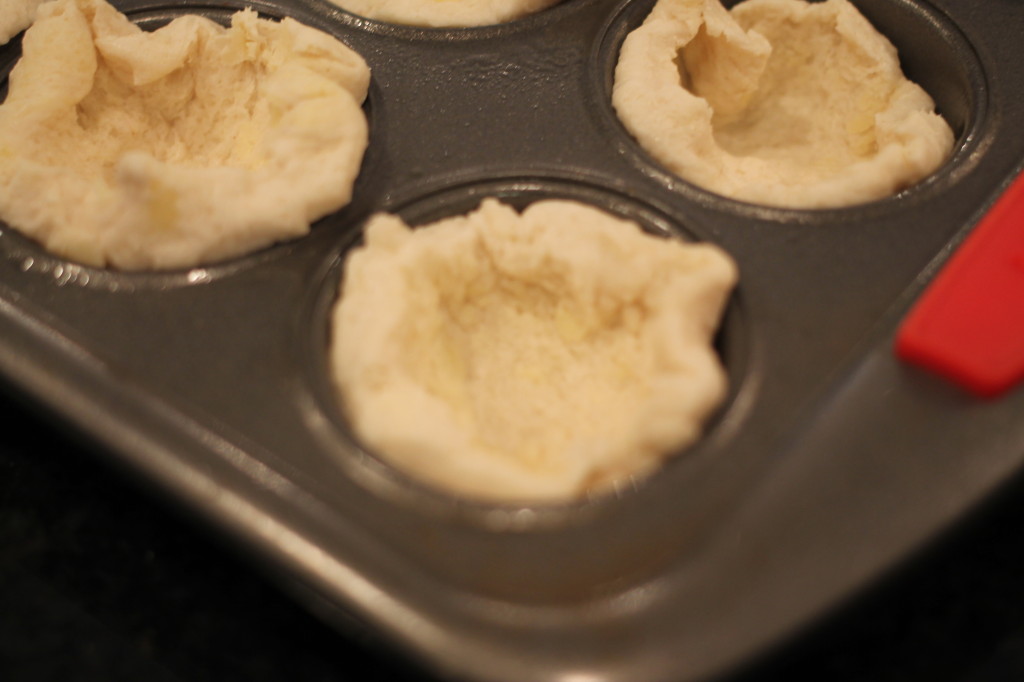
  7. Peel apart the flaky layer biscuits into thirds. Only peeling in half is too thick so do your best to peel into thirds.
  8. Line each muffin cup with the biscuit layer.
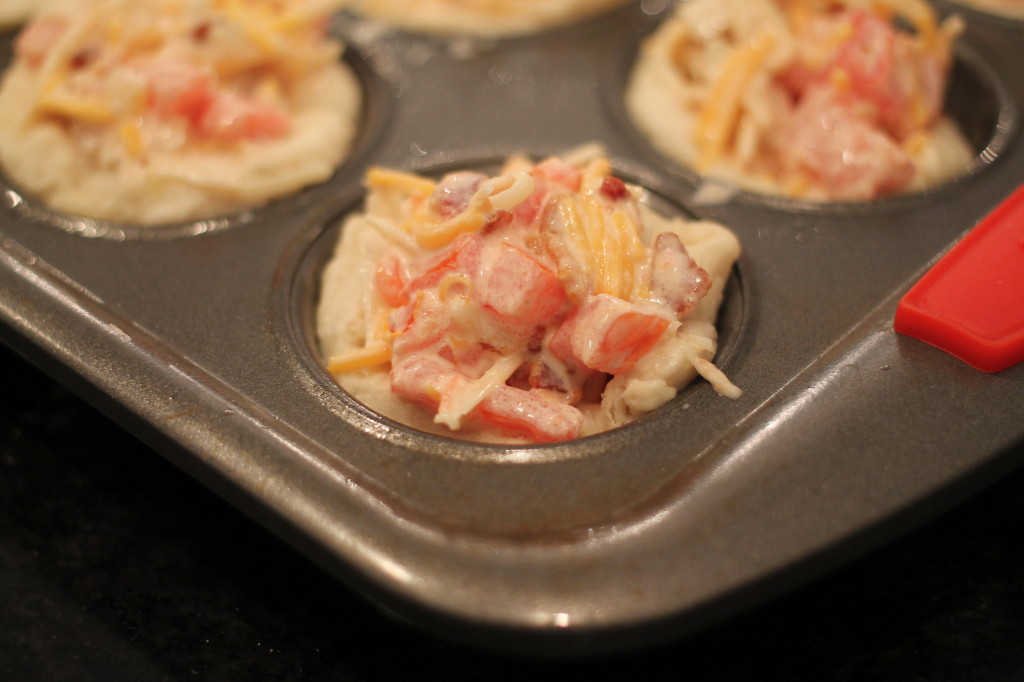
  9. Spoon tomato mixture into the biscuit cups.
  10. Bake for 15-20 minutes until golden brown.
  11. Let cool slightly and remove from muffin pan.
  12. These are good served hot or at room temperature.
http://lolleighcooks.com/

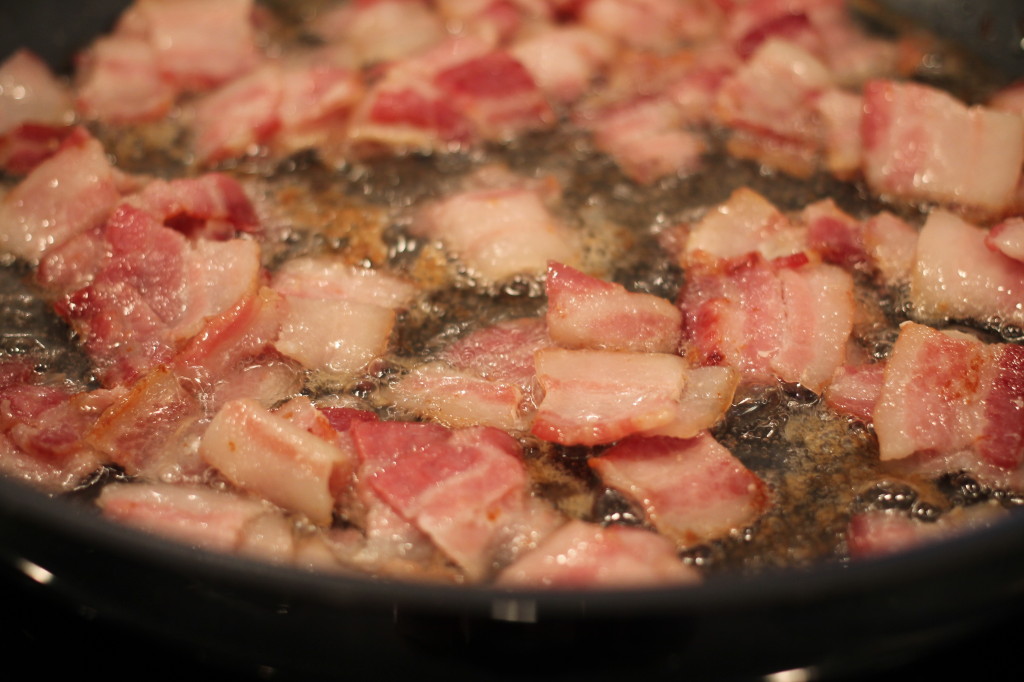
Bacon

Tomatoes and onion

Chopped tomatoes and onion

Hellman's Mayo Bacon mixture

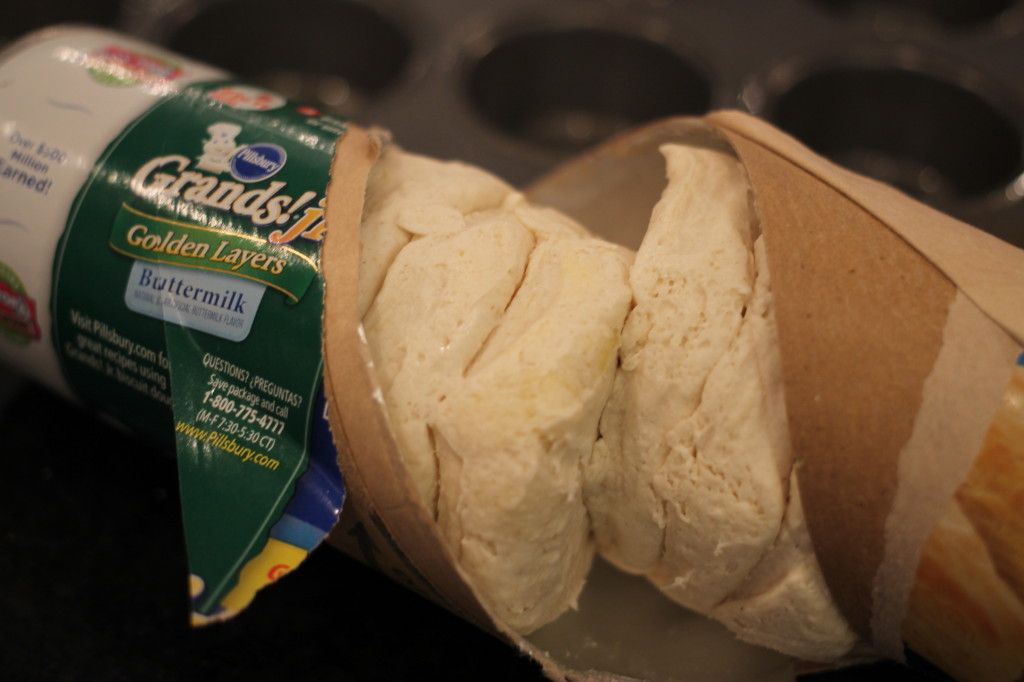
Flaky layer biscuits

Biscuit cup

Filled biscuit cup

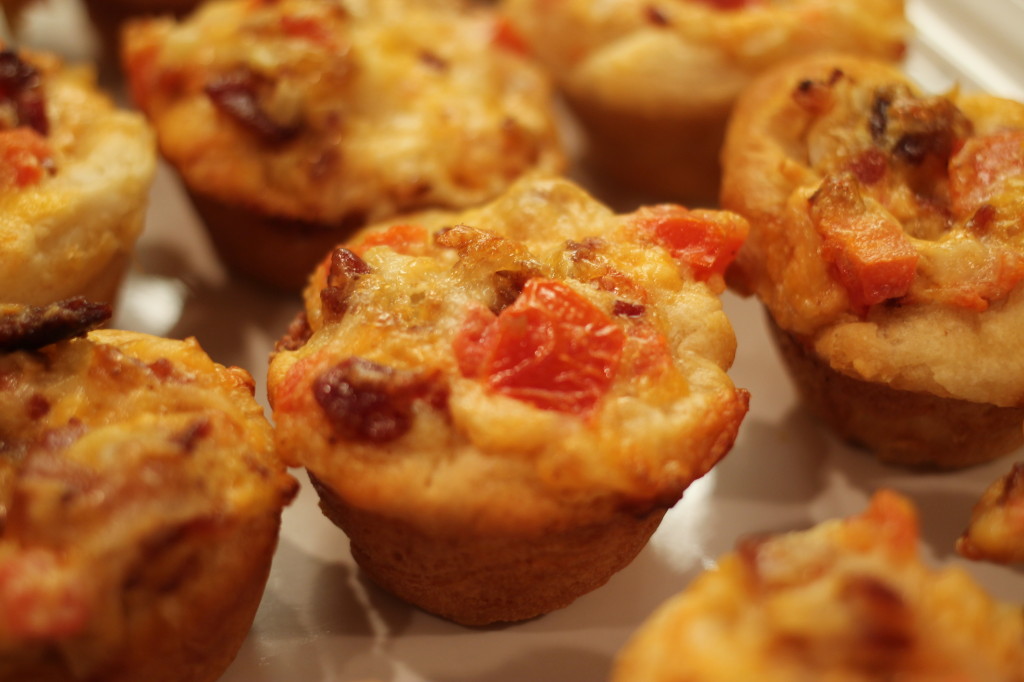
Bacon Tomato Cups

These are delicious! Everytime I serve them or take them to a party, I’m always asked to share the recipe. They aren’t exactly on the light side but they are a ‘Christmas Standard’.

signature

I’d love for you to follow along! 


The Famous (not Amos) Cookie

I often believe that people are born with a eccentricity or as Nana would say, “flair” and when this “flair” is recognized and cultivated in a loving way it leads to great things. Growing up, one of my best friends had a younger brother, during sleepovers he would appear on the rooftop, outside her window waving his tiger tail…the tiger tail pinned to his clothes…that he wore all over town. Today, he is well known for his fabulous personality and a go to source for style.

My “flair” begin to show when I was five. This was when HBO first started as a brown box on top of the TV. It played only two movies which you changed with the switch on top of the box and there the whole thing began, Urban Cowboy. Day in and day out, I sat on the arm of sofa pretending to ride that mechanical bull. As the year went on so did my “flair”, I would only wear jeans, a plaid, ruffle shirt and cowboy boots…everyday, all day. My dad told me he was going on a business trip to Houston and I begged him to bring me a Gilley’s tank top. That year, my photo with Santa featured yours truly dressed like Sissy (Debra Winger). 

On Friday nights, my parents would settle in to watch Dallas and I would sit on the stairs, peering through the railing and watch Pam go to work at ‘The Store’ in that little red Mercedes. One Christmas, when I was in college, I asked for Sue Ellen glasses. She drank her cocktails out of tall skinny glasses, it was fabulous. Some would say this was a fascination more than “flair” but it grew. I loved all things Texas, Dallas, Southfork, Neiman Marcus, Gilley’s and Urban Cowboy, which to this day I can recite line by line.

So I followed my flair and after college, moved to Texas. It was like seeing the ocean for the first time, magic! I soaked it up and cultivated my “flair”. I made friends that I still consider family, learned about true Texas food and made my trips to ‘The Store’, of course only in Texas could Neiman Marcus be referred to as ‘The Store’. Texans take pride in being bigger and better in everything they do. So, in the biggest, best store why would you not find the most perfect cookie? 

Here’s my version of the Neiman Marcus cookie:

The Famous (not Amos) Cookie
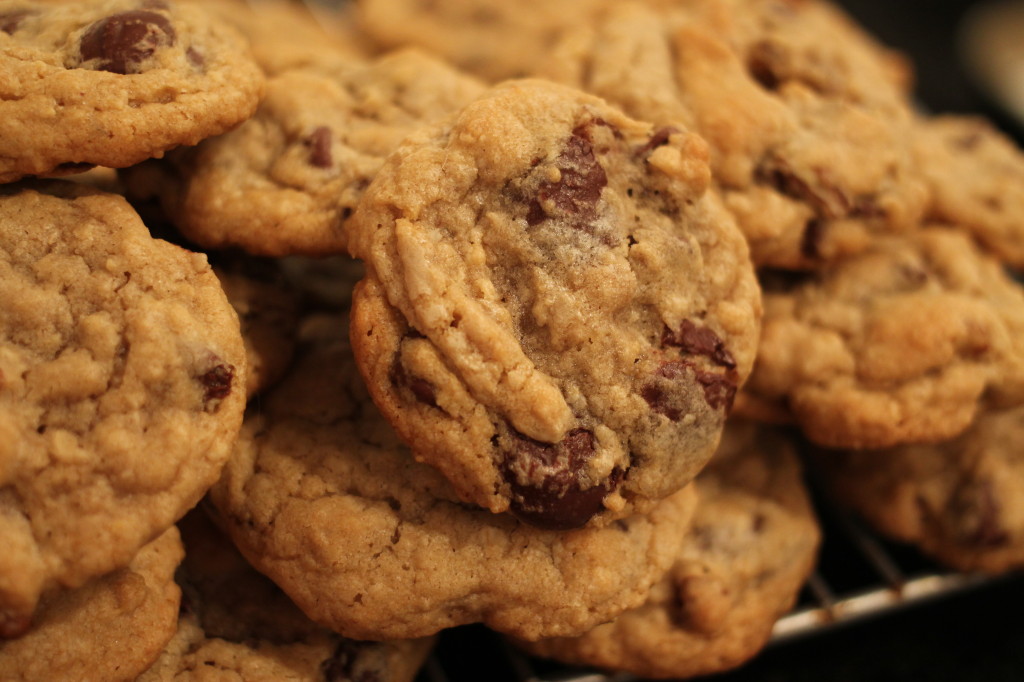
My version of the Neiman Marcus cookie. Oatmeal, pecans, dark and semi-sweet chocolate.
Write a review
Print
Ingredients
  1. 2 1/4 cup all-purpose flour
  2. 1/2 cup oatmeal, coarsely ground
  3. 1 1/2 tsp baking soda
  4. 1 tsp salt
  5. 1 cup unsalted butter, softened
  6. 3/4 cup sugar
  7. 3/4 cup light brown sugar
  8. 2 eggs
  9. 1 tsp vanilla
  10. 1 tsp espresso powder
  11. 1 cup semi-sweet chocolate chips
  12. 1 cup dark or bittersweet chocolate chips
  13. 1 cup pecan pieces
Instructions
  1. In a small bowl combine flour, coarsely ground oatmeal, baking powder and salt. Set aside.
  2. In a large bowl, use a mixer, to cream together butter and sugars until light and fluffy. Mix in two eggs, vanilla and espresso powder.
  3. Pour the dry ingredient mixture into the wet ingredients and gently mix until ingredients are combined.
  4. Stir in pecan pieces and chocolate chips.
  5. Place dough in the fridge for about 30 minutes to firm up the dough.
  6. Preheat oven to 375 degrees and line baking sheets with parchment paper.
  7. Form about a one inch ball for each cookies and place on cookie sheet.
  8. Bake for 12-14 minutes. I like a softer cookie so I take them out around 12 minutes. If you like a crunchier cookie just bake a bit longer.
  9. Transfer baked cookies onto a wire rack to cool.
Notes
  1. Chilling the dough makes a bit thicker cookie and they seem to hold their shape better. I always use parchment paper for cookie baking. It helps the bottom of the cookie from getting too brown and clean-up is way easier!
http://lolleighcooks.com/
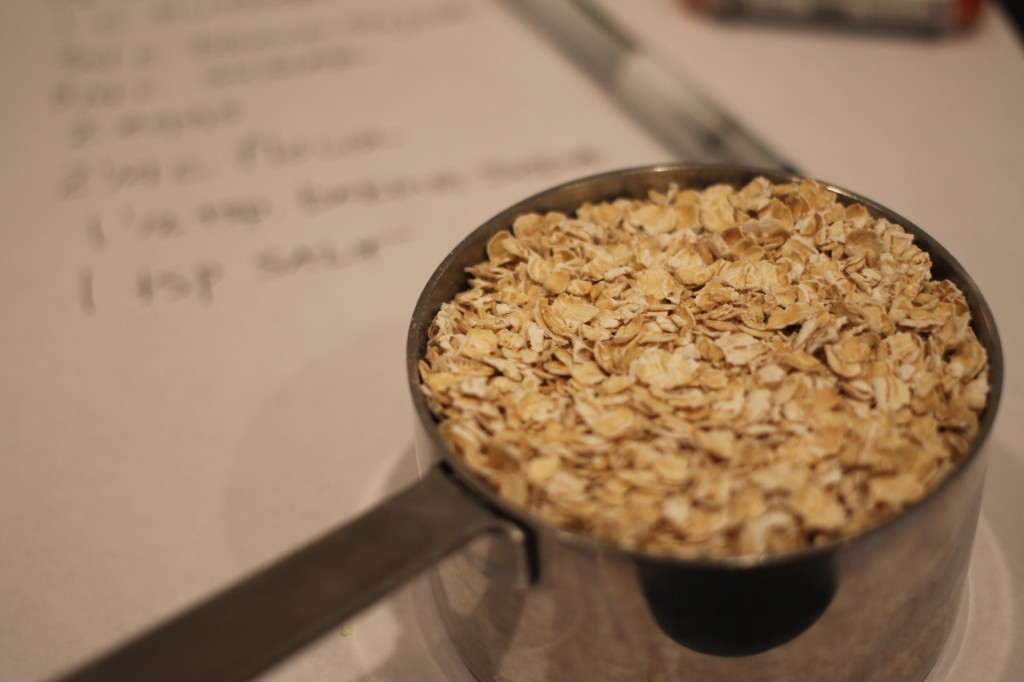
 Oatmeal

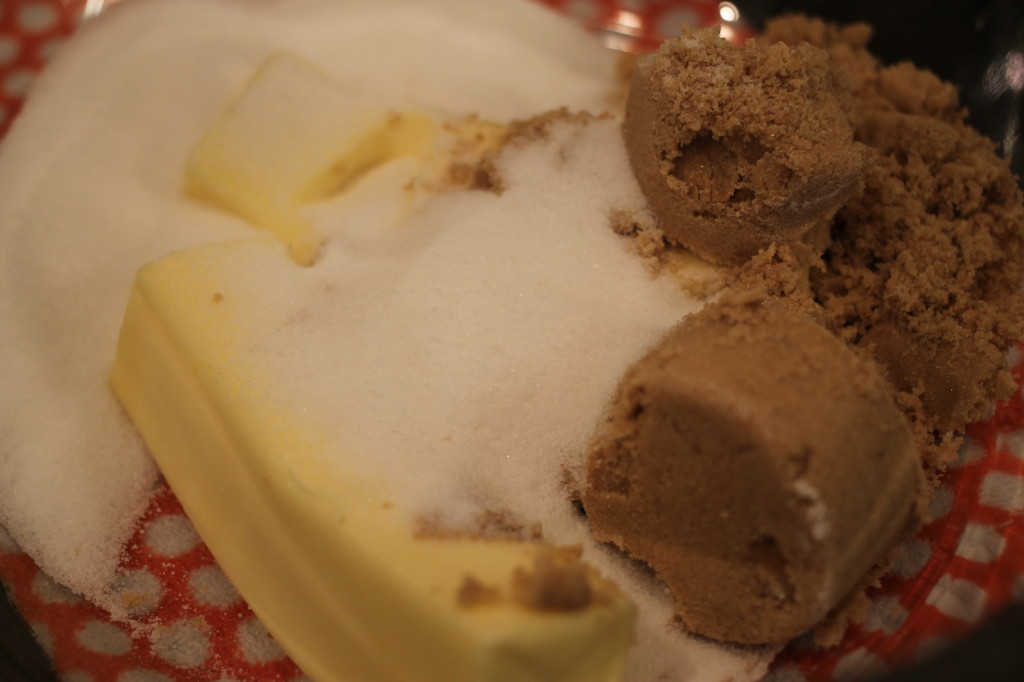
butter and sugars

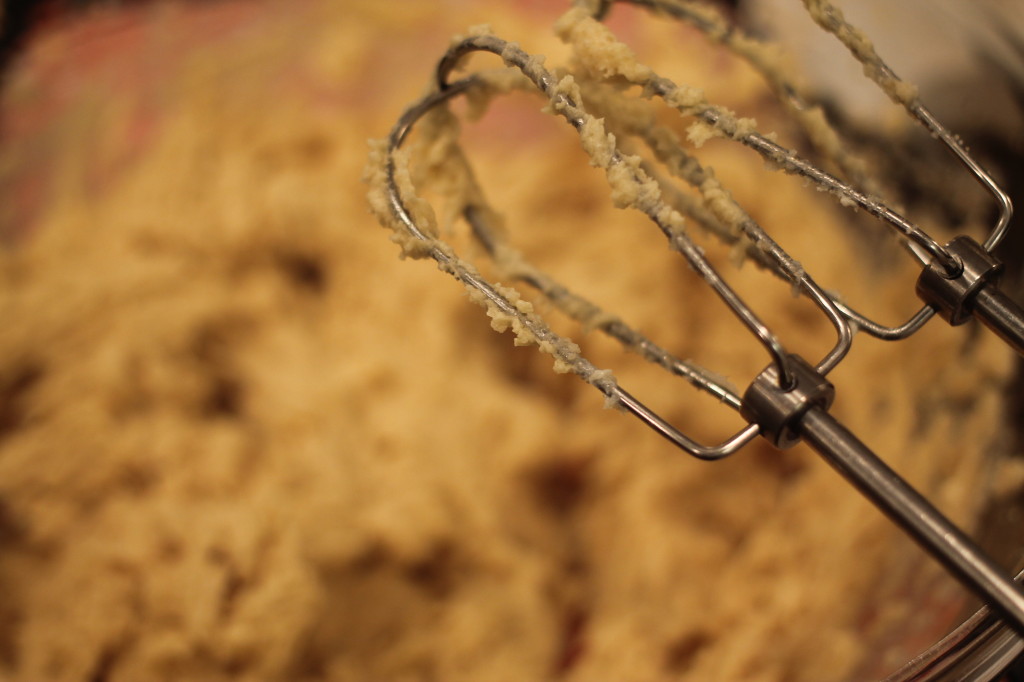
Mixing

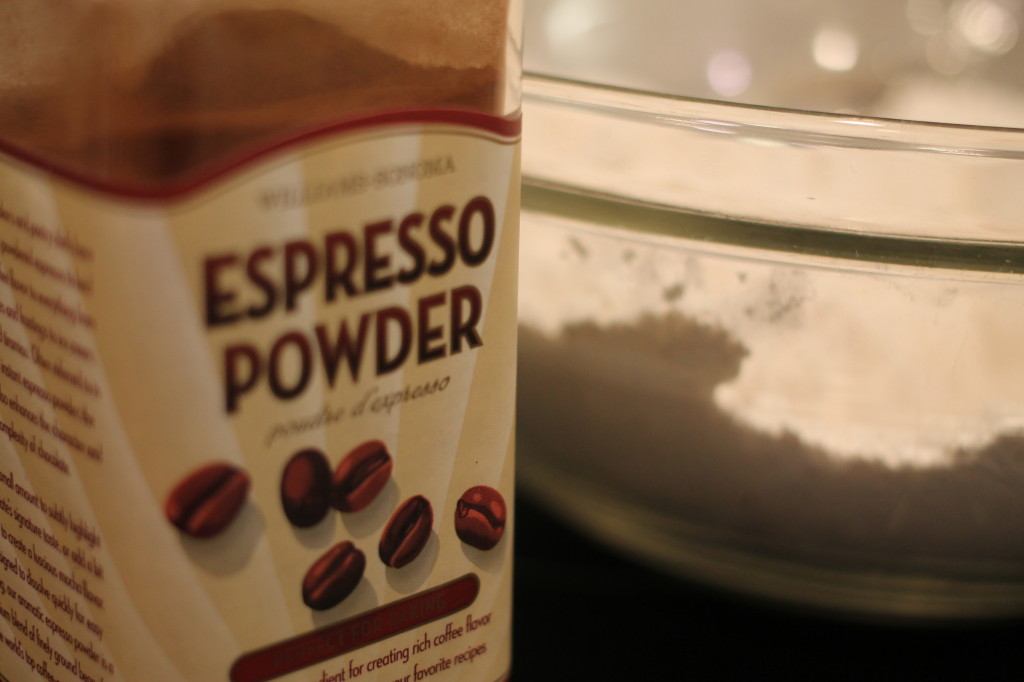
Espresso Powder

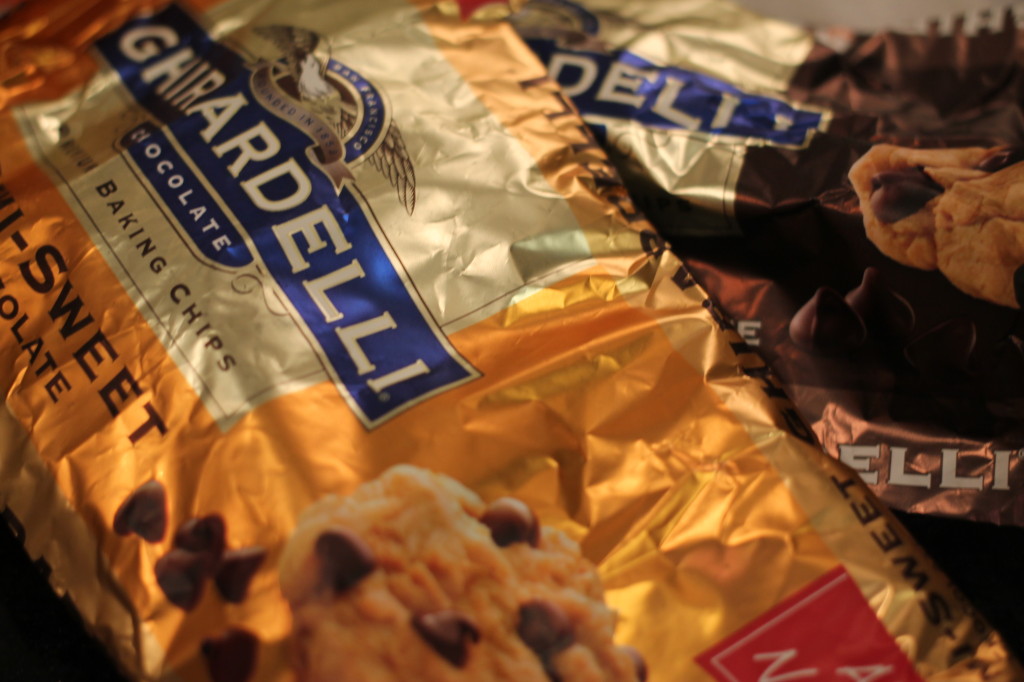
Ghirardelli Chocolate

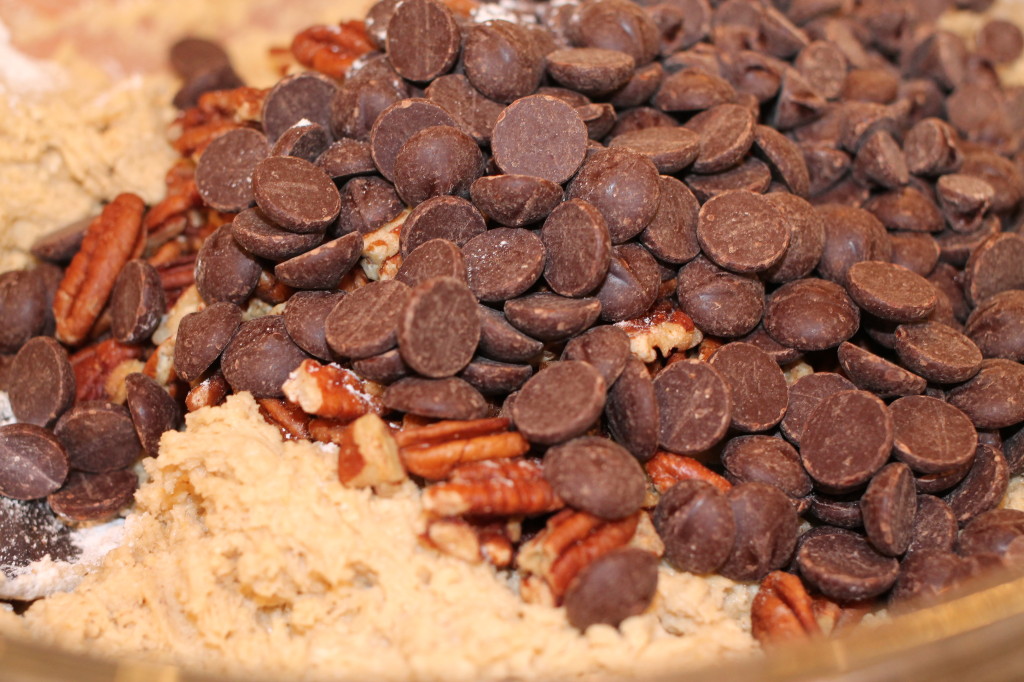
Chocolate chips and pecans

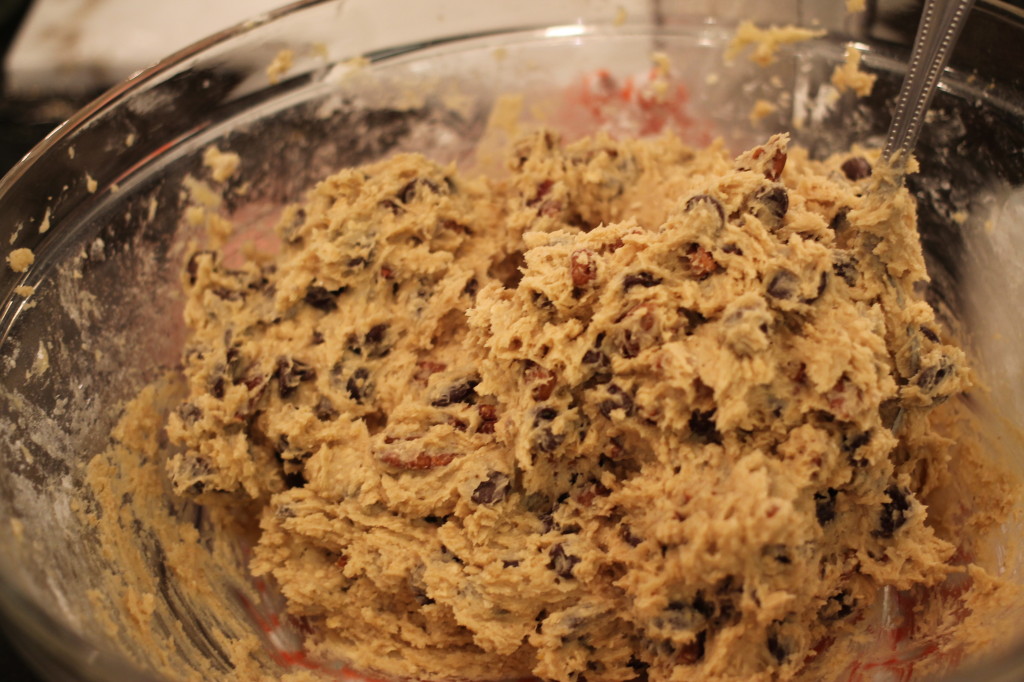
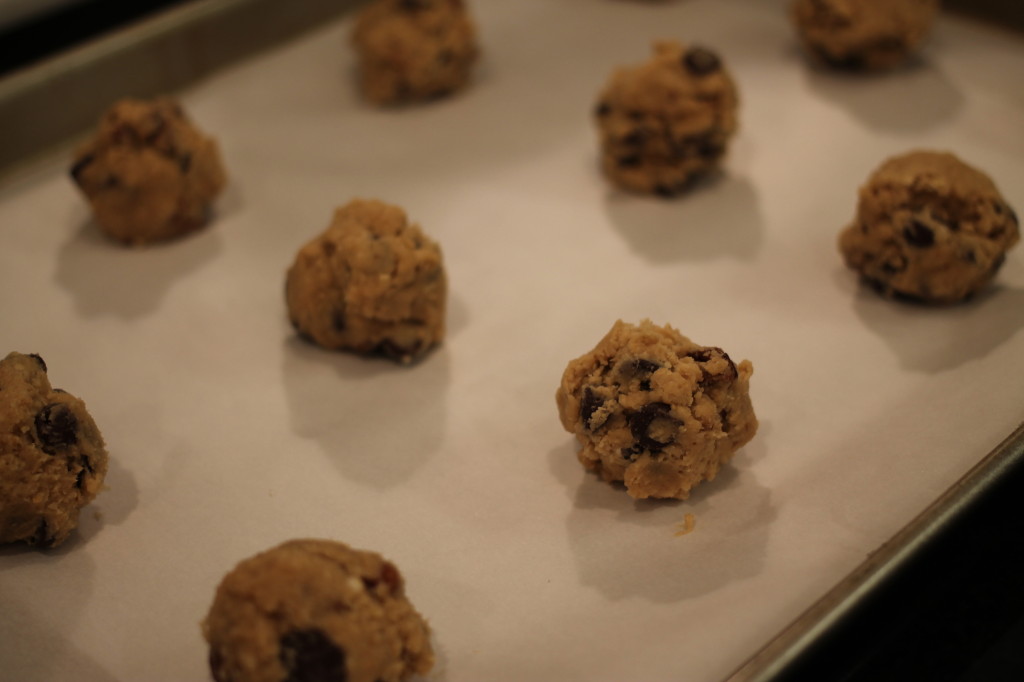
cookie dough

baking sheet with parchment paper

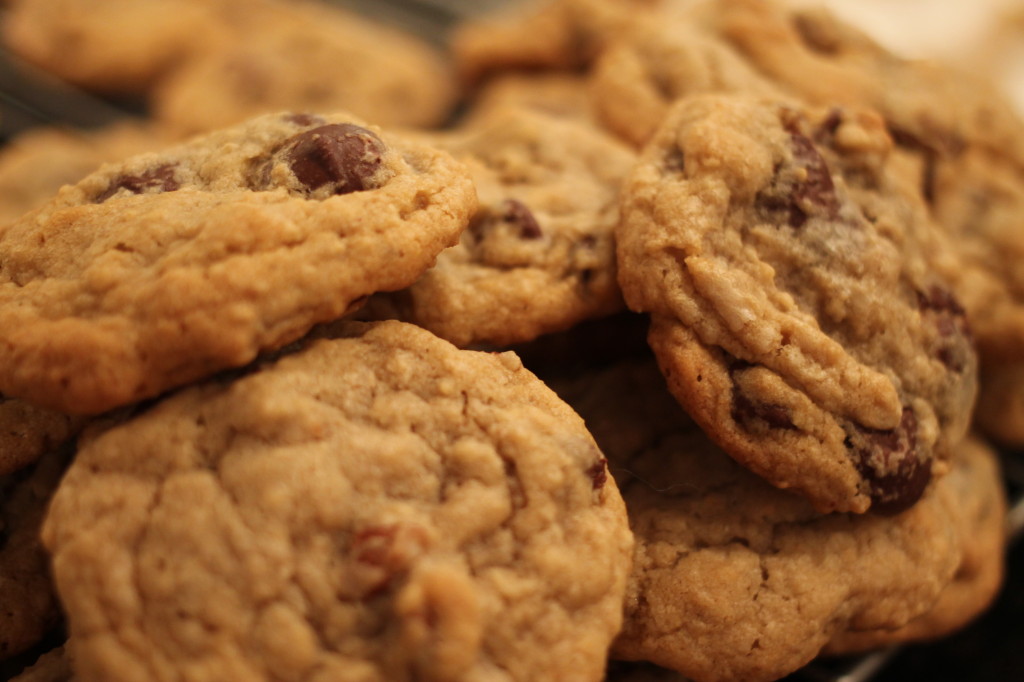
Chocolate chip oatmeal cookies

 And one last thing…

It’s been a long time, hasn’t it? I’ve been working on updating lolleighcooks! It seems when you go through major life changes, you want everything to look different…brighter and better. There’s still some work to be done here, well really everywhere, but I just couldn’t wait to get back to cooking, writing and reconnecting with my roots. Take a look around, read about me, the hilariously true stories and really good food (that is most of the time on the healthy side).

Take a gander, if you missed the latest…The Pie To End All Pies

signature


The pie to end all pies

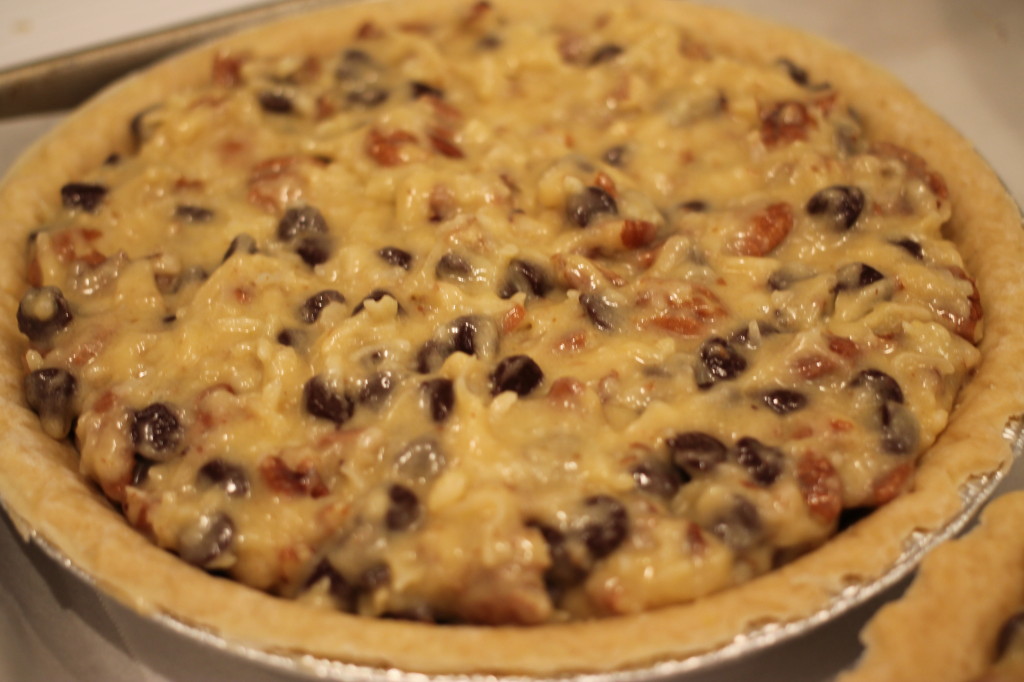
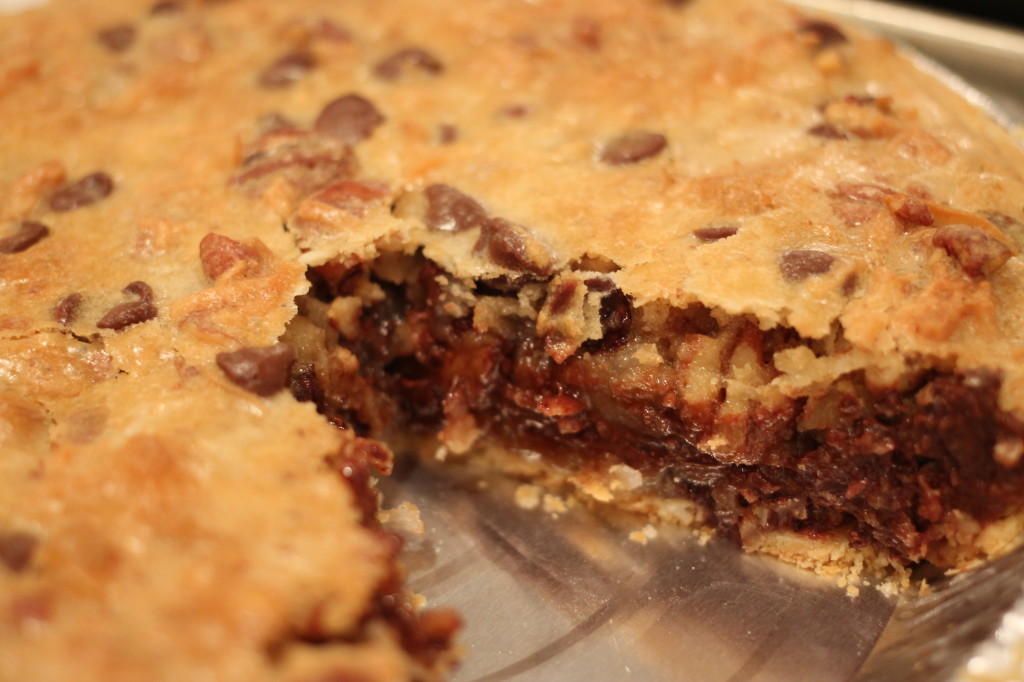
Coconut Derby Pie

IMG_0162

 Oh, how my Nana loved Thanksgiving. For her, it was quite the affair and each year she would out do her self from the previous year. Of course, there were the ever evolving cheese balls to snack on, one year she sent formal invitations to us all but the year of all years was a doozie!

See Nana loved a good casserole and there would easily be a half dozen different varieties at the Thanksgiving table. As usual, I bounced into her kitchen to see what assortment of casseroles were in the line up. She whispered quietly to me…”Darrrrling…I do believe I lost a straight pin in one of these casseroles”. So everyone gathered around a lovely table, ready with plates full of those casseroles, when Nana graciously informed her guest to keep an eye on their plates for that missing straight pin. That may have been the most scrutinized Thanksgiving meal ever eaten.

So in lieu of sharing a casserole for your Thanksgiving table, I’m giving you the pie of all pies (straight pin not included). The first time I ever tasted this pie, it was delivered hot to my door in a pie box, yes a pie box, by a dear friend and she kindly shared the recipe. The only other person I have shared this recipe with is my sister. She routinely brings it to Thanksgiving claiming all the glory of this pie. So it will be just between us if you do the same thing. Like I said, it’s the pie to end all pies. Enjoy!

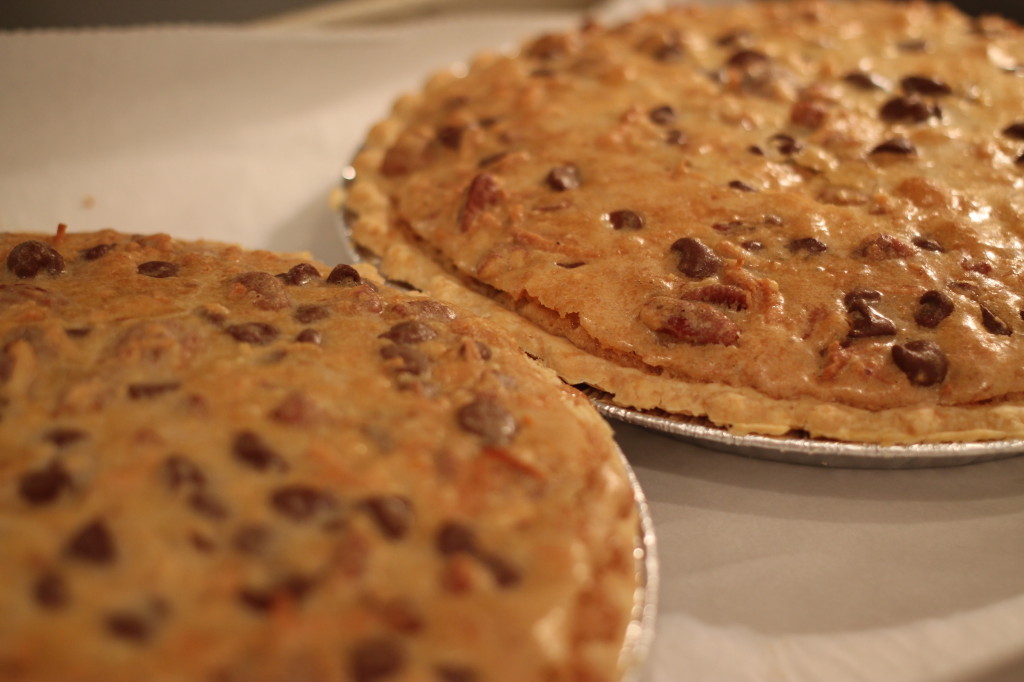
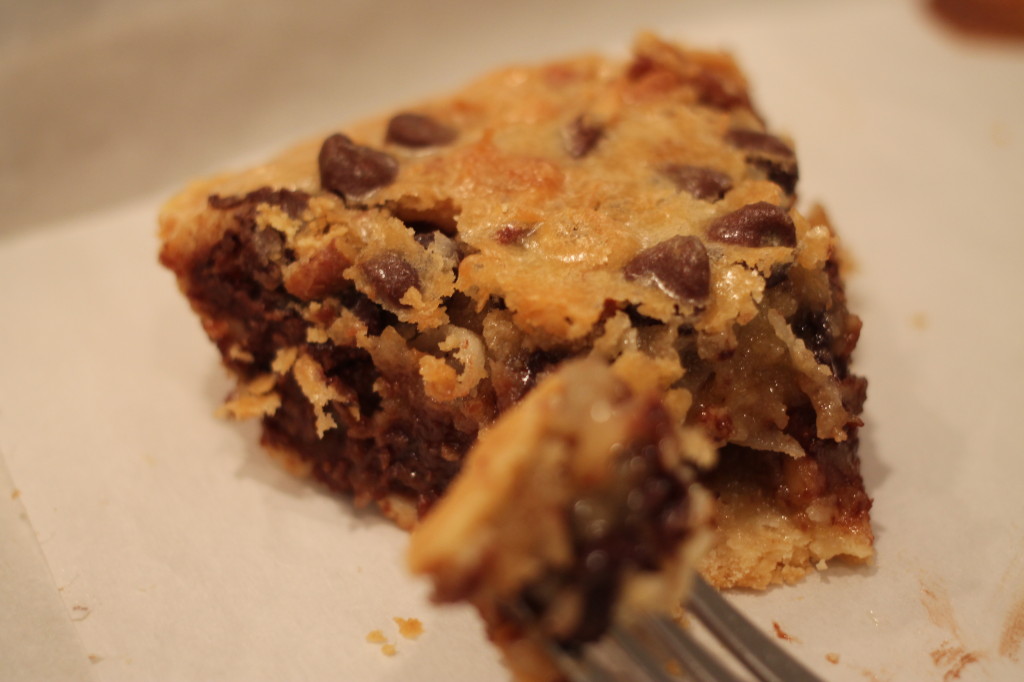
Coconut Derby Pie
The pie of all pies. Chocolate chips, pecans and coconut.
Write a review
Print
Ingredients
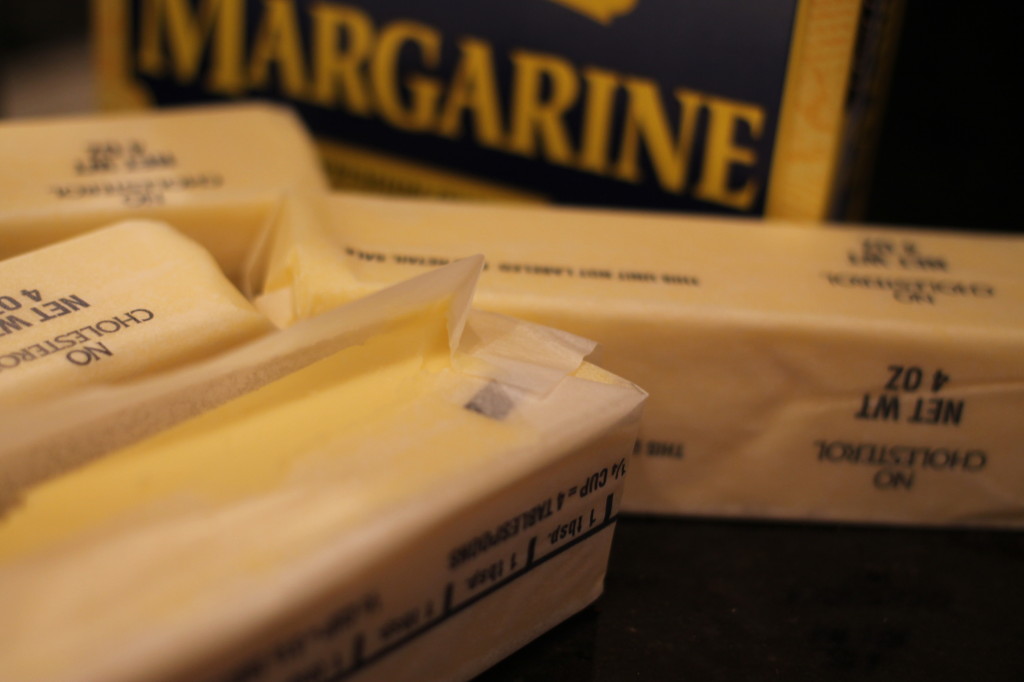
  1. 1 stick margarine, melted ( yes margarine)
  2. 1 cup sugar
  3. 2 eggs
  4. 1 tsp vanilla extract
  5. 1/2 cup all purpose flour
  6. 1 cup chocolate chips
  7. 1 cup pecan pieces
  8. 1 cup coconut
Instructions
  1. Preheat oven to 350
  2. Melt margarine in a large bowl
  3. Add sugar, flour, eggs and vanilla then combine until smooth
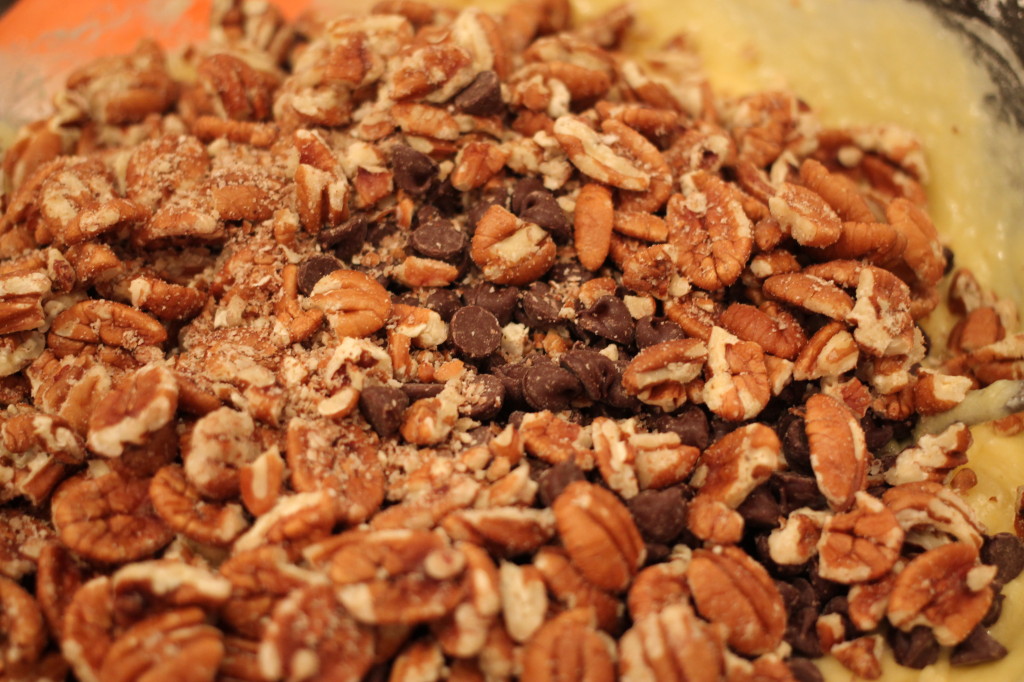
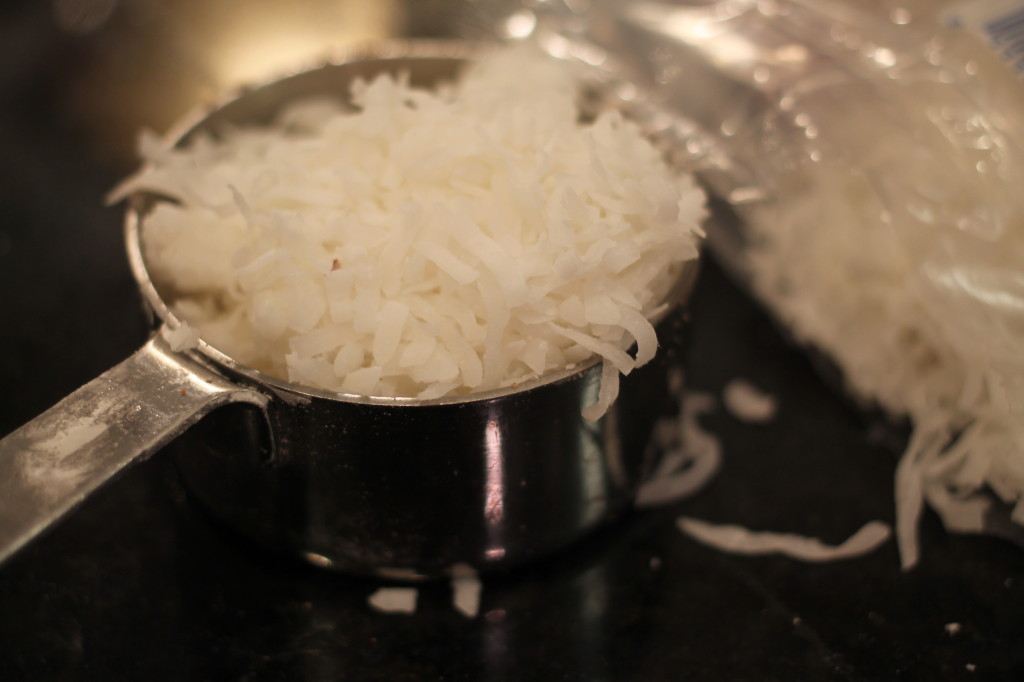
  4. Stir in chocolate chips, pecans and coconut
  5. Pour into a pie crust and place on a cookie sheet
  6. Bake for 40-45 until pie is golden brown and the center is set
Notes
  1. I almost always use a frozen pre-made pie crust for this recipe. I let the pie crust thaw a bit while I am getting the filling ready.
  2. Since two pie crusts come in a package, you can easily double the recipe.
http://lolleighcooks.com/
IMG_0148

IMG_0150

IMG_0154

IMG_0155

IMG_0157

IMG_0163 

Thanks for reading and sharing. It’s been fun getting lolleighcooks back up to speed and I look forward to sharing stories and recipes with y’all. We’re still a bit under construction with the site but I just couldn’t resist a Thanksgiving post!

Pucker Up Buttercup

Tart Frozen Yogurt

The first time I ever had tart frozen yogurt was on a mother-daughter trip to New York City. Mama and I had shopped till our feet were numb, there was some brief crying on Broadway in Midtown Manhattan but we were determined to make it to Bloomingdale’s. Like all Southern women, we forged ahead for the greater good, which was shopping the shoes at Bloomies!

We landed ourselves in Forty Carrots for an iced tea break and discovered tart frozen yogurt. As we sat, swollen feet and all, going on and on over this delicious treat. Out of the corner of my eye, not staring of course because that’s rude, I noticed a lady enjoying her iced tea and tart yogurt. She looked so familiar, all I could peg is that she was a Southern mama.

For the next few days, mama and I found ourselves at Forty Carrots enjoying our new-found gem, that tart frozen yogurt. Low and behold that same lady would be sitting right there minding her manners and enjoying that yogurt too! It was Celia Weston, an actress that has built a career on playing Southern mama’s.


Recipe:

1 1/2 cup 0% Fage Greek yogurt

3/4 cup 2% Fage Greek yogurt

1/2 cup sugar

1/2 cup water

1/2 cup buttermilk

2 tbsp light Karo syrup

In a small bowl, stir together sugar and water. Microwave for 1 minute then stir to make sure sugar is dissolved. Add buttermilk, stirring well and set aside.

In a large bowl, combine yogurts, simple syrup mixture and Karo syrup. Whisk until well blended and smooth. Pour directly into ice cream maker and follow instructions for maker.

This Cuisinart Ice Cream Maker is one of my favorites. It is around $50 and you can usually find it at Macy’s or Williams-Sonoma. The best part is that it makes ice cream in just 20 minutes!

Best if served immediately.

I usually end a post with a few notes about the recipe but instead here are a few words of wisdom from my Southern mama:

Put some lipstick on, you need to brighten up your face.

Never wear white before Easter or after Labor Day.

It is never too soon to write a thank you note for anything.

No matter what, always keep a pleasant look on your face.

Always mind your manners no matter where you are.

King of the Road

Fried Corn

It must be a southern man thing… riding around. My granddaddy loved cars, loved to drive and lived life flying by the seat of his pants. When my mom was growing up, it was no big thing to hop in the car for a Sunday drive and wind up in Panama City Beach.

My dad was also notorious for getting us in the car on a Saturday afternoon and riding all over Tennessee. As we got older, my sister and I would crack up, as my dad wove through the back roads of his childhood for hours showing us his elementary school, where he grew up and commenting on the miles and miles of corn growing…it’s a beautiful thing!

Recipe:

12-15 ears fresh, sweet corn

2 tbsp butter

1/2 cup milk

1 tbsp sugar

salt and pepper

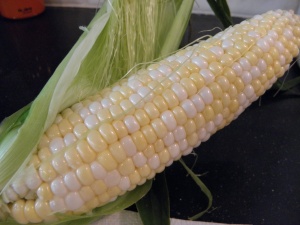
The best way to enjoy corn in the summer is to head straight to a farmer’s market and buy it right off the back of a truck. This corn was picked a 6 am and I bought it at 9. You can’t get any more fresh than that!

To shuck the corn, hold corn at the bottom and peel the husk back from the top, tearing away at the bottom of the ear of corn. Peel off the silk and the rinse under running, cold water. Wipe dry with a paper towel to remove any remaining silk.

Using a sharp knife, cut a small piece off of the top of the ear of corn. Stand flat side down in a shallow dish and run a knife down the ear of corn to remove kernels, scraping as close to the cob as possible.

In a large, heavy skillet melt butter over medium-high heat. Add corn and cook for about 5 minutes.

Add milk, season corn with salt and pepper. Reduce heat to medium-low and let simmer for 10-15 minutes. During the last 5 minutes of cooking, stir in sugar.

Notes:

Picking good corn is easy. Choose husks that are bright green and free of any dark brown patches or bruises. If you peel back the husk, the corn should be bright and juicy with no dried areas of corn.