
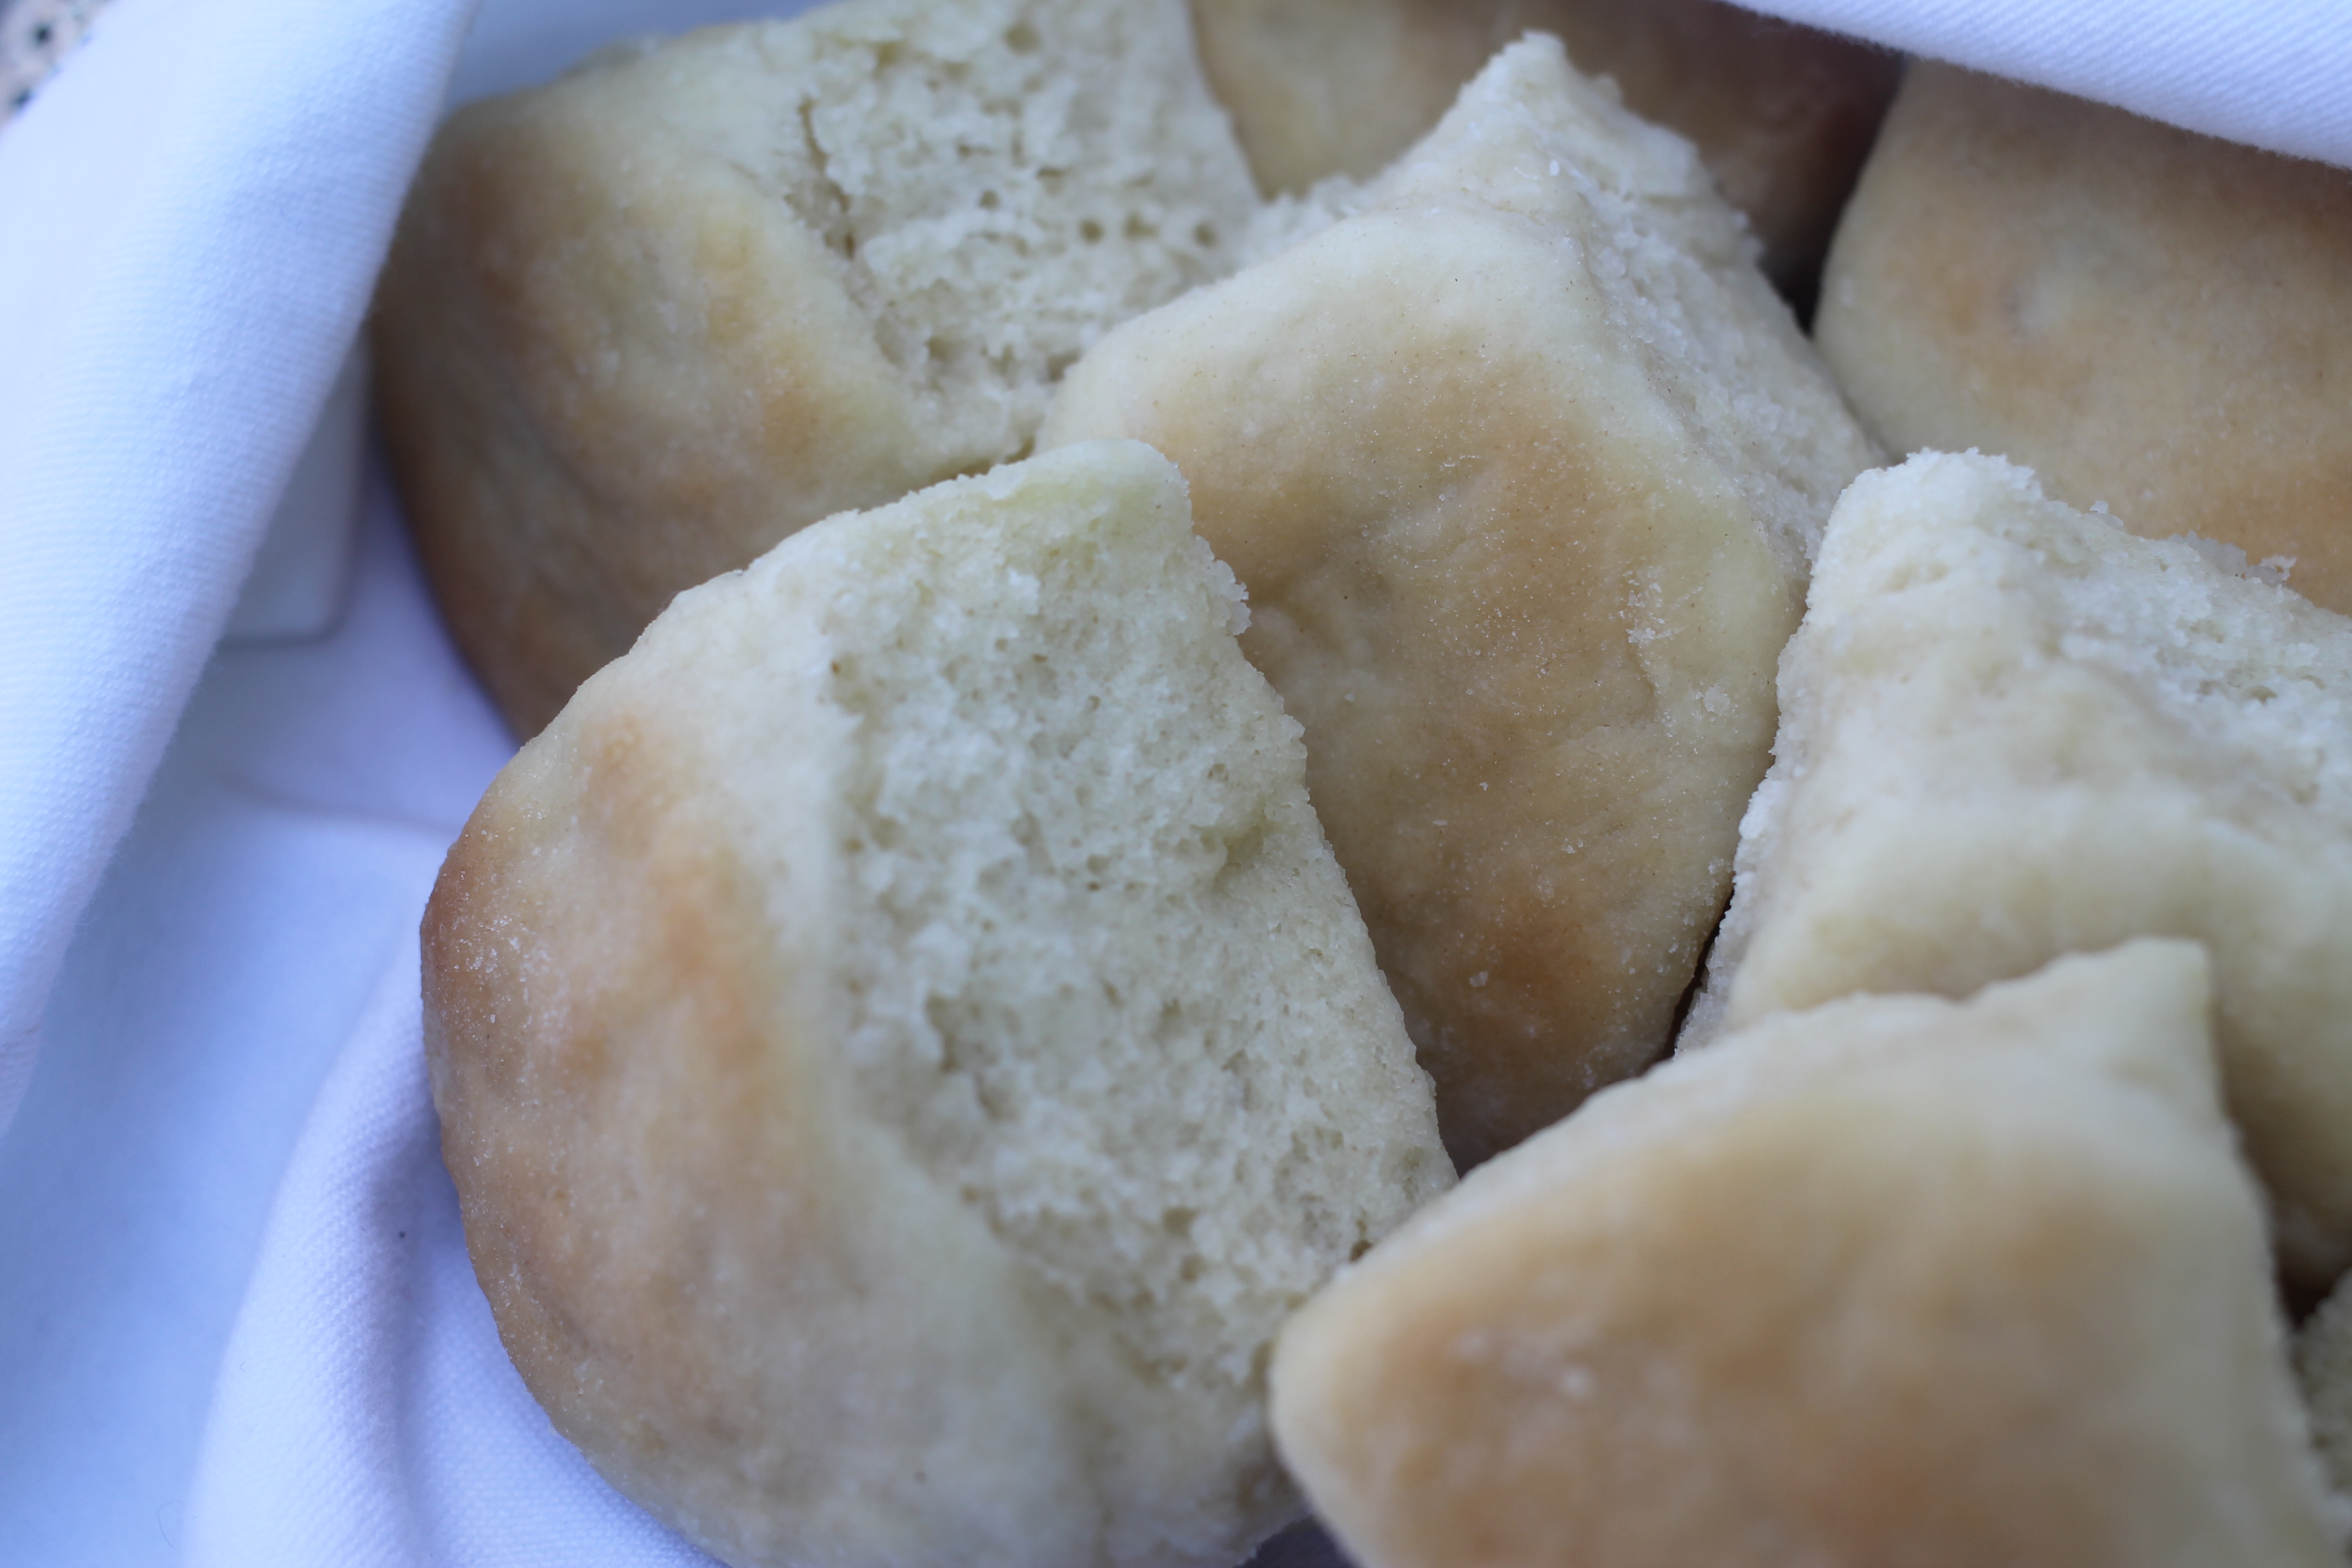
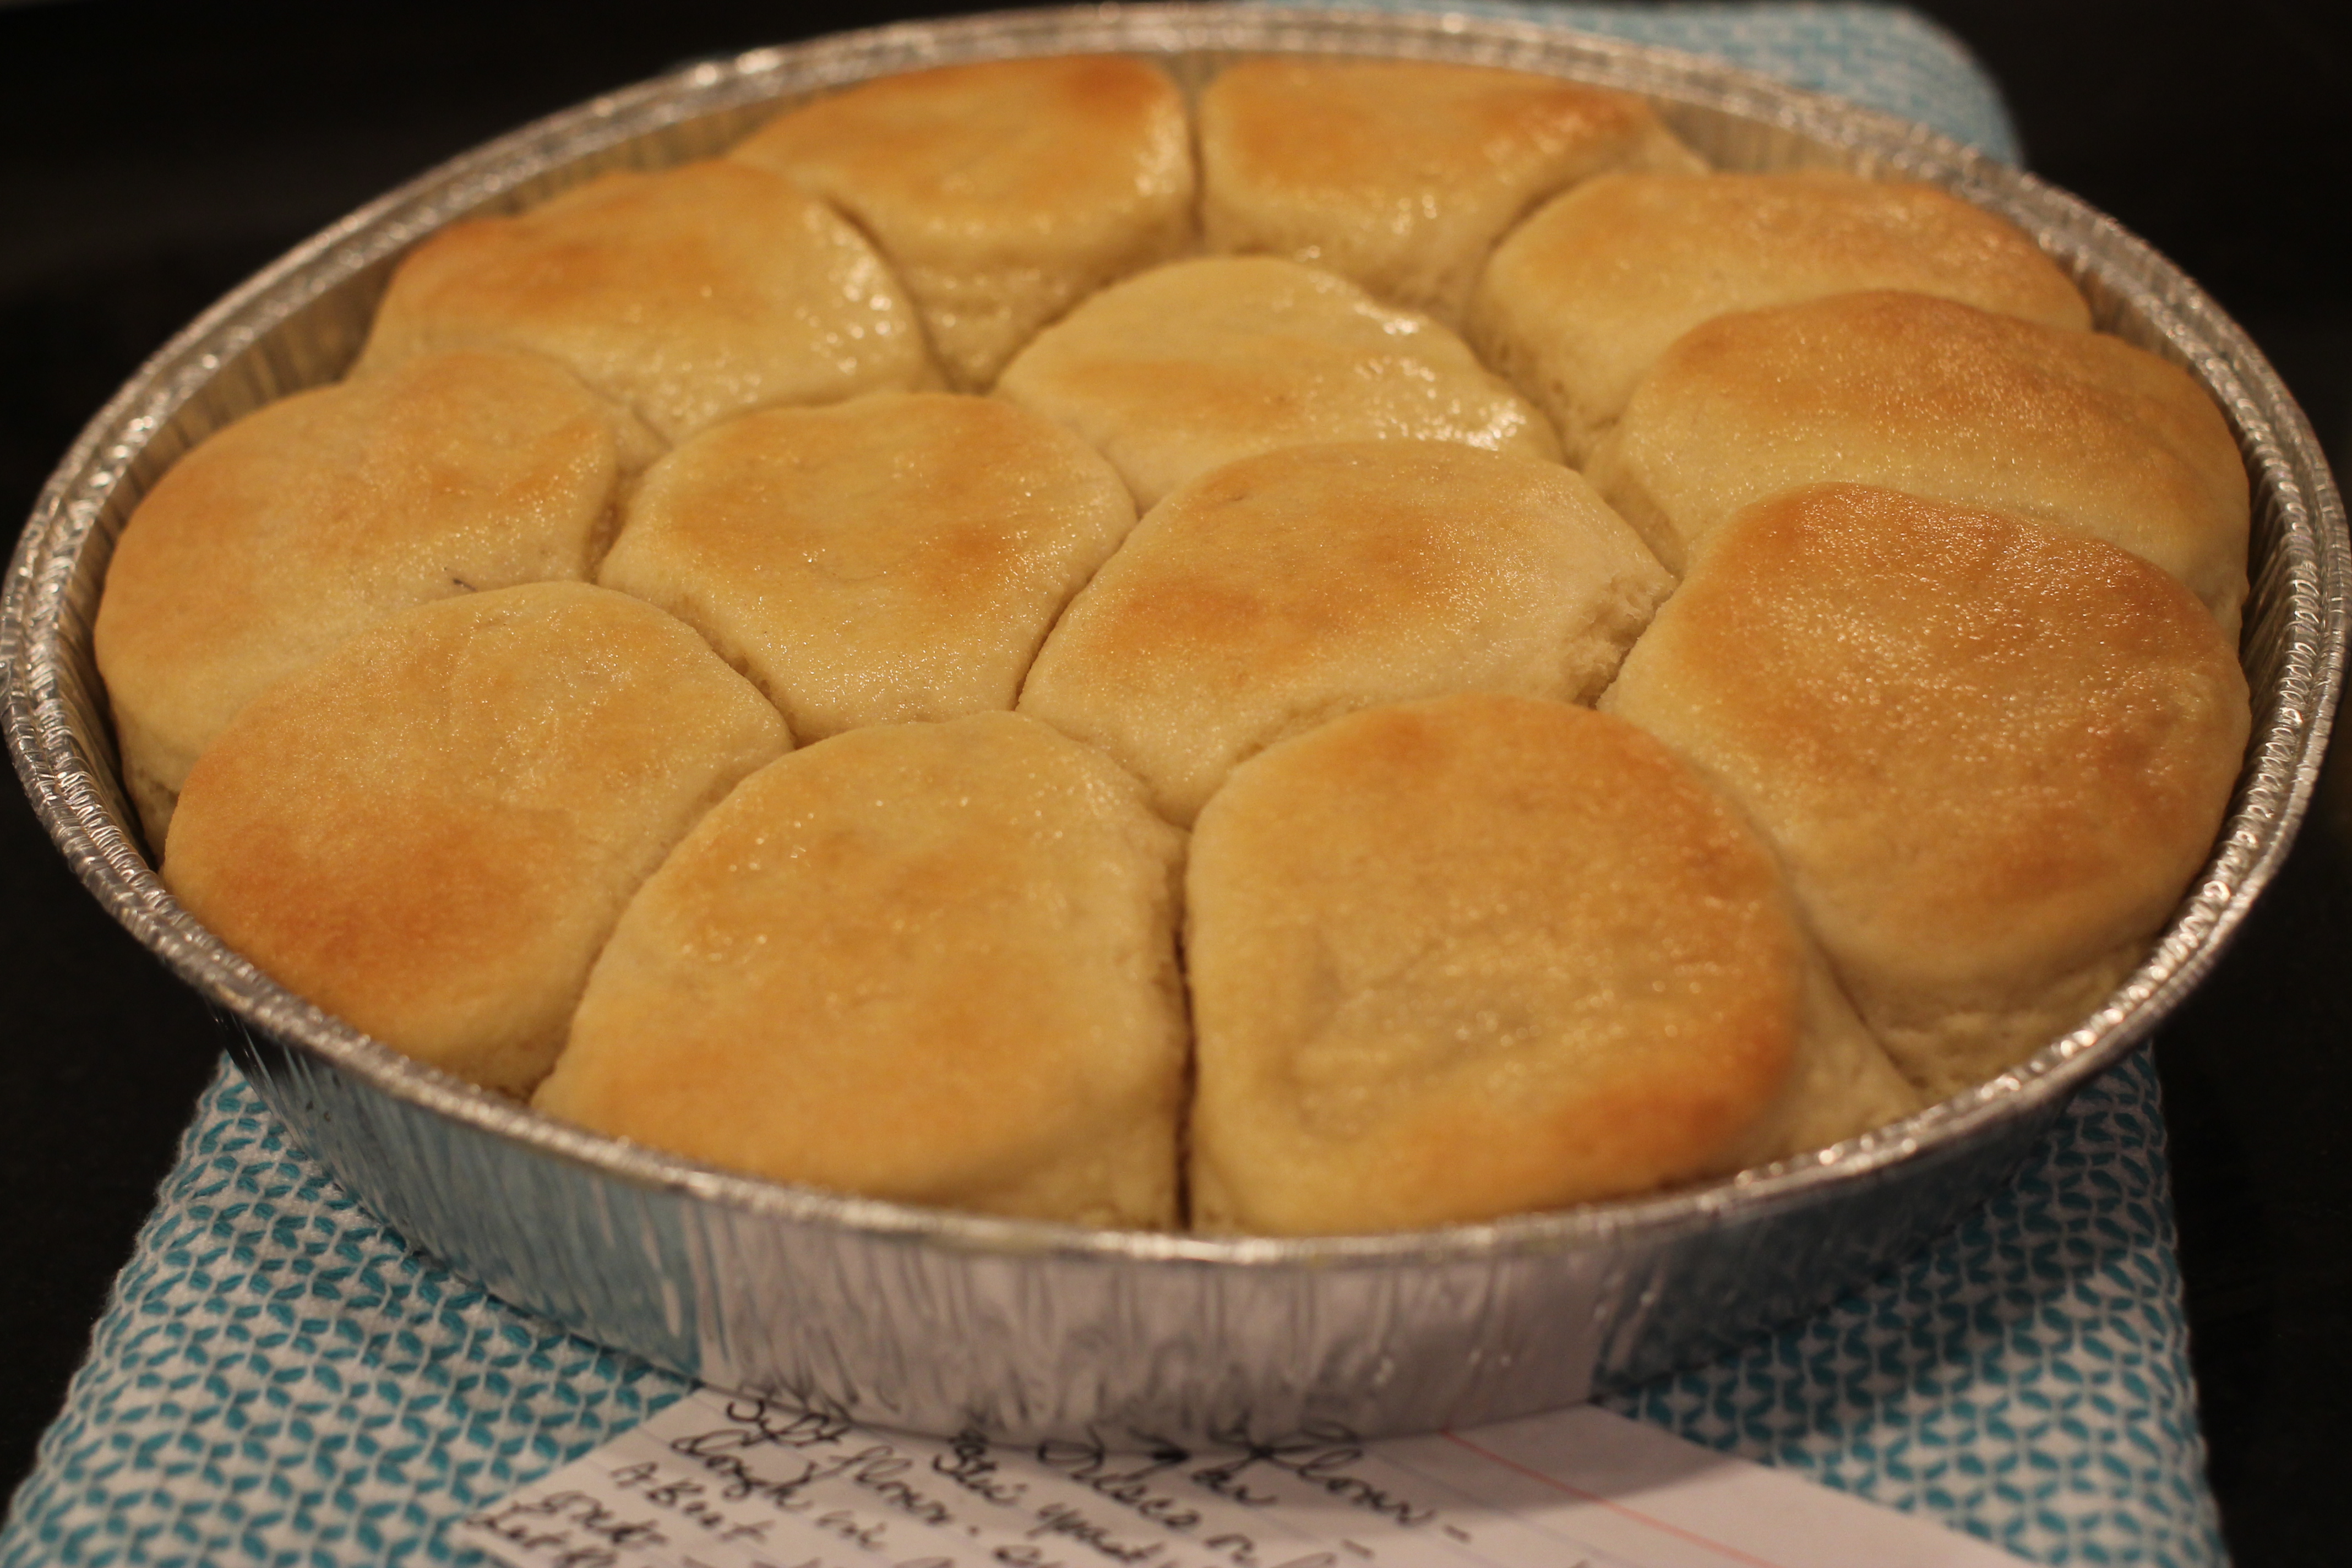
Grannie’s Yeast Rolls
That’s the spot in my Grannie’s kitchen…the place I spent hours perched on a little metal stool, learning that there’s an art to being a Grannie. Her house has a kind of magic to it. The stairs creak and are lined with old photos, there’s a buzzer in the floor under the dining room table that I still punch with my foot and a side porch draped in the shade of magnolia where I spent hours watching Grannie dig in the dirt with a silver spoon.
In her kitchen, we would talk and share stories, she’d let me sip her coffee with lots of cream and sugar while she made my grandfather’s favorite creamed potatoes, sneak her dog, Angel, pieces of ham and make pan after pan of yeast rolls. In all that time spent in Grannie’s kitchen, watching her every move, it never occurred to me that she hardly measured a thing when she was cooking, even when she made those rolls.
That’s just part of her art of being Grannie!

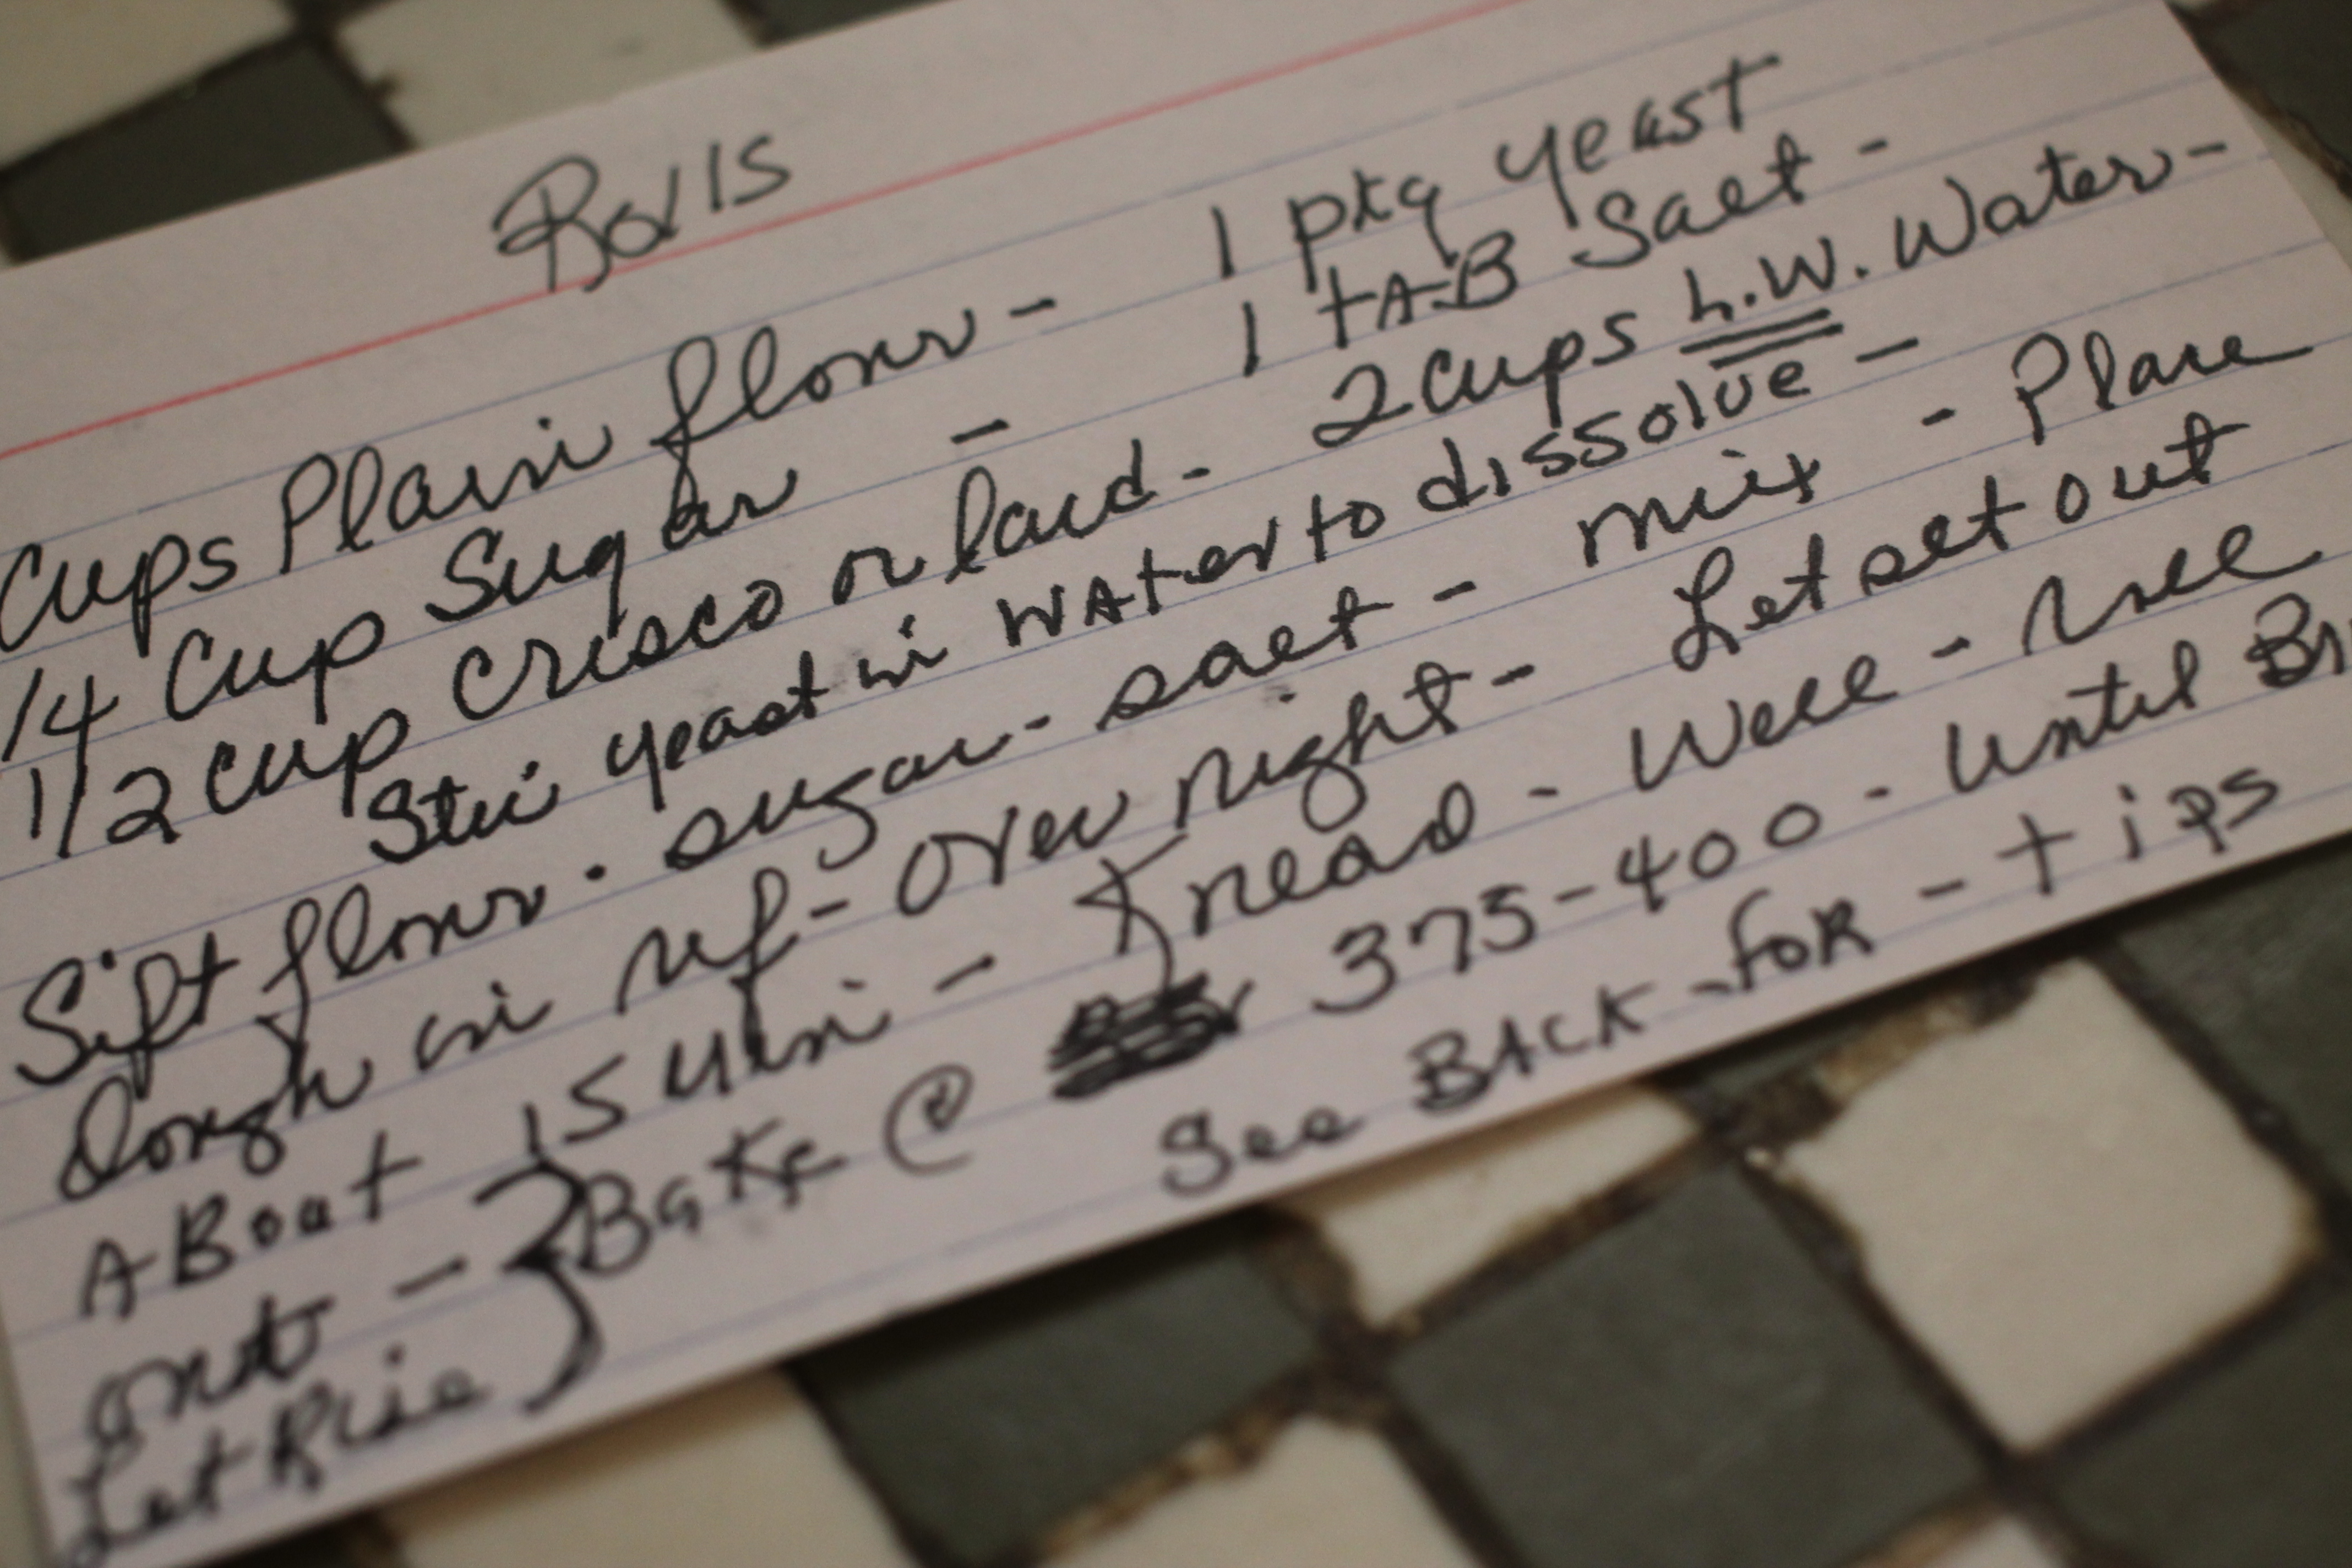
- 7 cups all-purpose flour
- 3/4 cup sugar
- 1/2 cup Crisco or lard
- 1 pkg yeast
- 1 tbsp salt
- 2 cups lukewarm water
- butter for pans and brushing tops of rolls
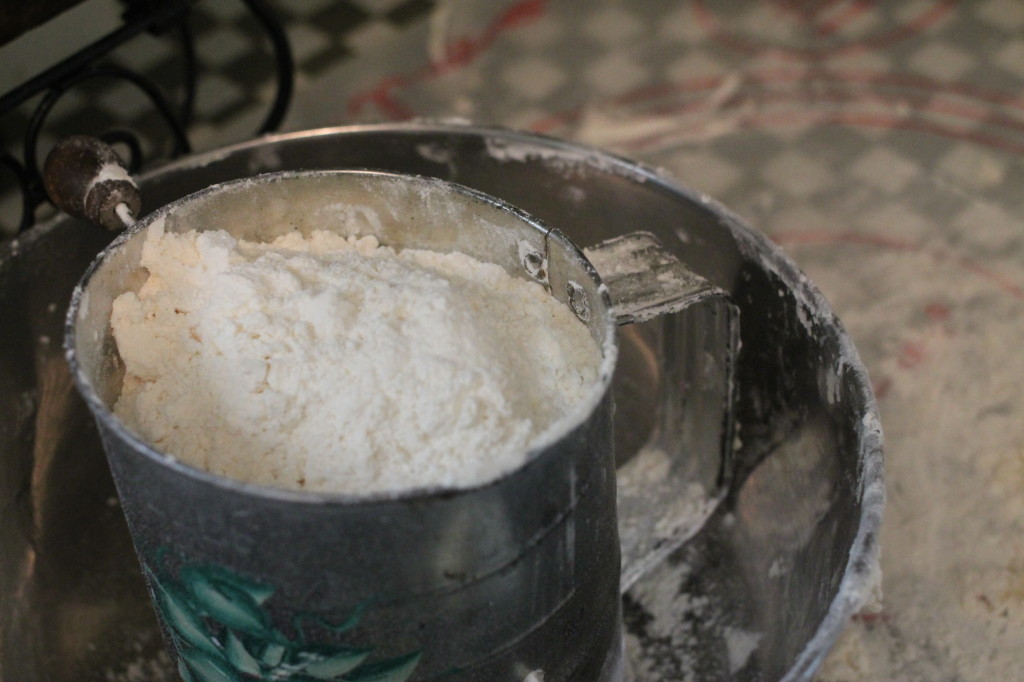
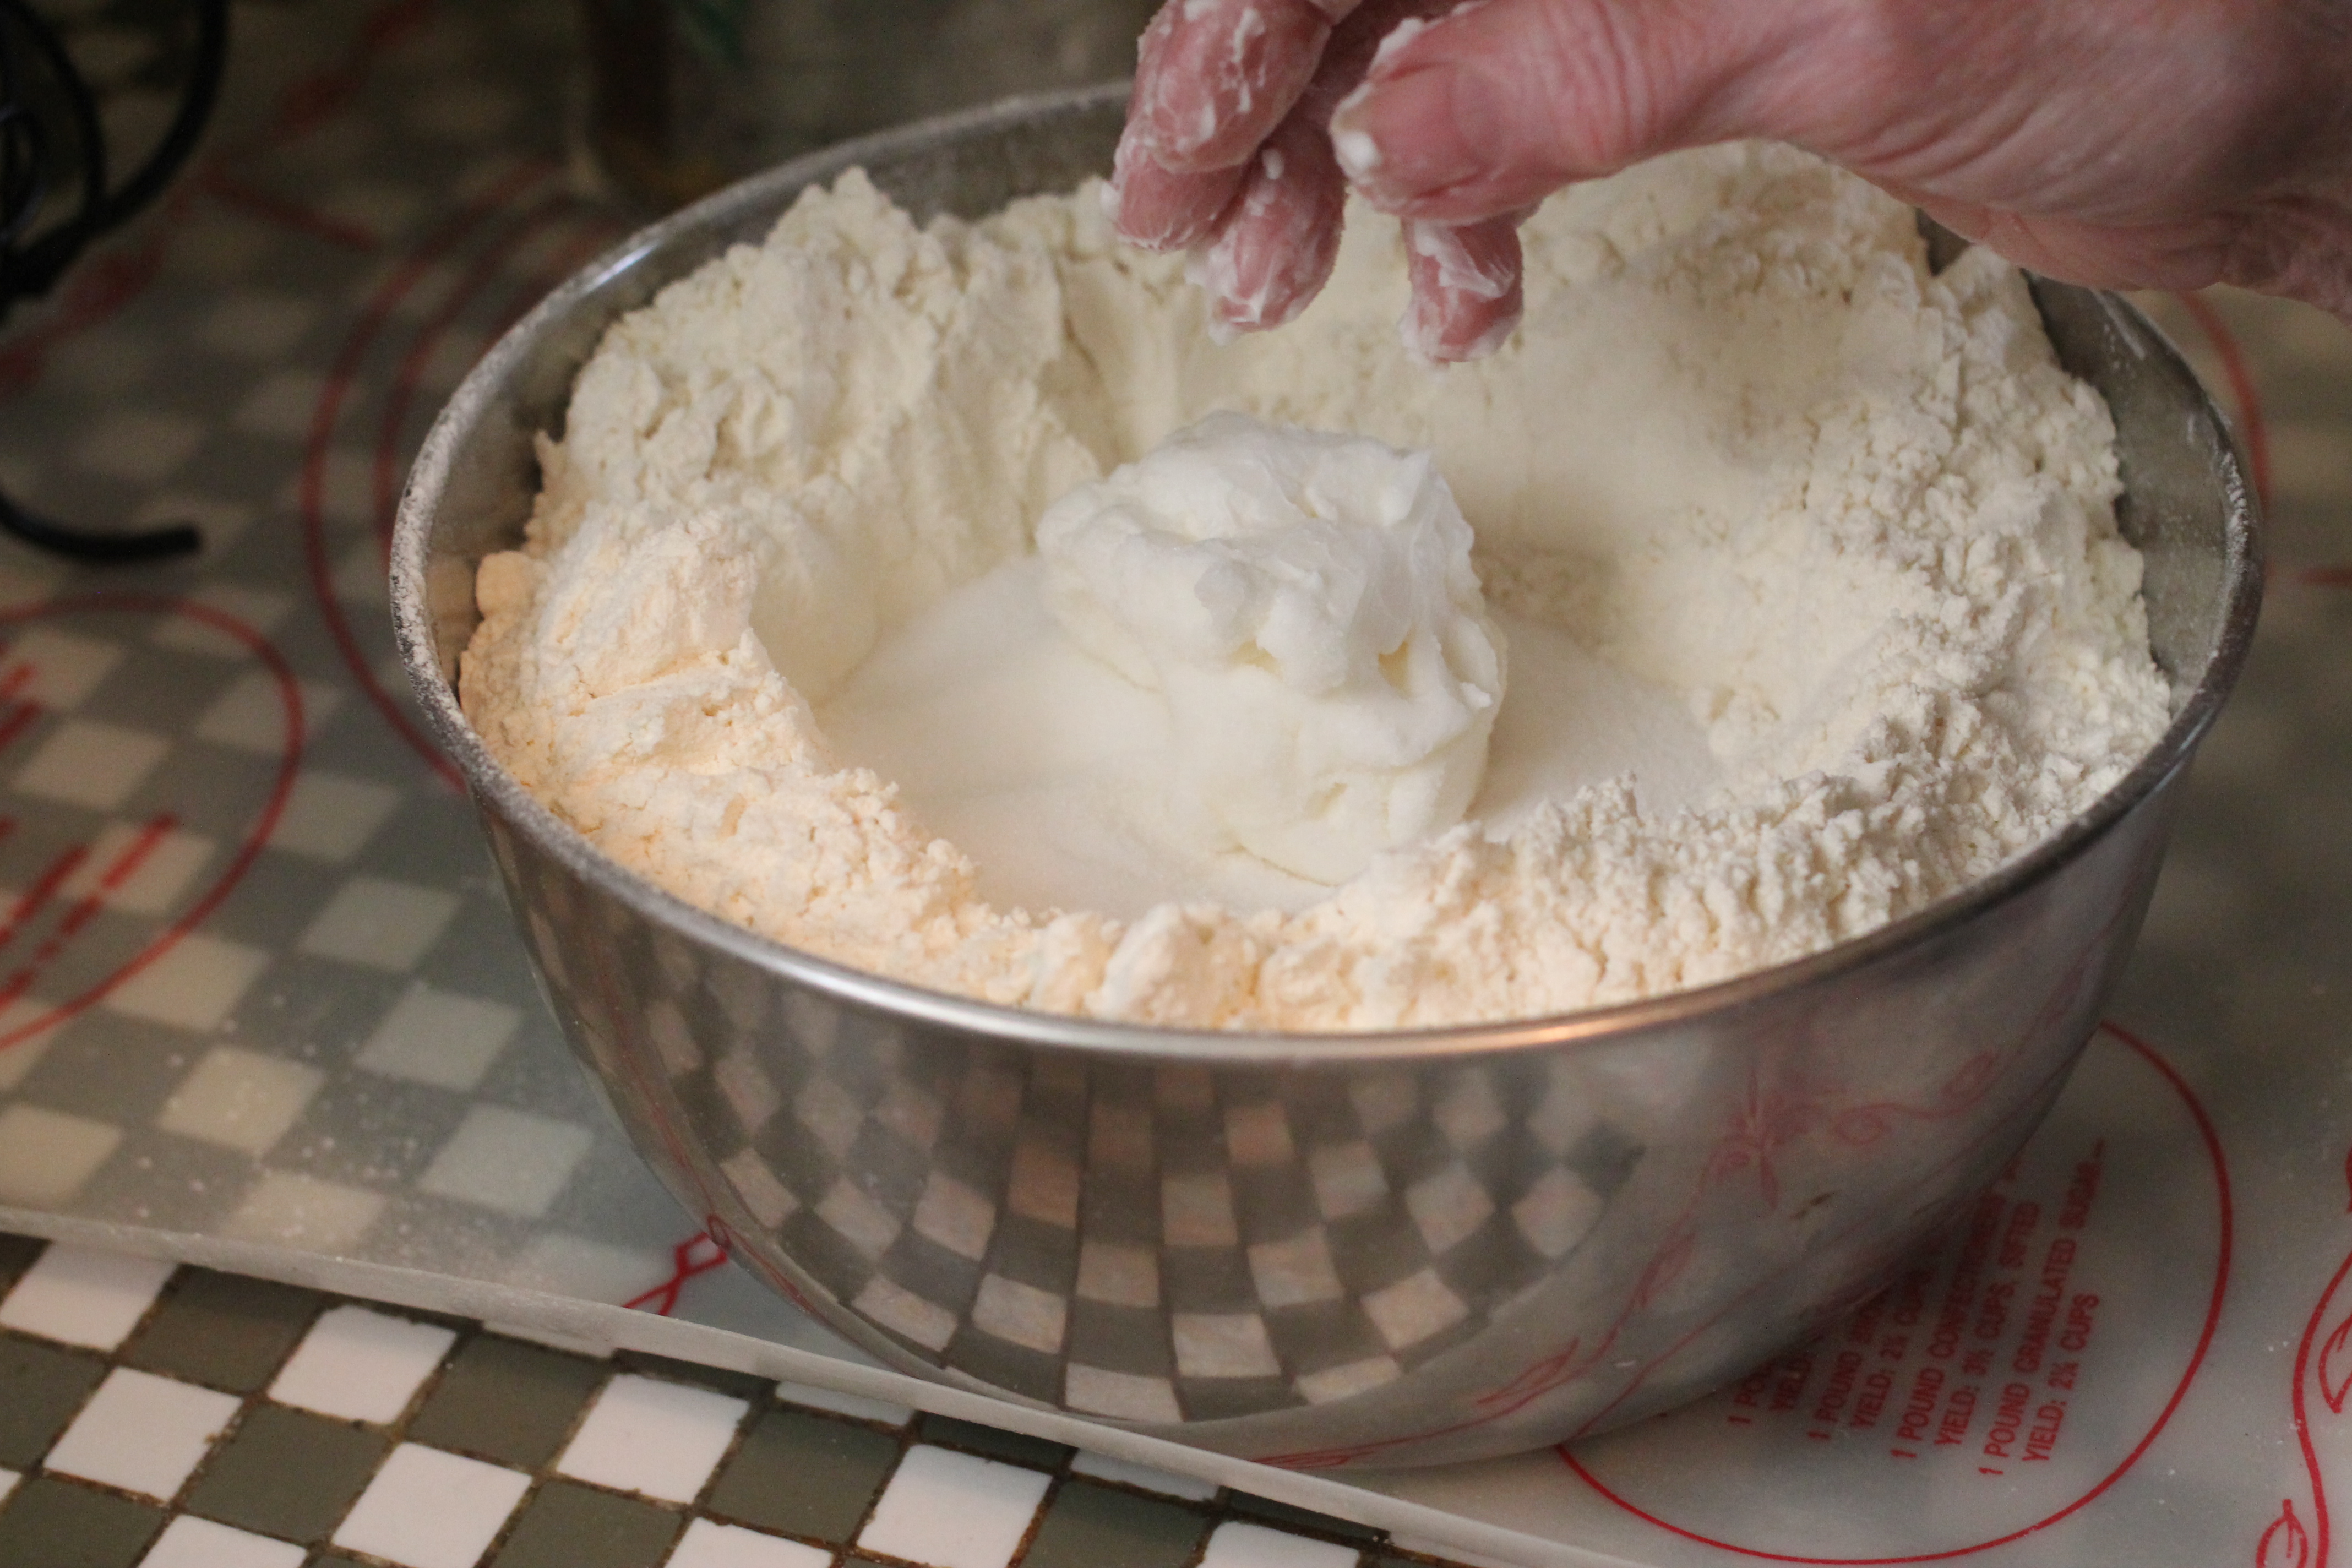
- Sift flour, sugar and salt;
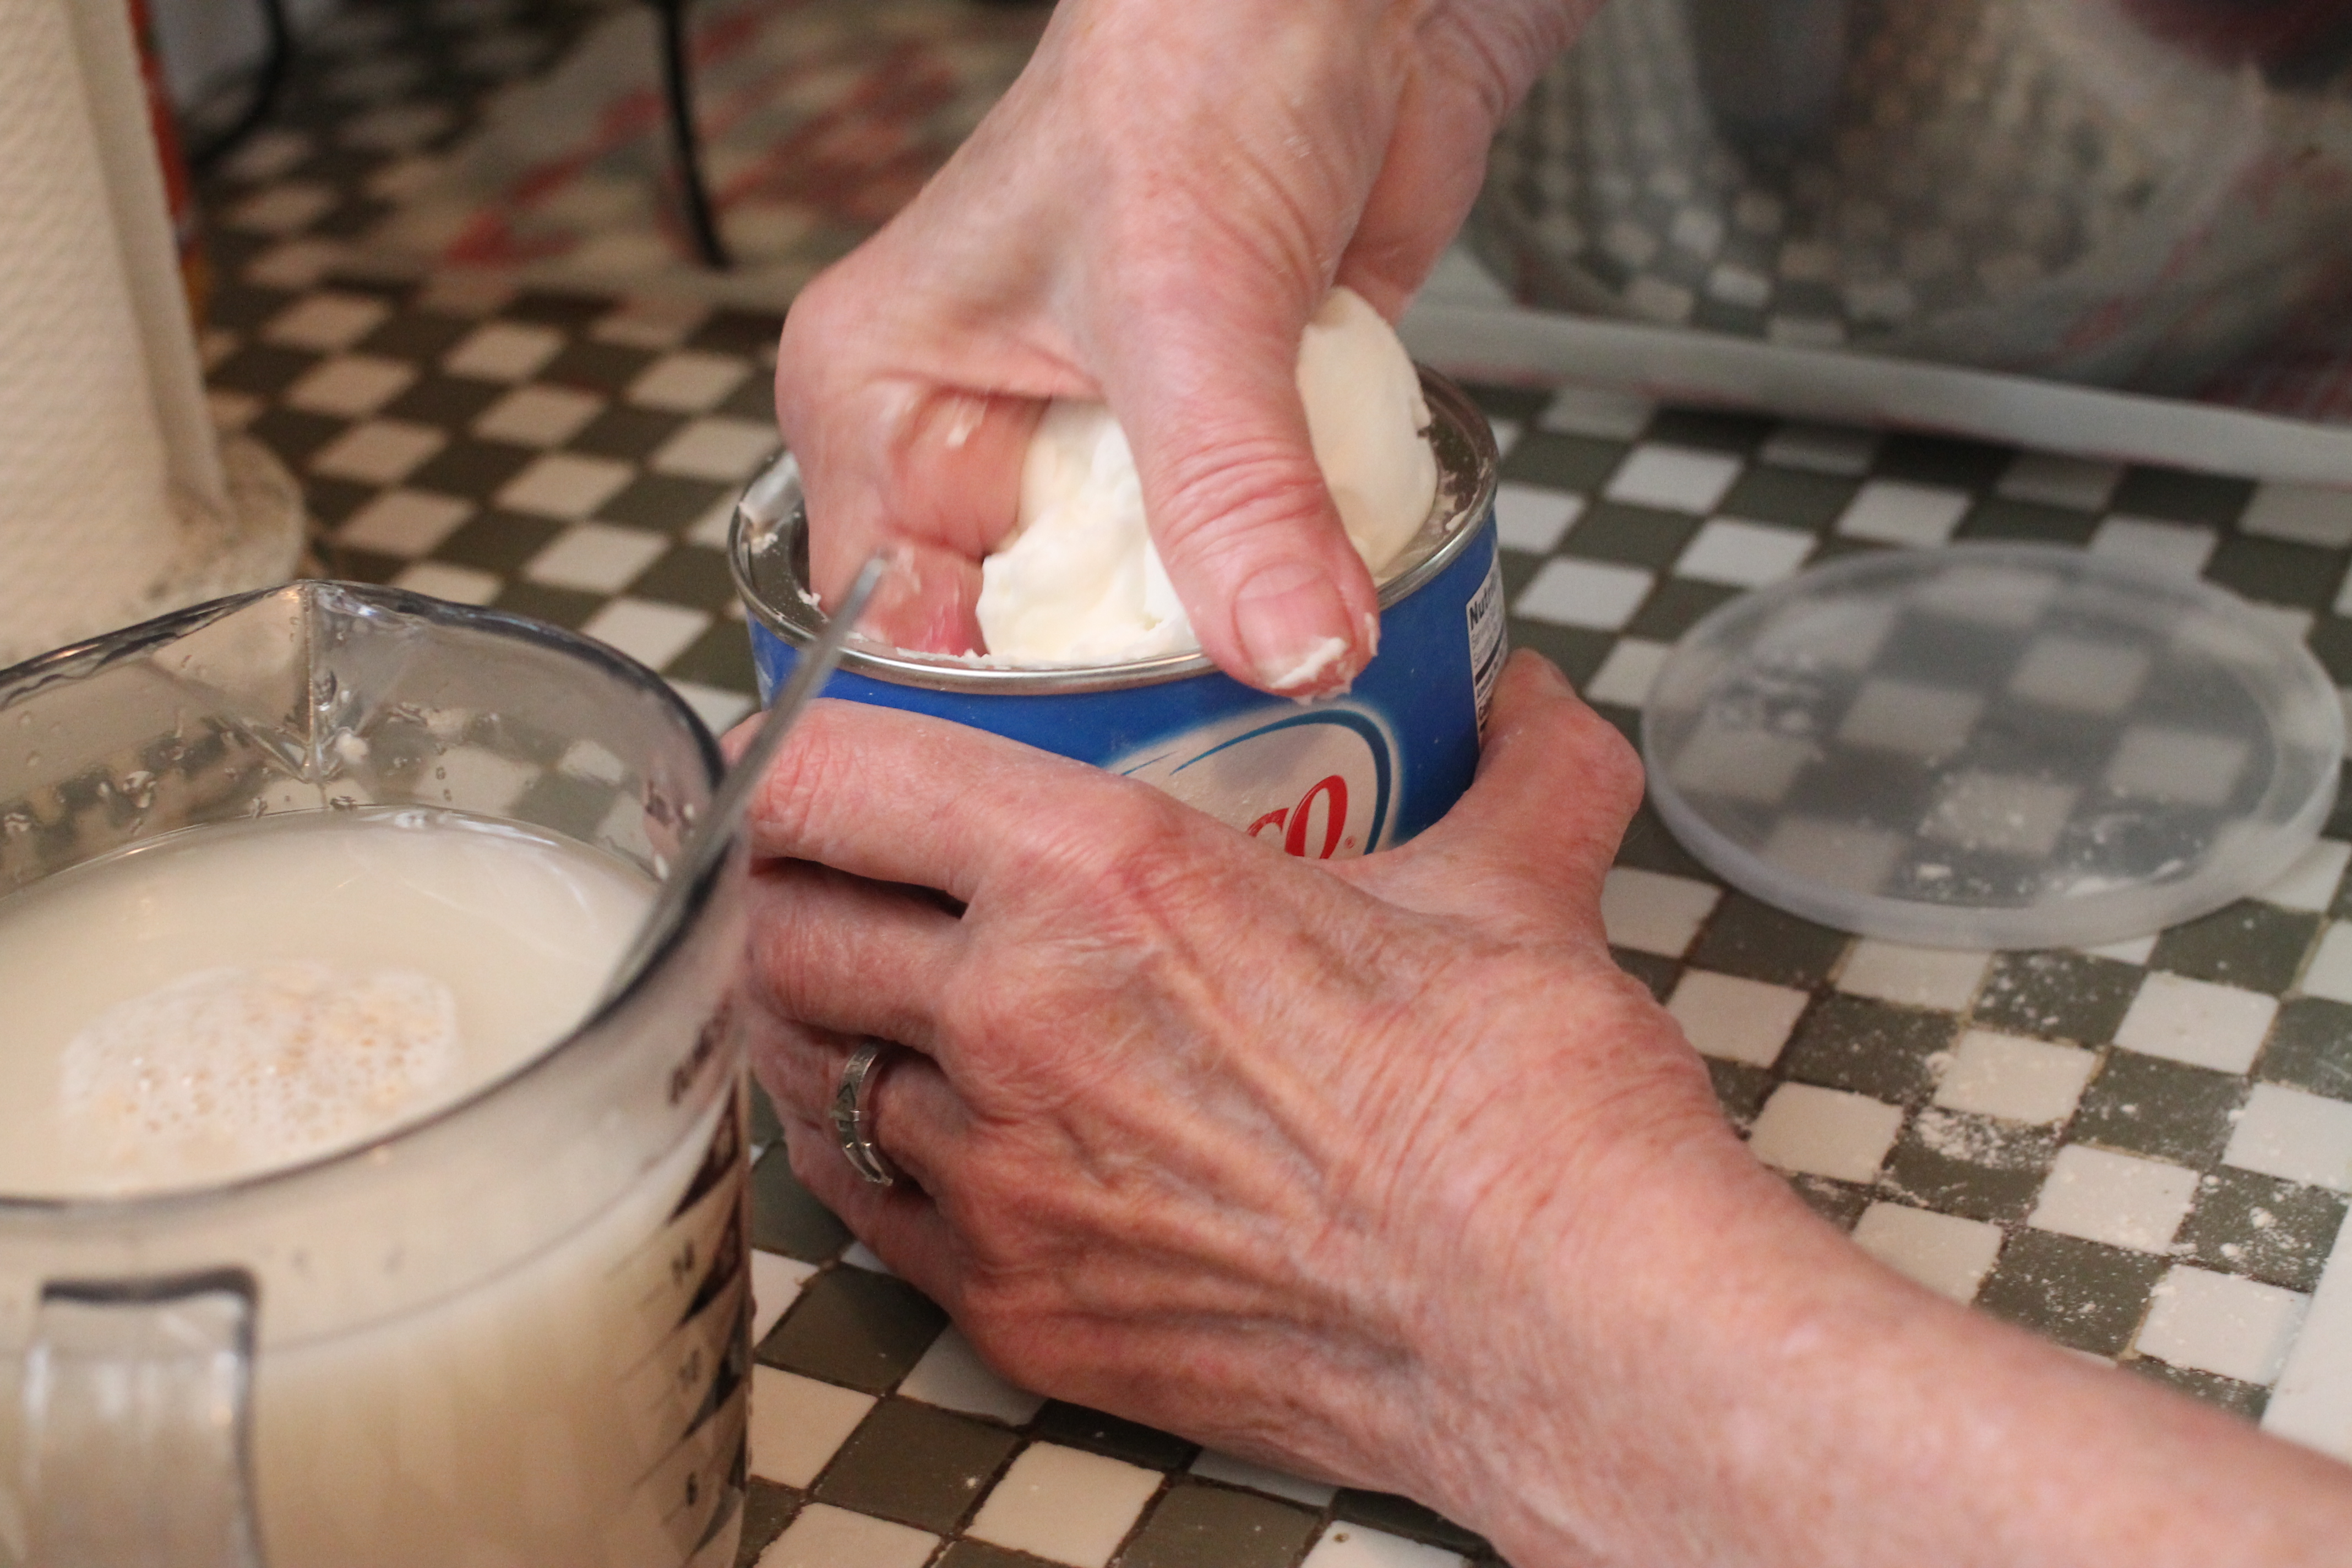
- Dissolve yeast in lukewarm water, should be the temperature of a baby's bottle and set aside;
- Make a well in the center of the flour mixture and drop Crisco in center of the well;
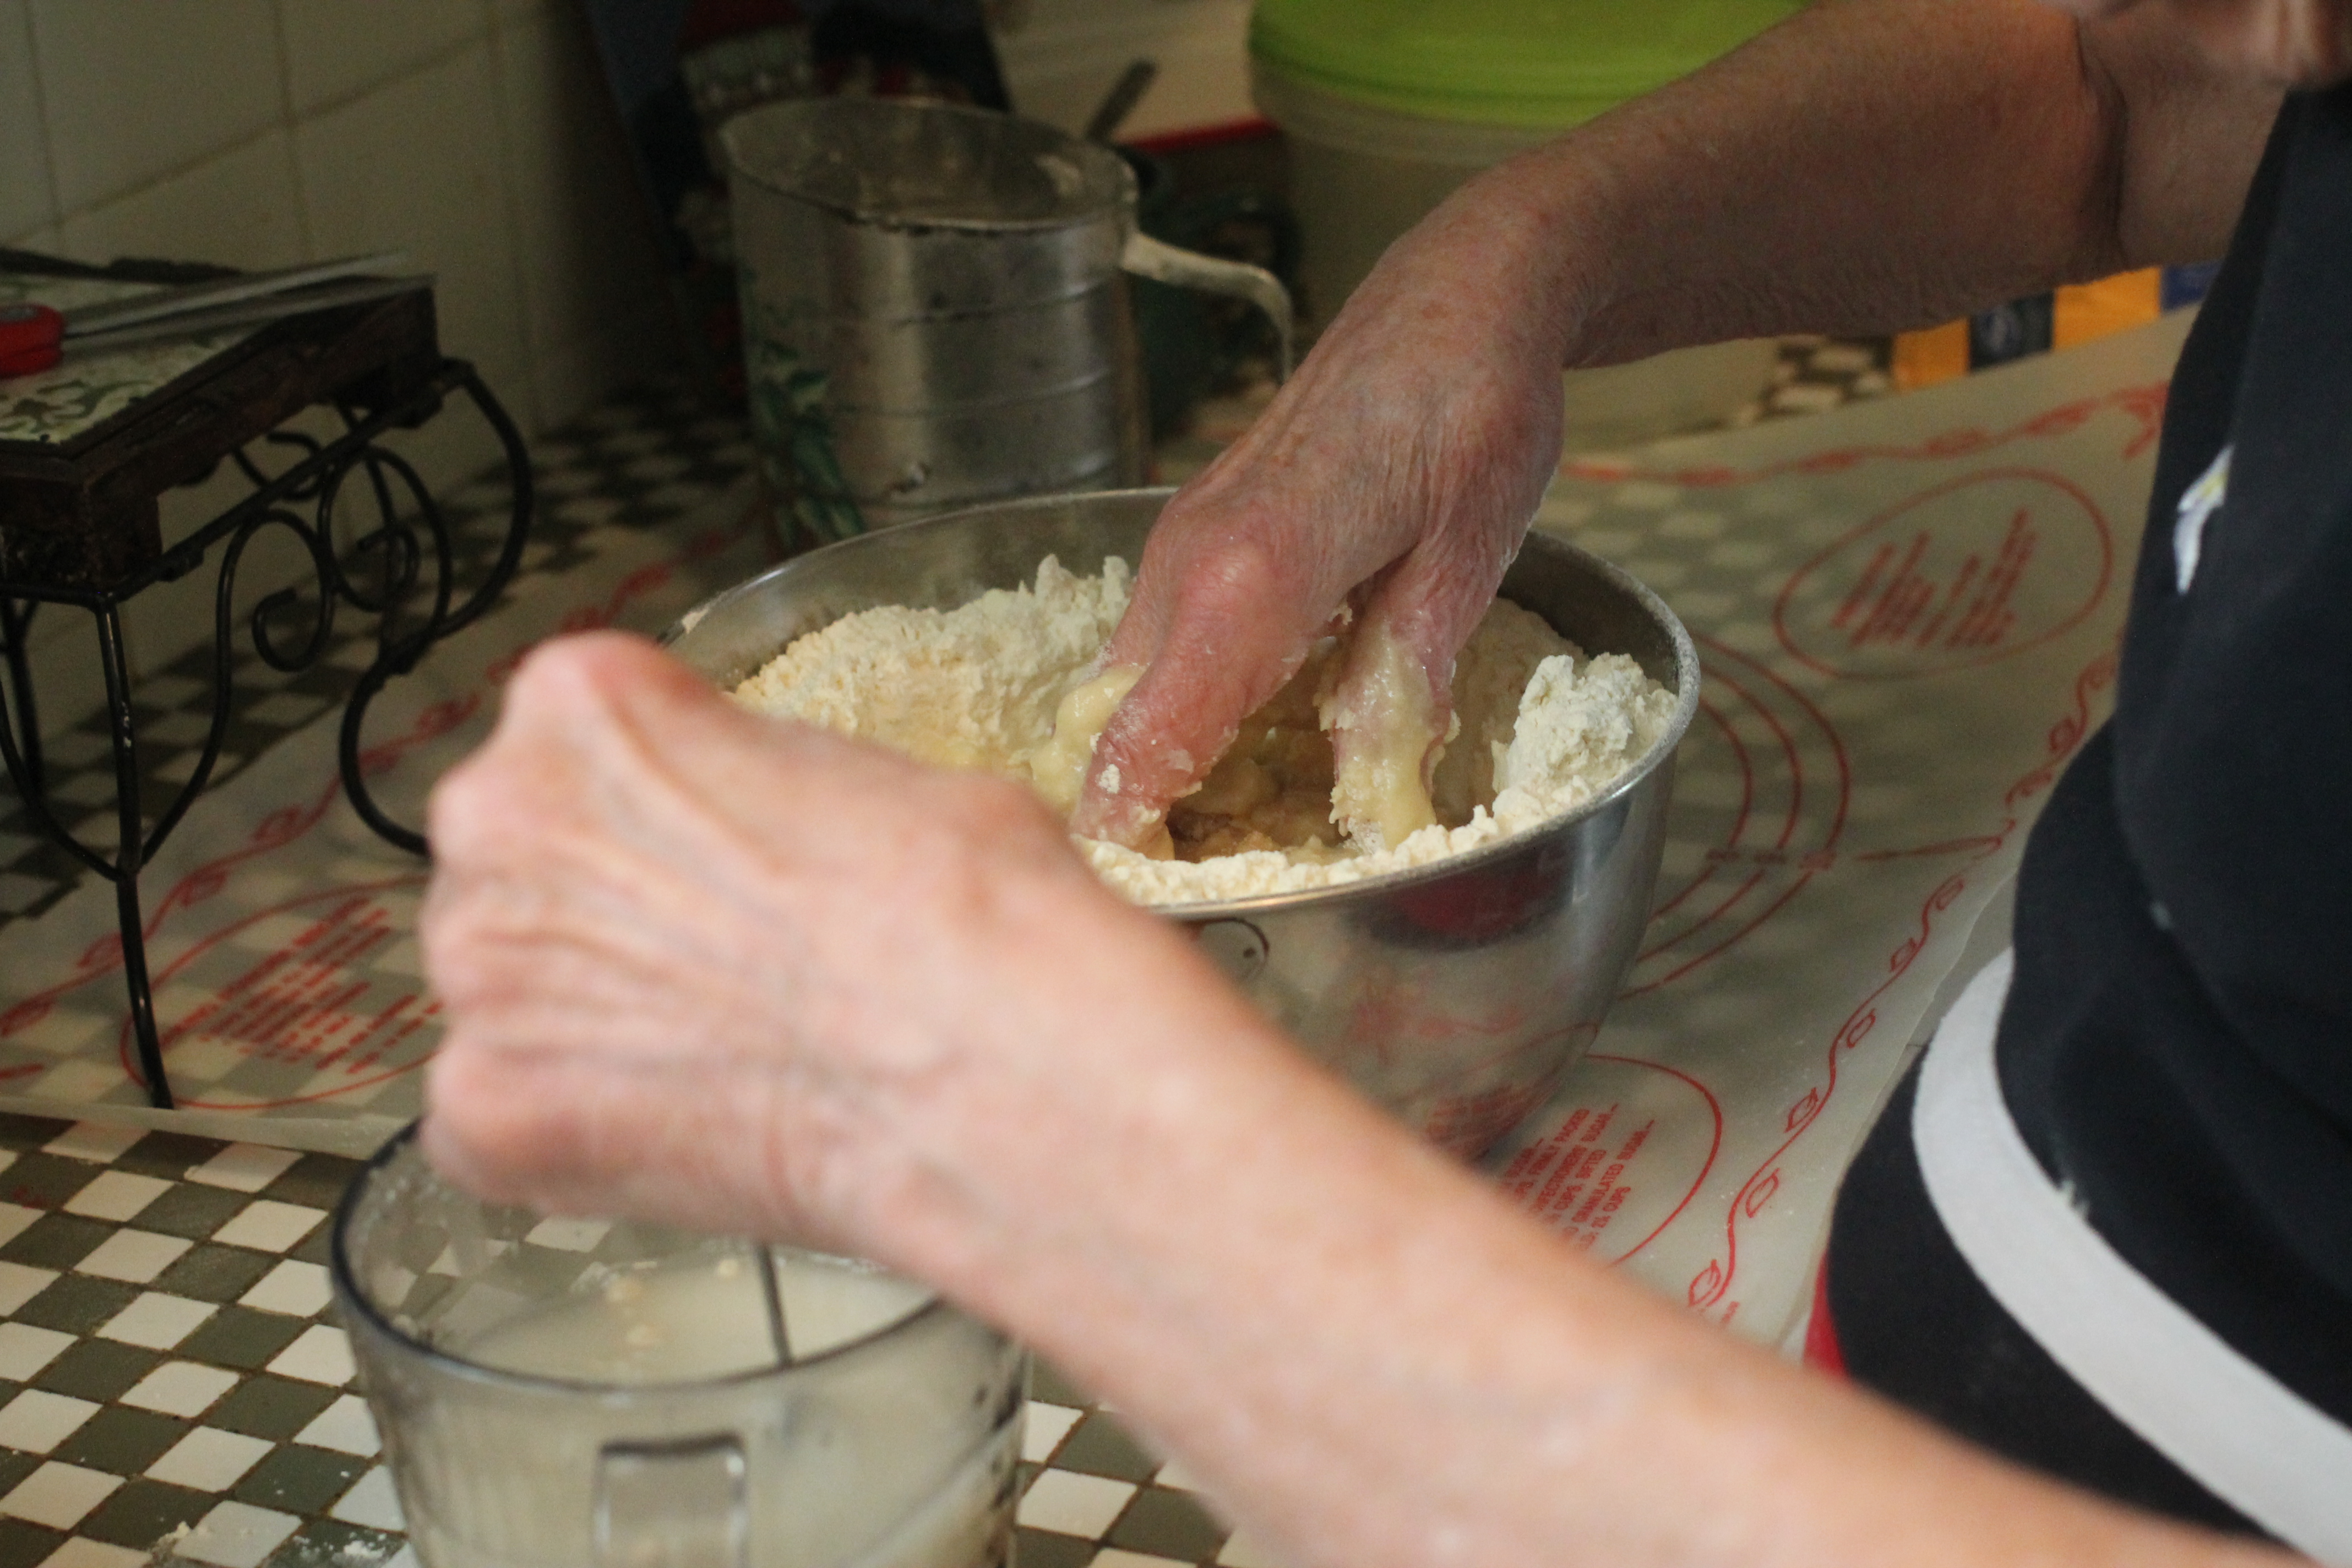
- Little by little, add water/yeast mixture and mix by hand;
- As you mix, you'll be pulling flour from the sides into the well, Grannie says that you usually don't use all the flour;
- She can tell by the consistency of the dough when it's ready;
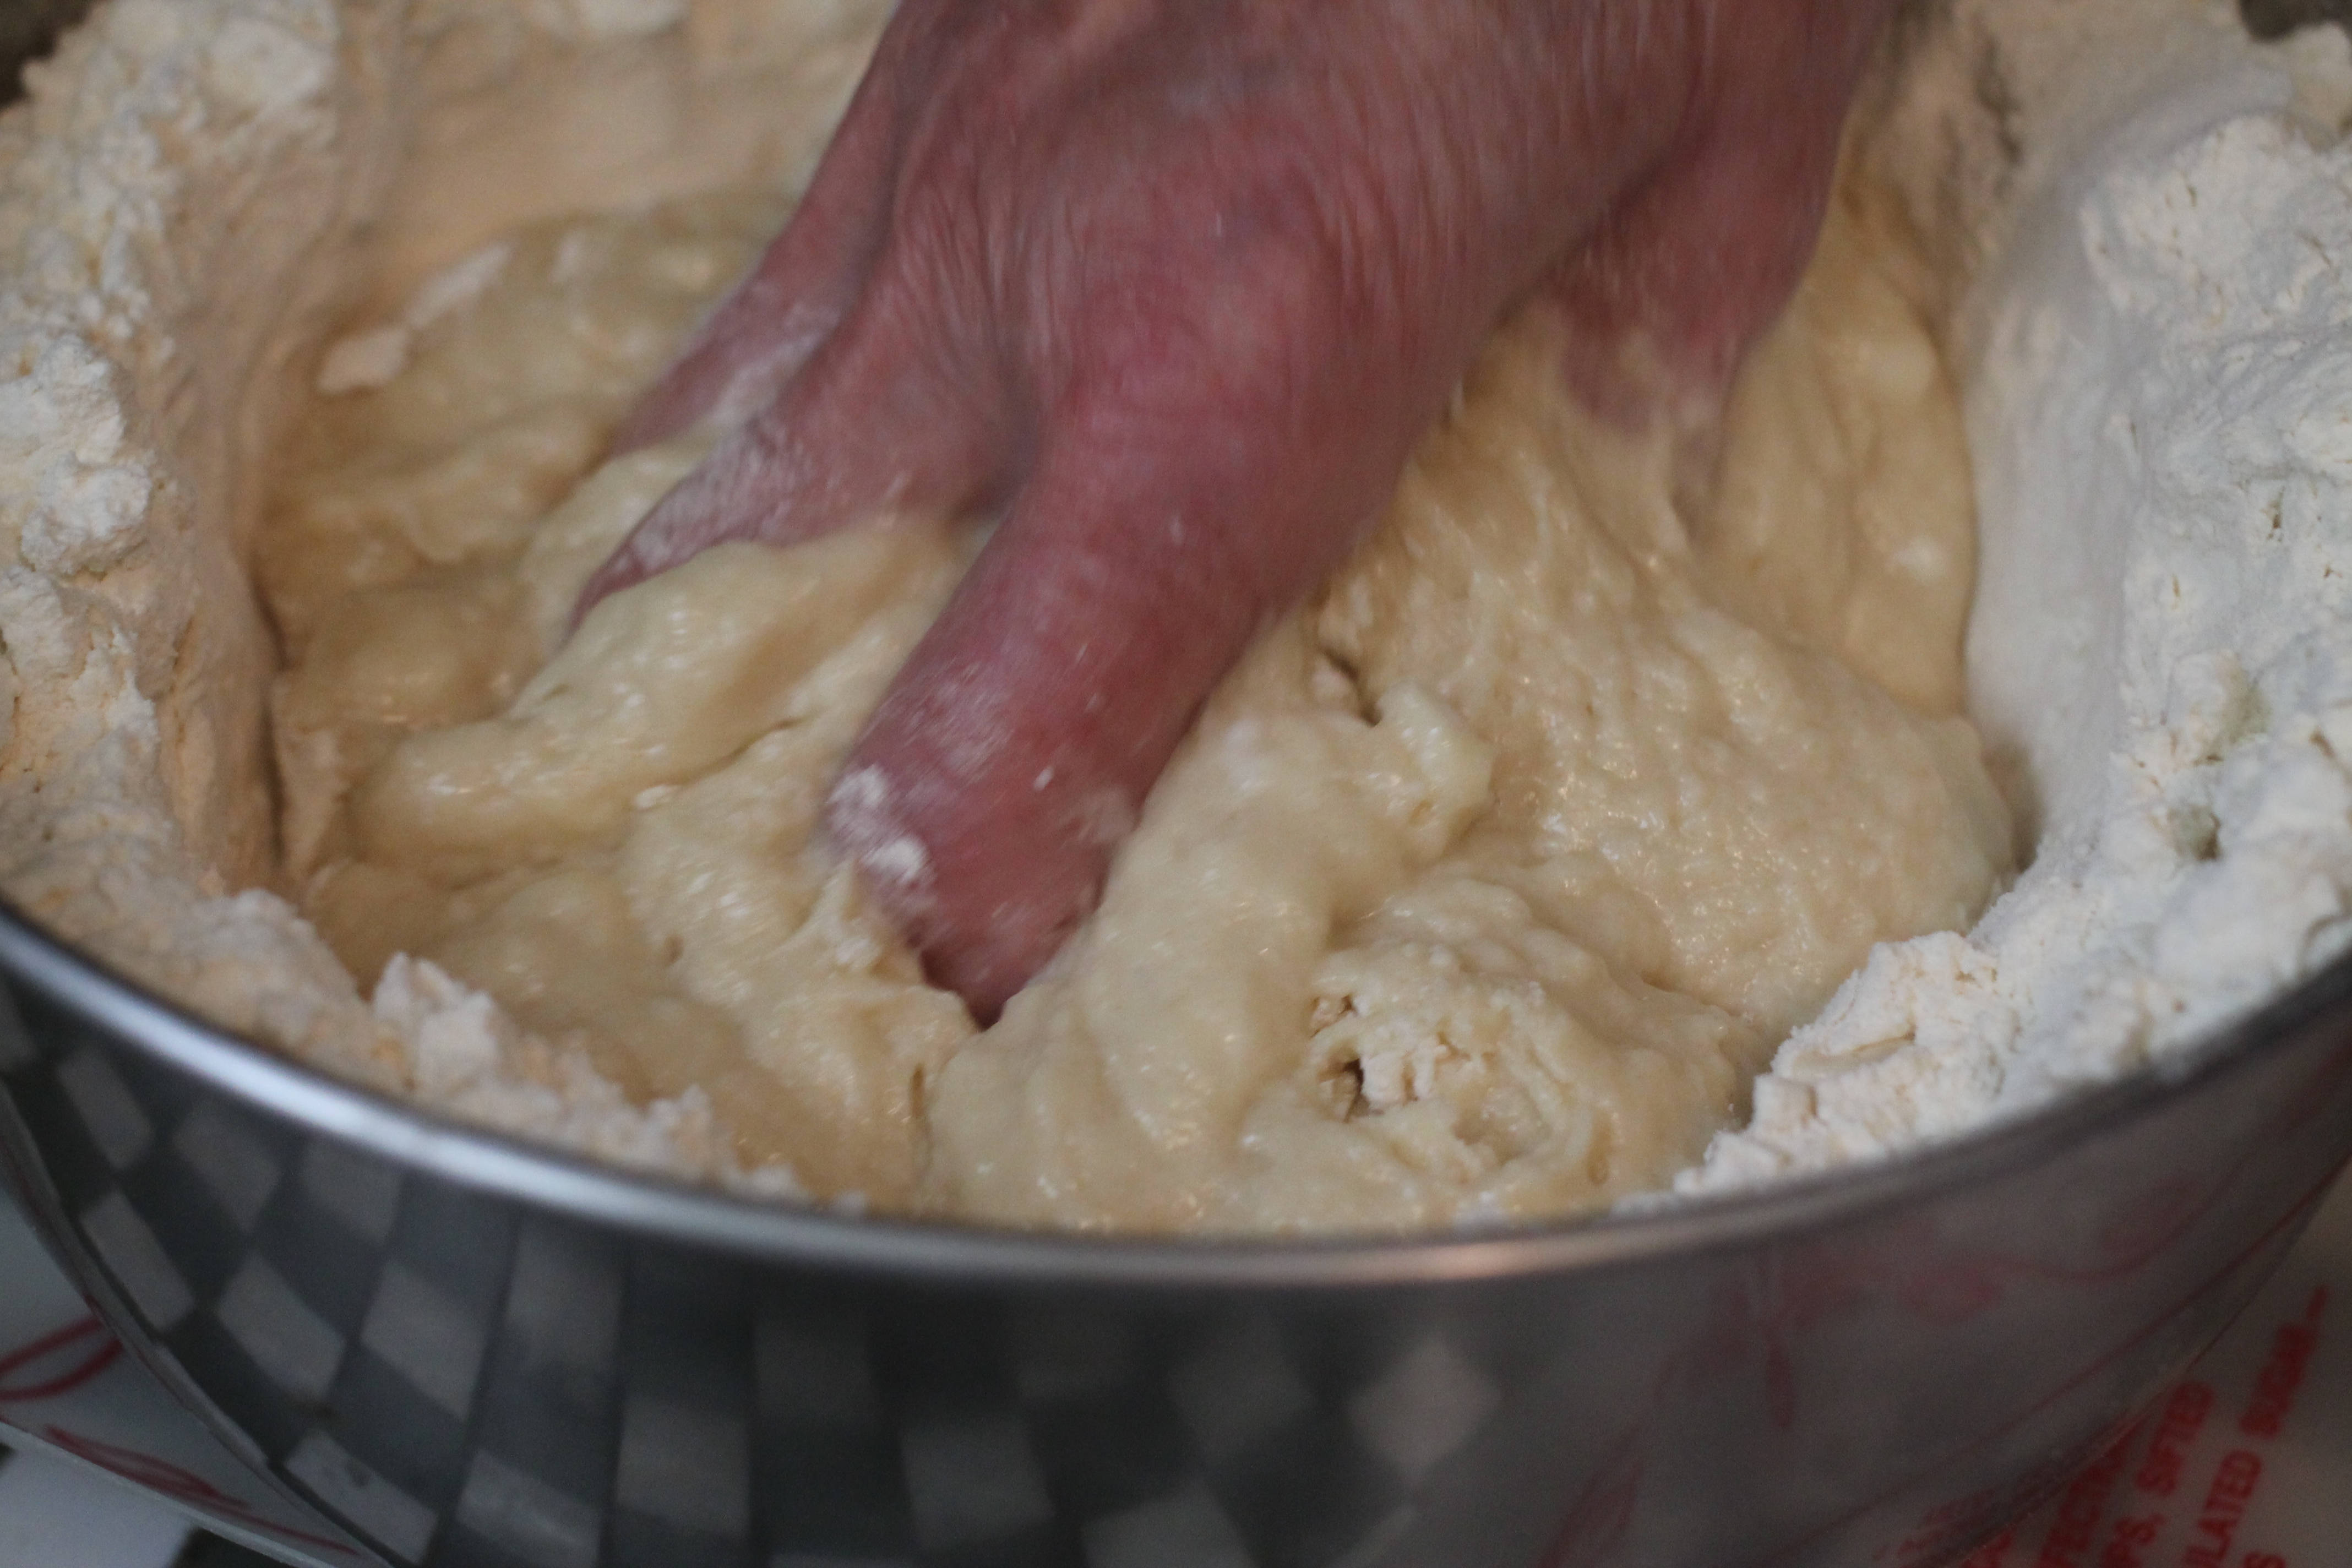
- The dough will still have a wet feel but hold's together;
- She also says that it is nearly impossible to over-work the dough;
- Once the dough is ready, place in a covered container and refrigerate overnight;
- Preheat oven to 350 degrees;
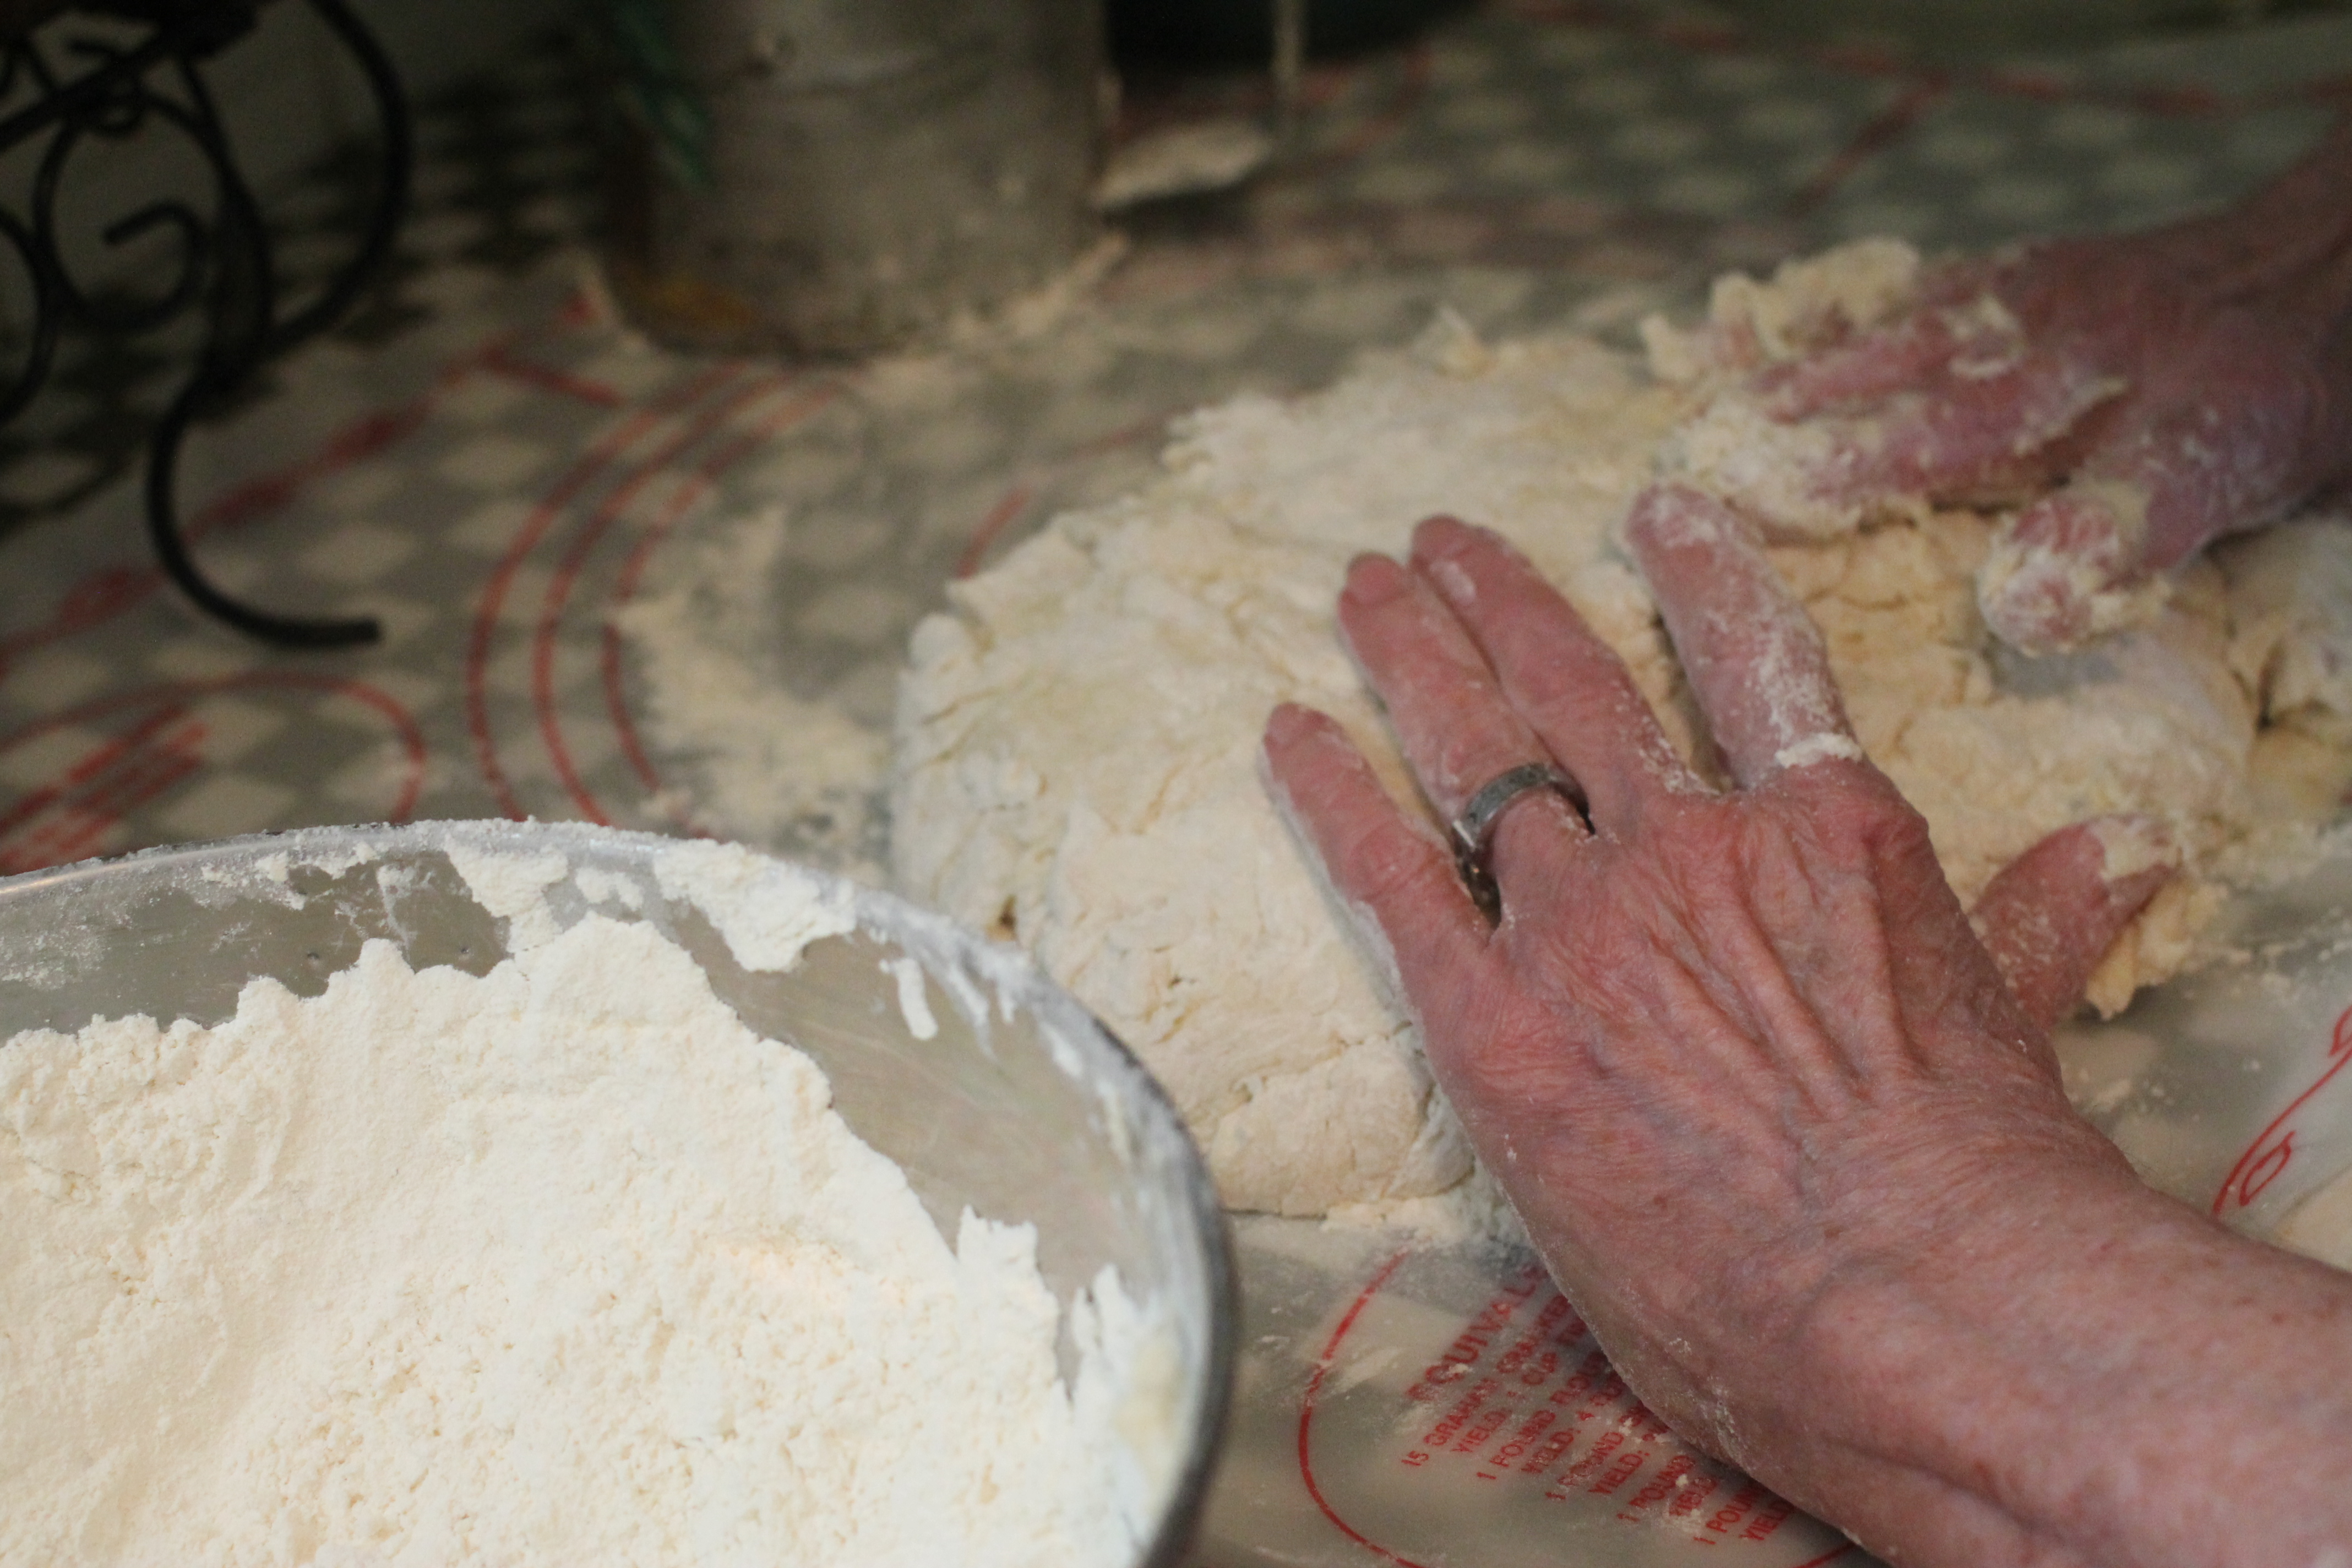
- Before kneading the dough, let sit out for about 15 minutes;
- Drop onto a floured surface and knead well, about 50 times;
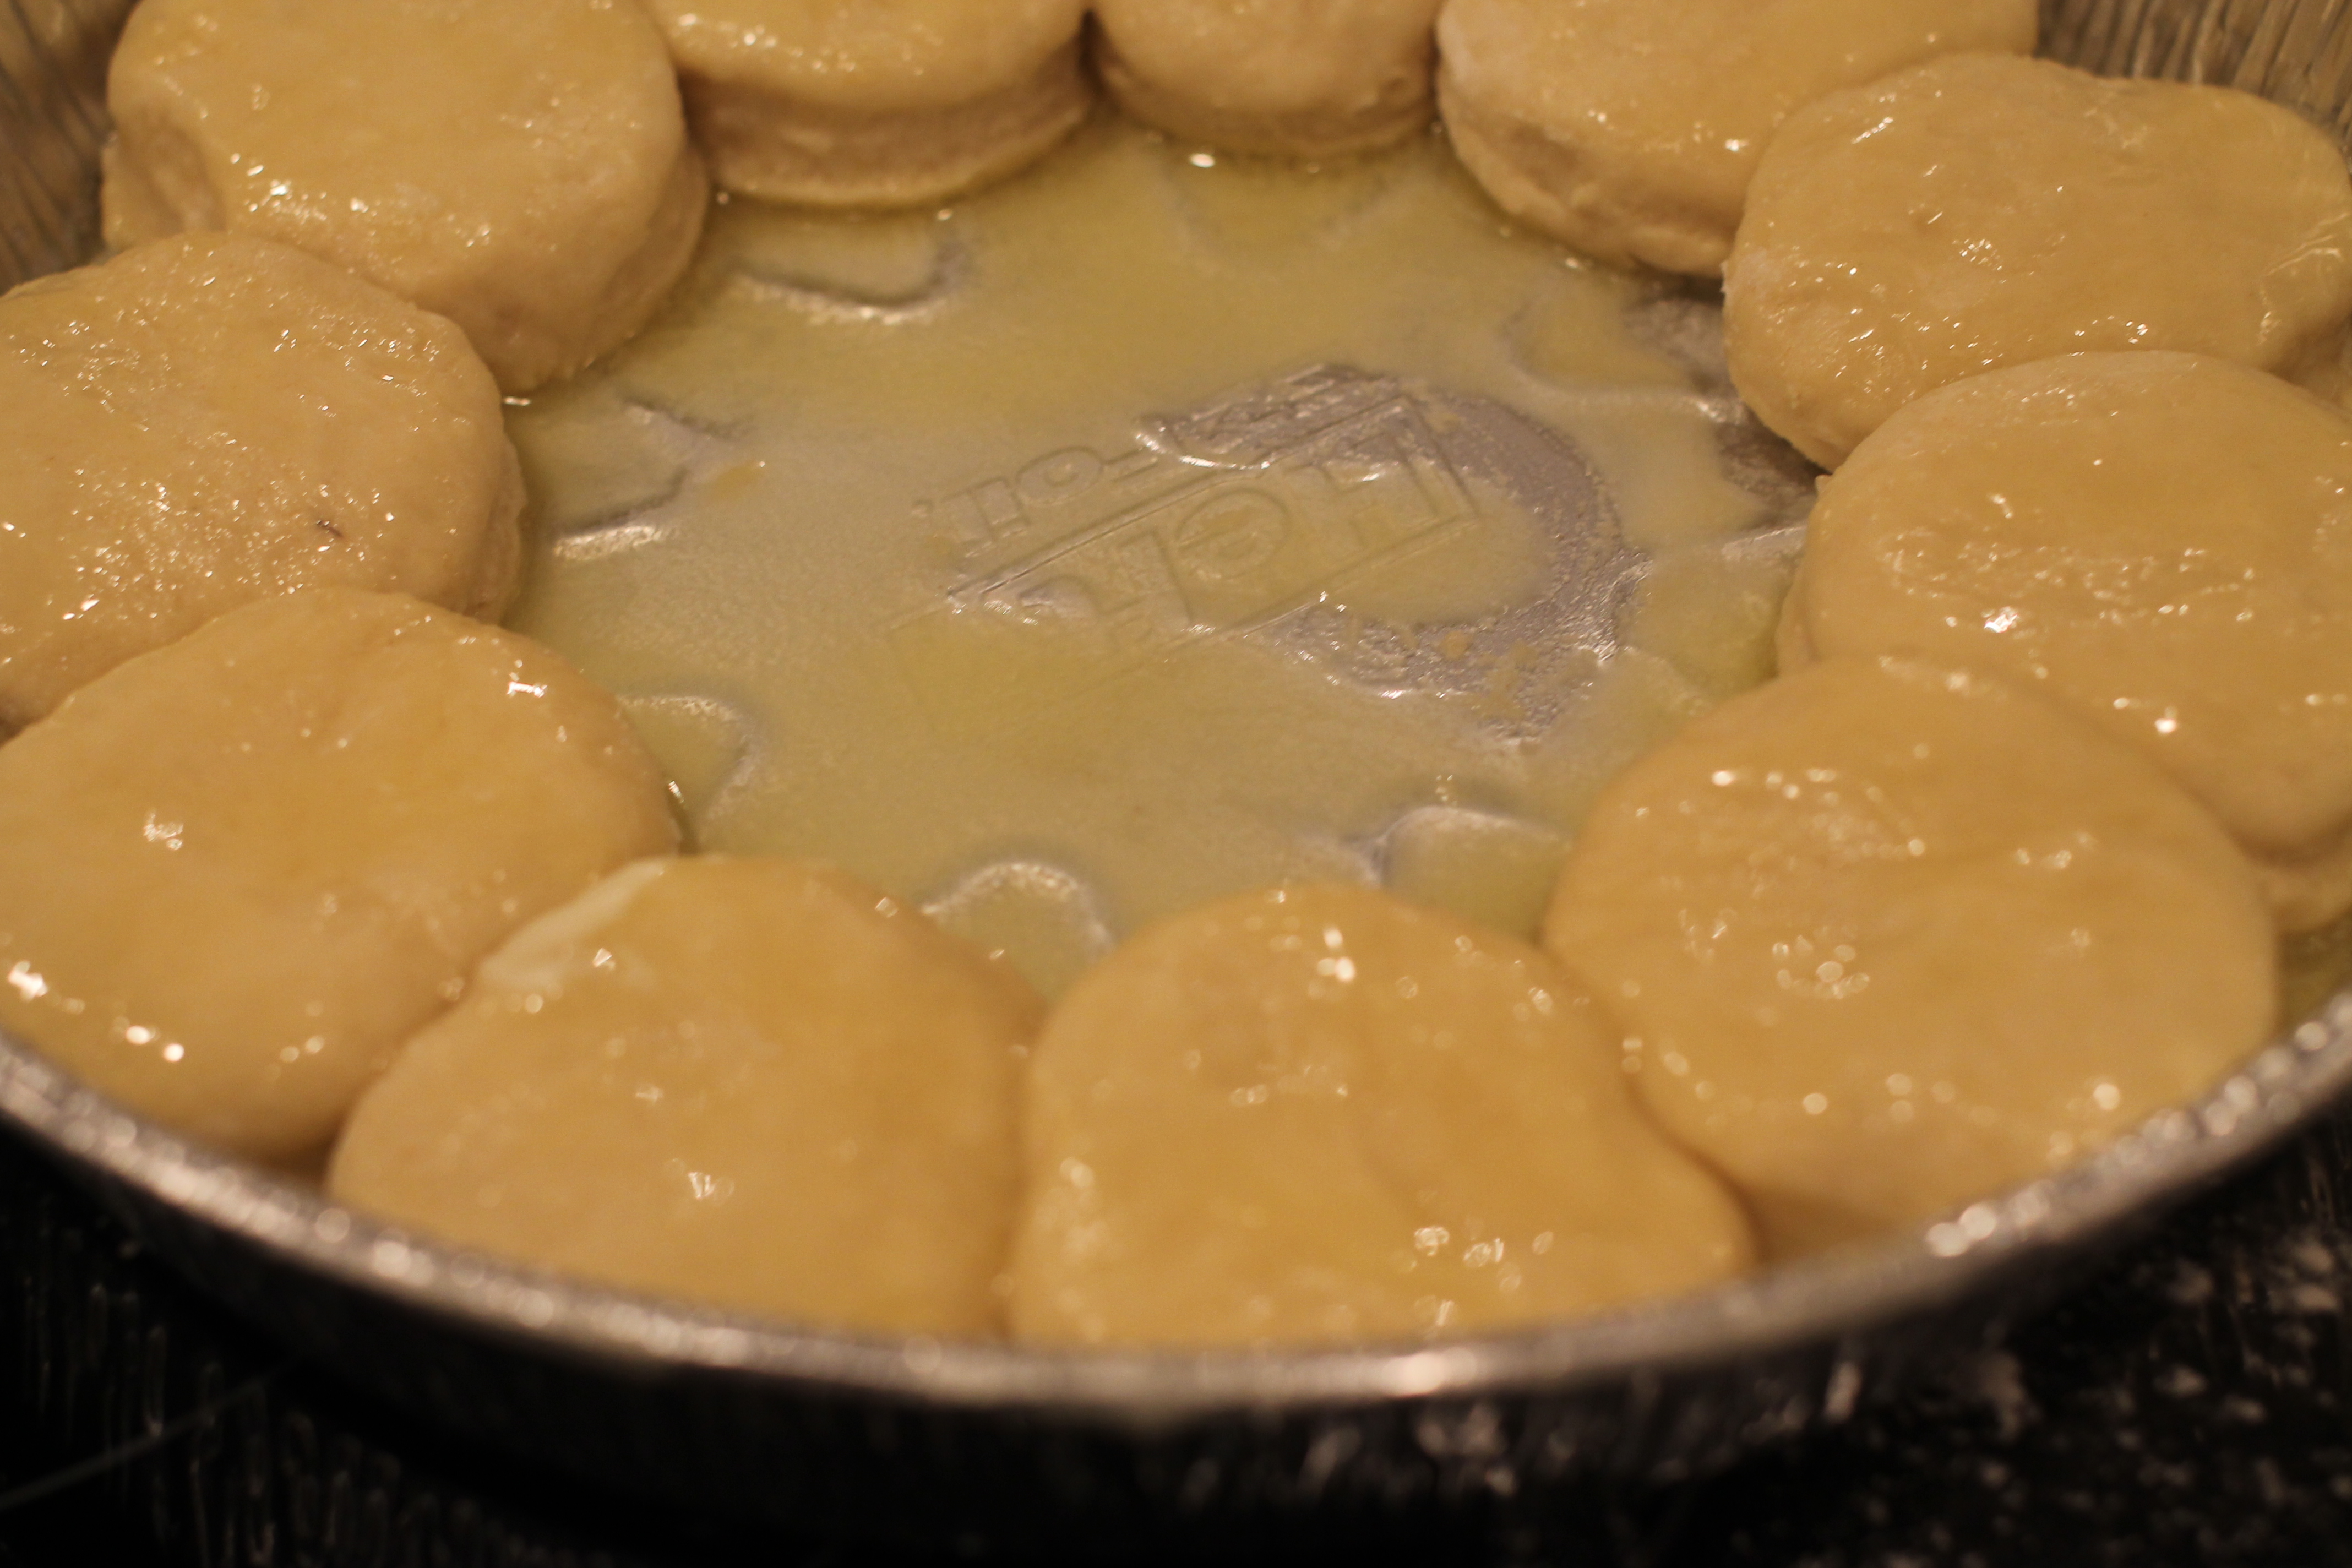
- Place about 2 tbsp of of butter in round pans, put in oven and let it melt;
- Remove the pans and turn off the oven;
- Roll-out dough and cut into desired shape (1.5"-2" round);
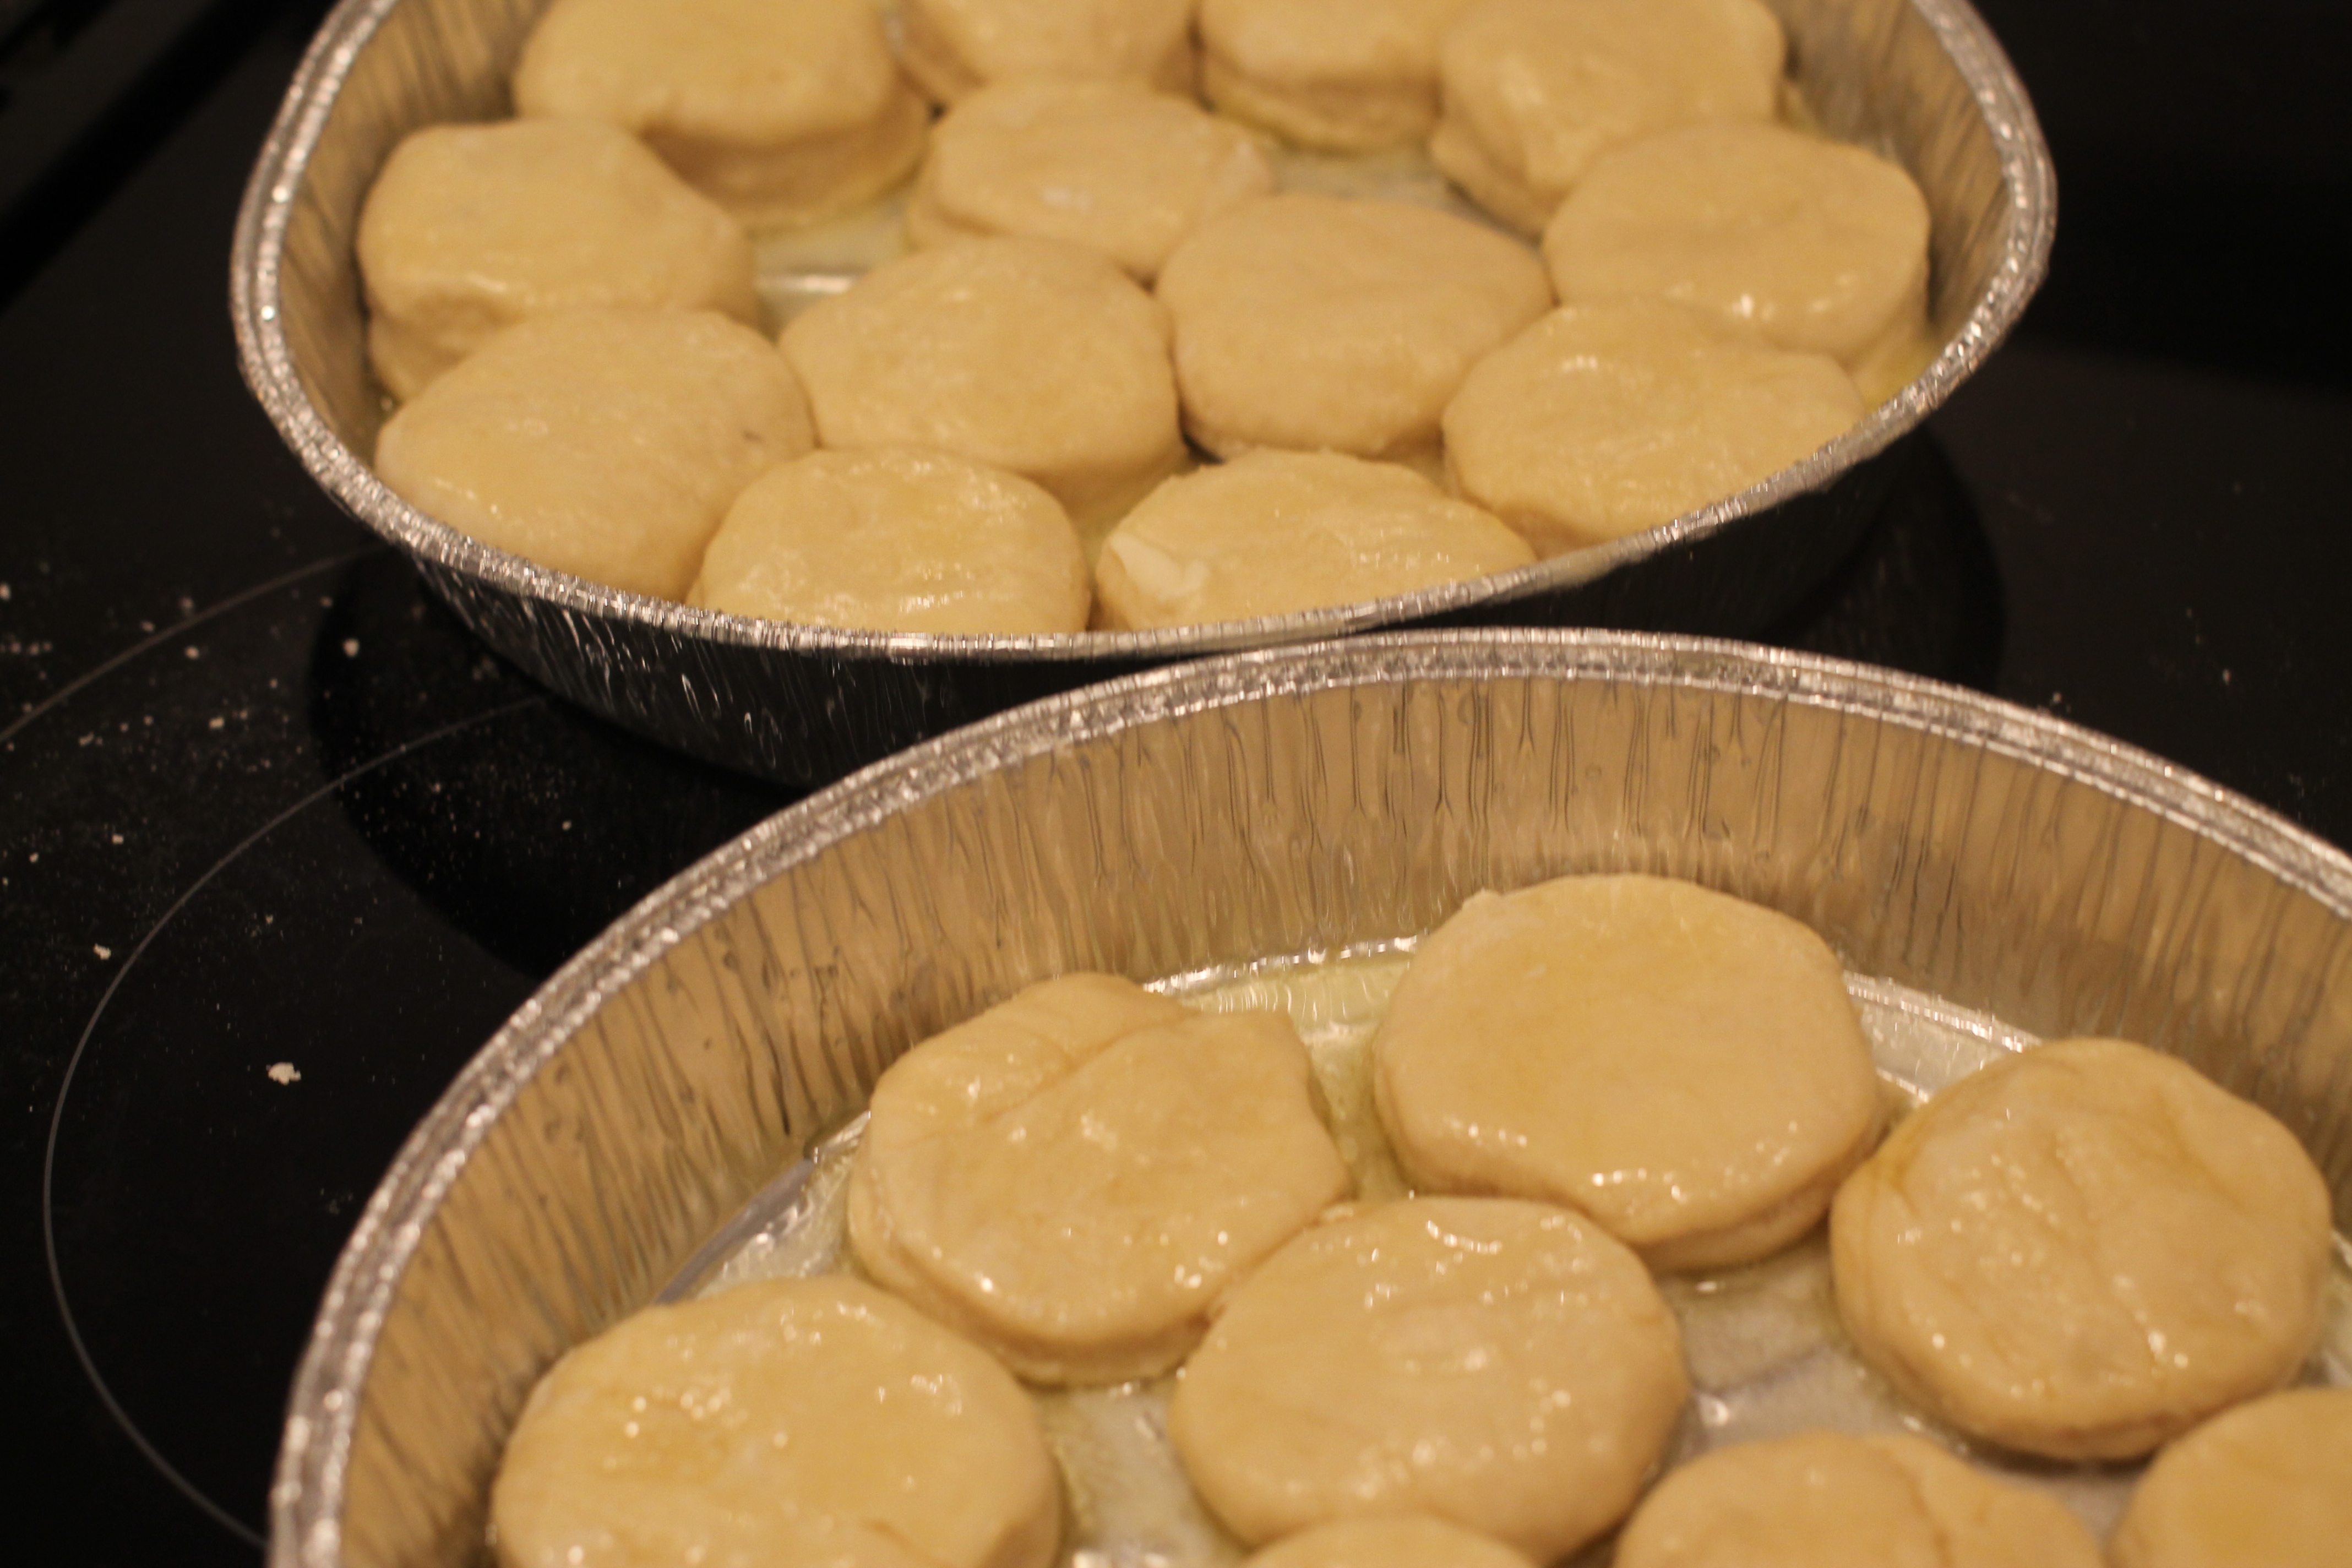
- Dip both sides of roll into the melted butter and place in the pan;
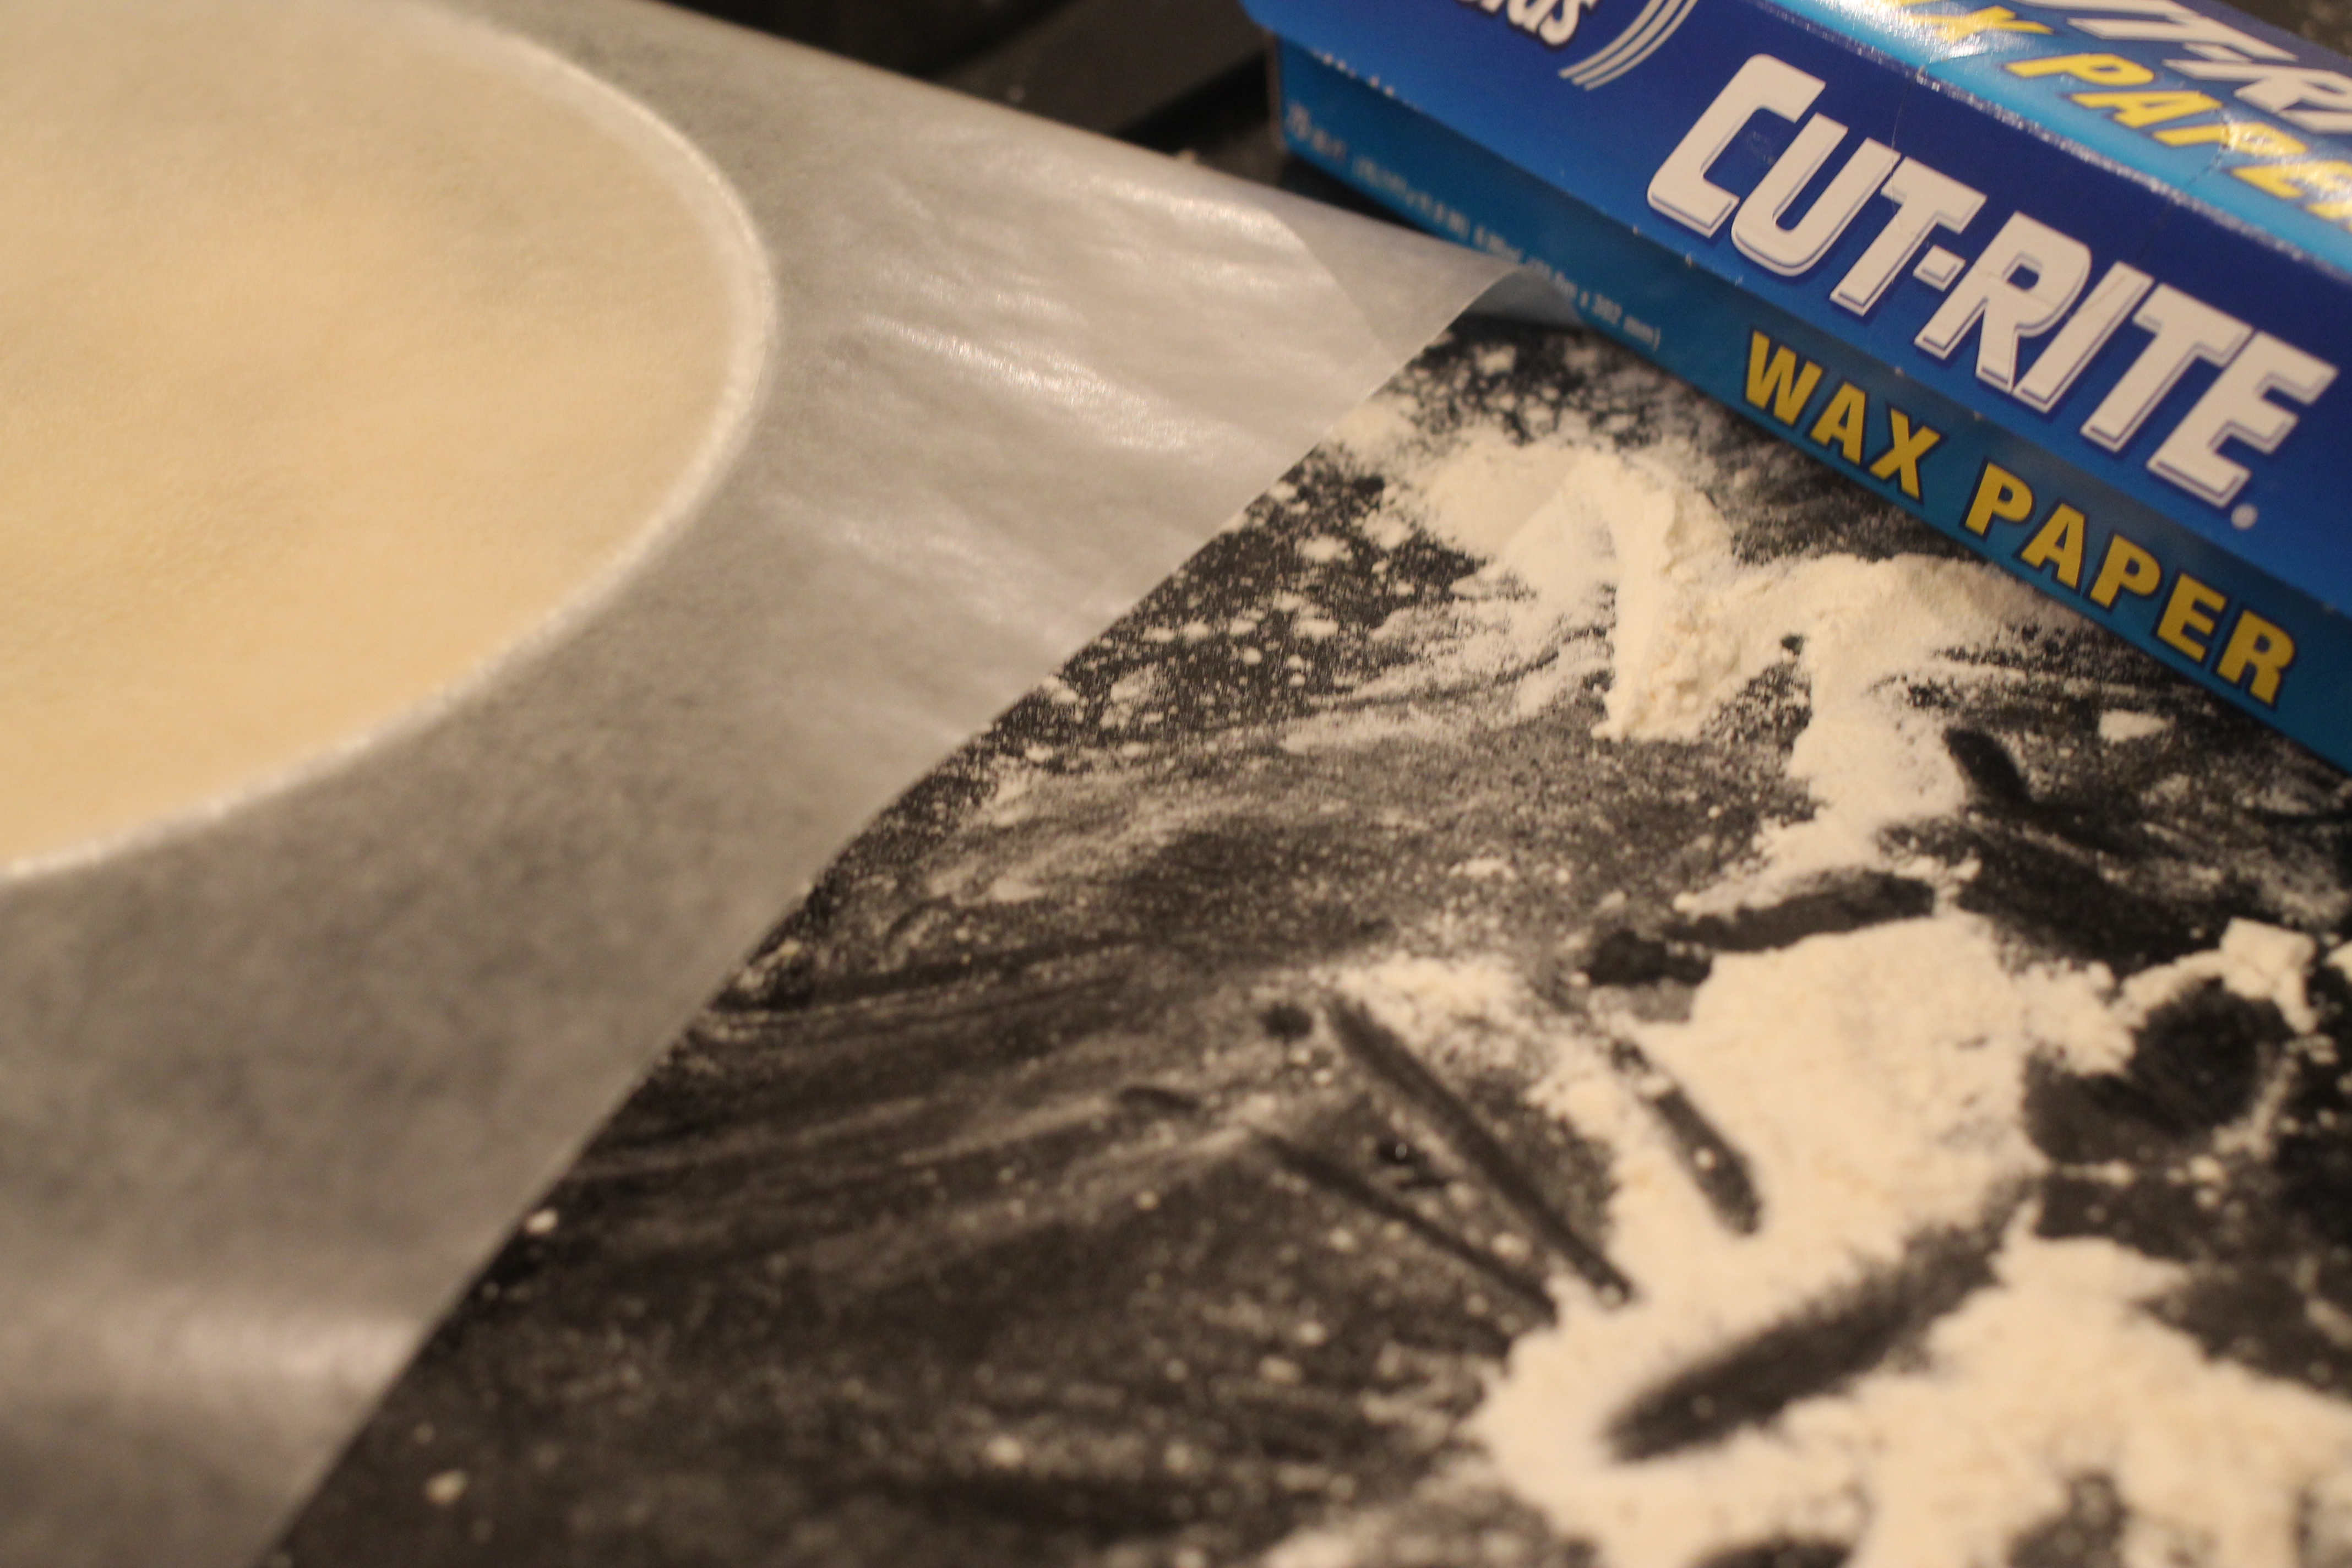
- Place a piece of wax paper spray with non-stick spray over the rolls and put into the warm over to let them rise;
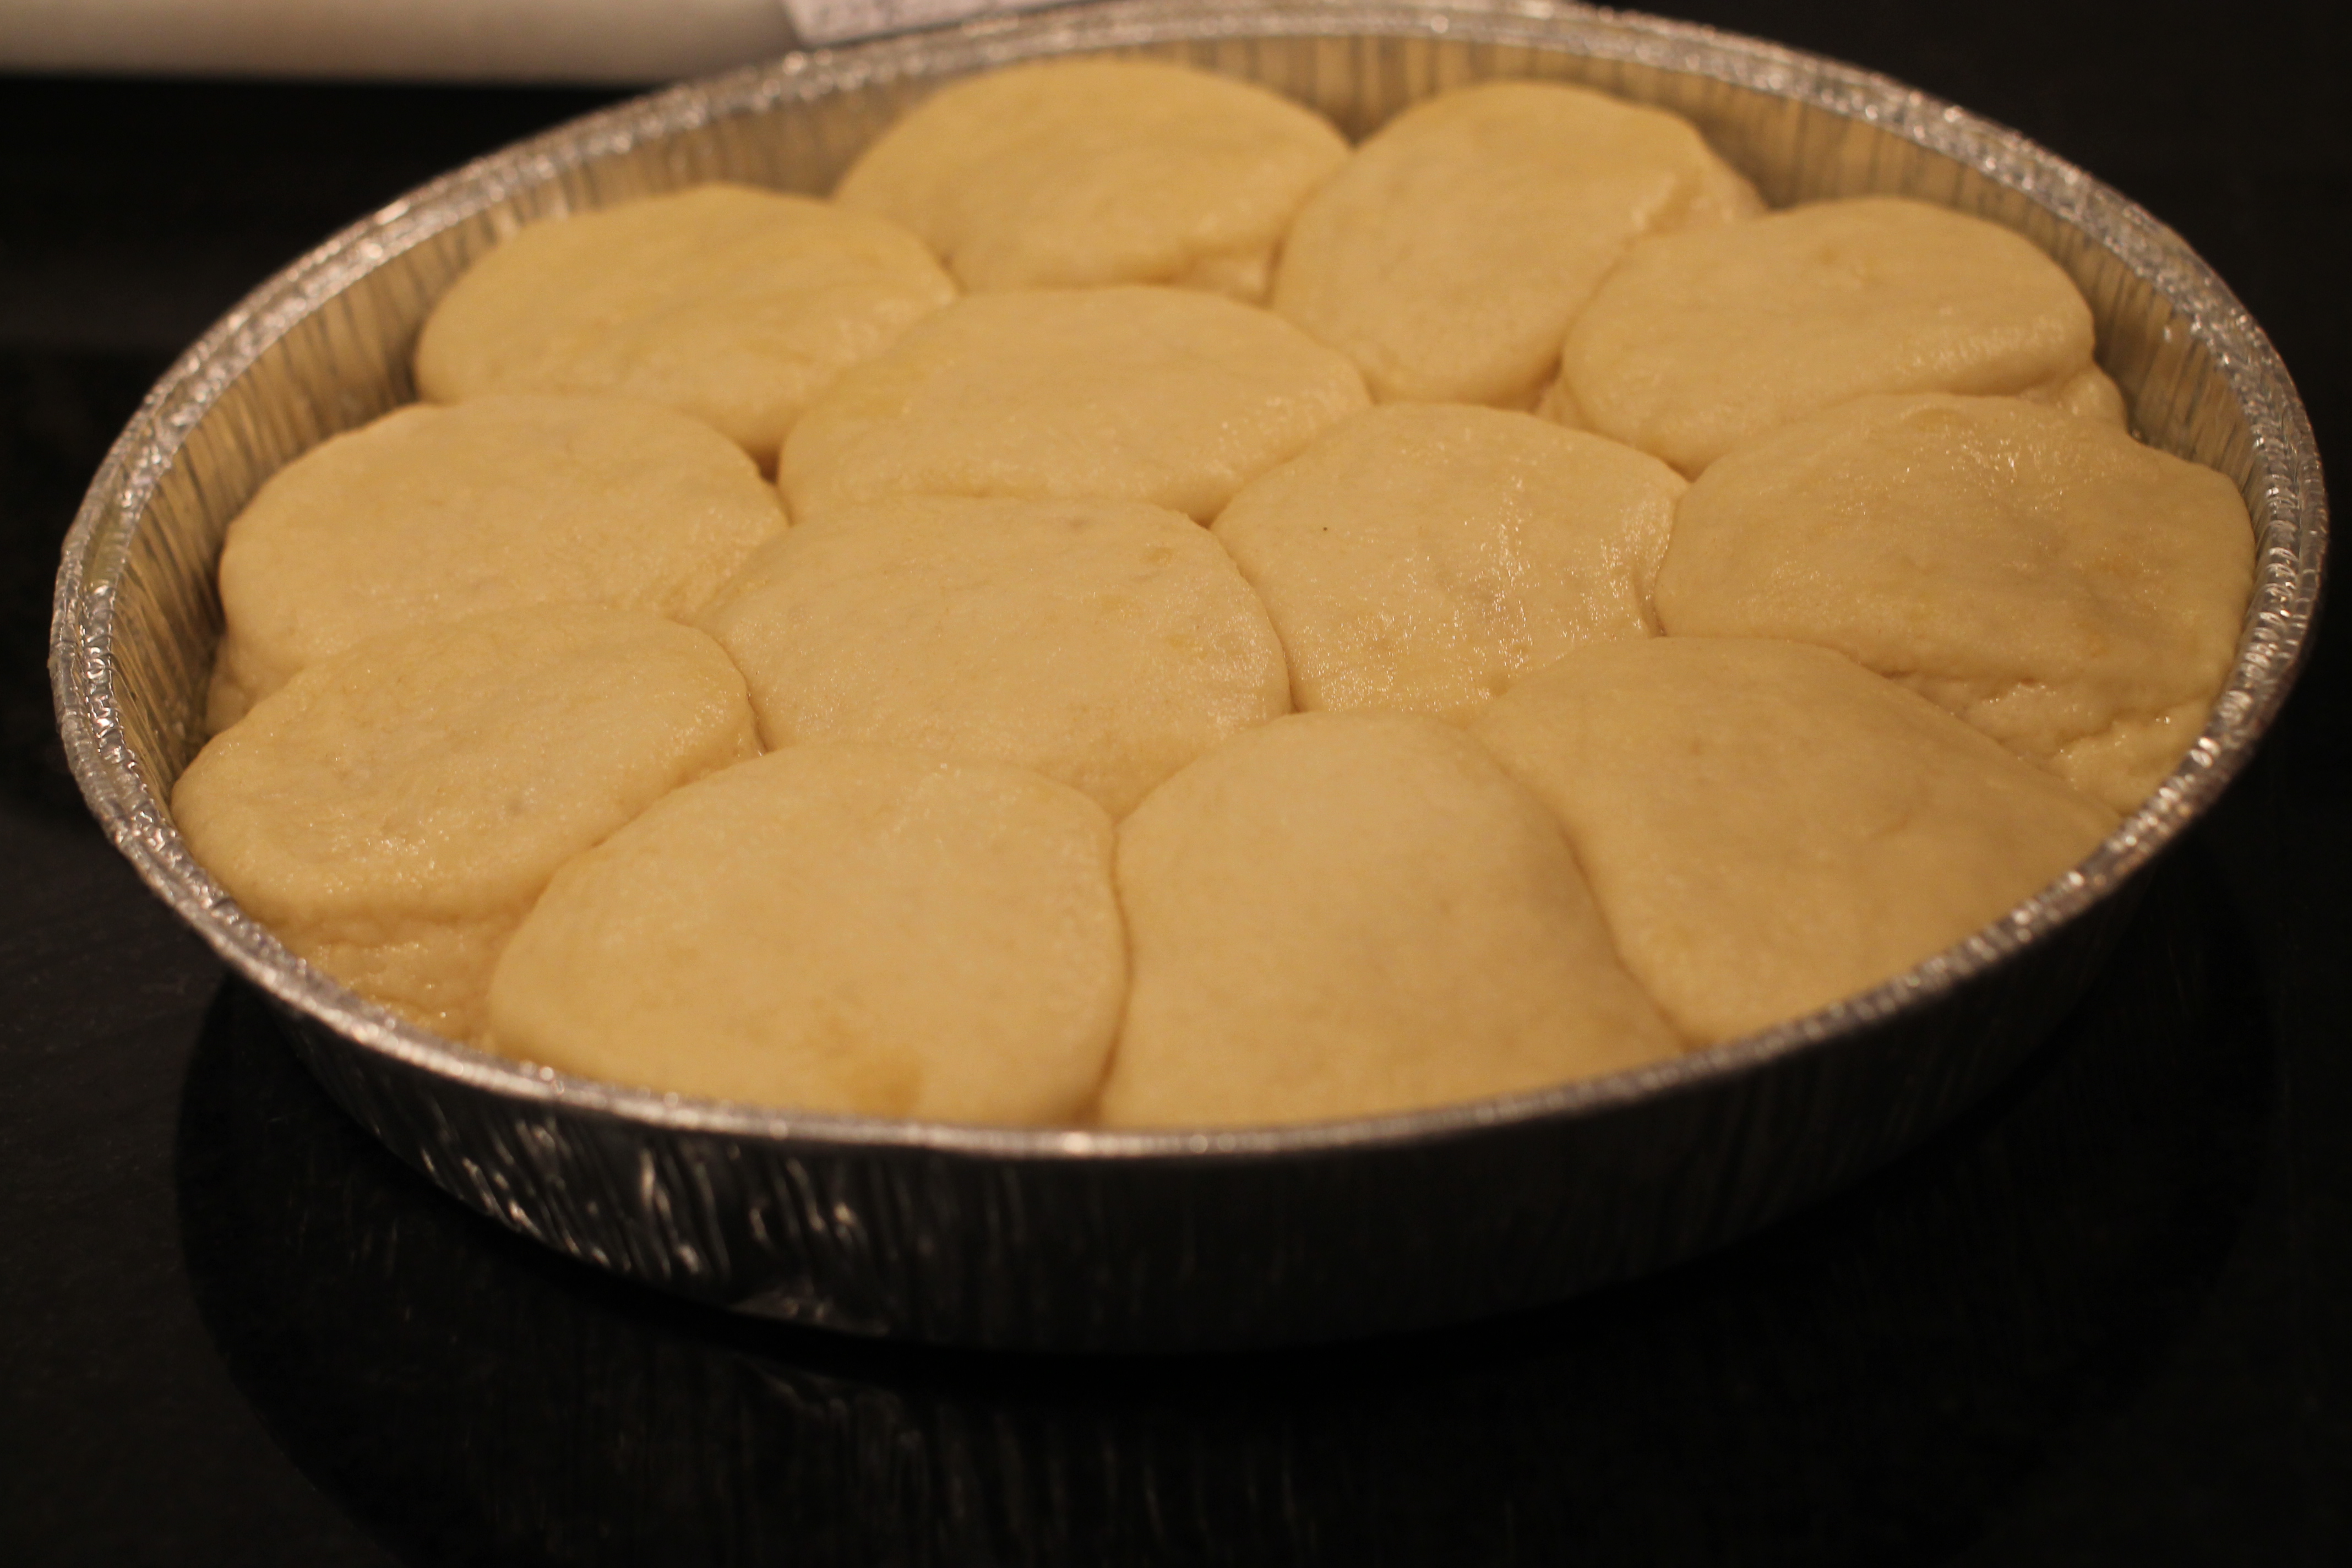
- I let mine rise for about 2 hours but as long as they have doubled in size they'll be ready to bake;
- After rolls have risen, remove from oven and set aside;
- Heat oven to 375 degrees;
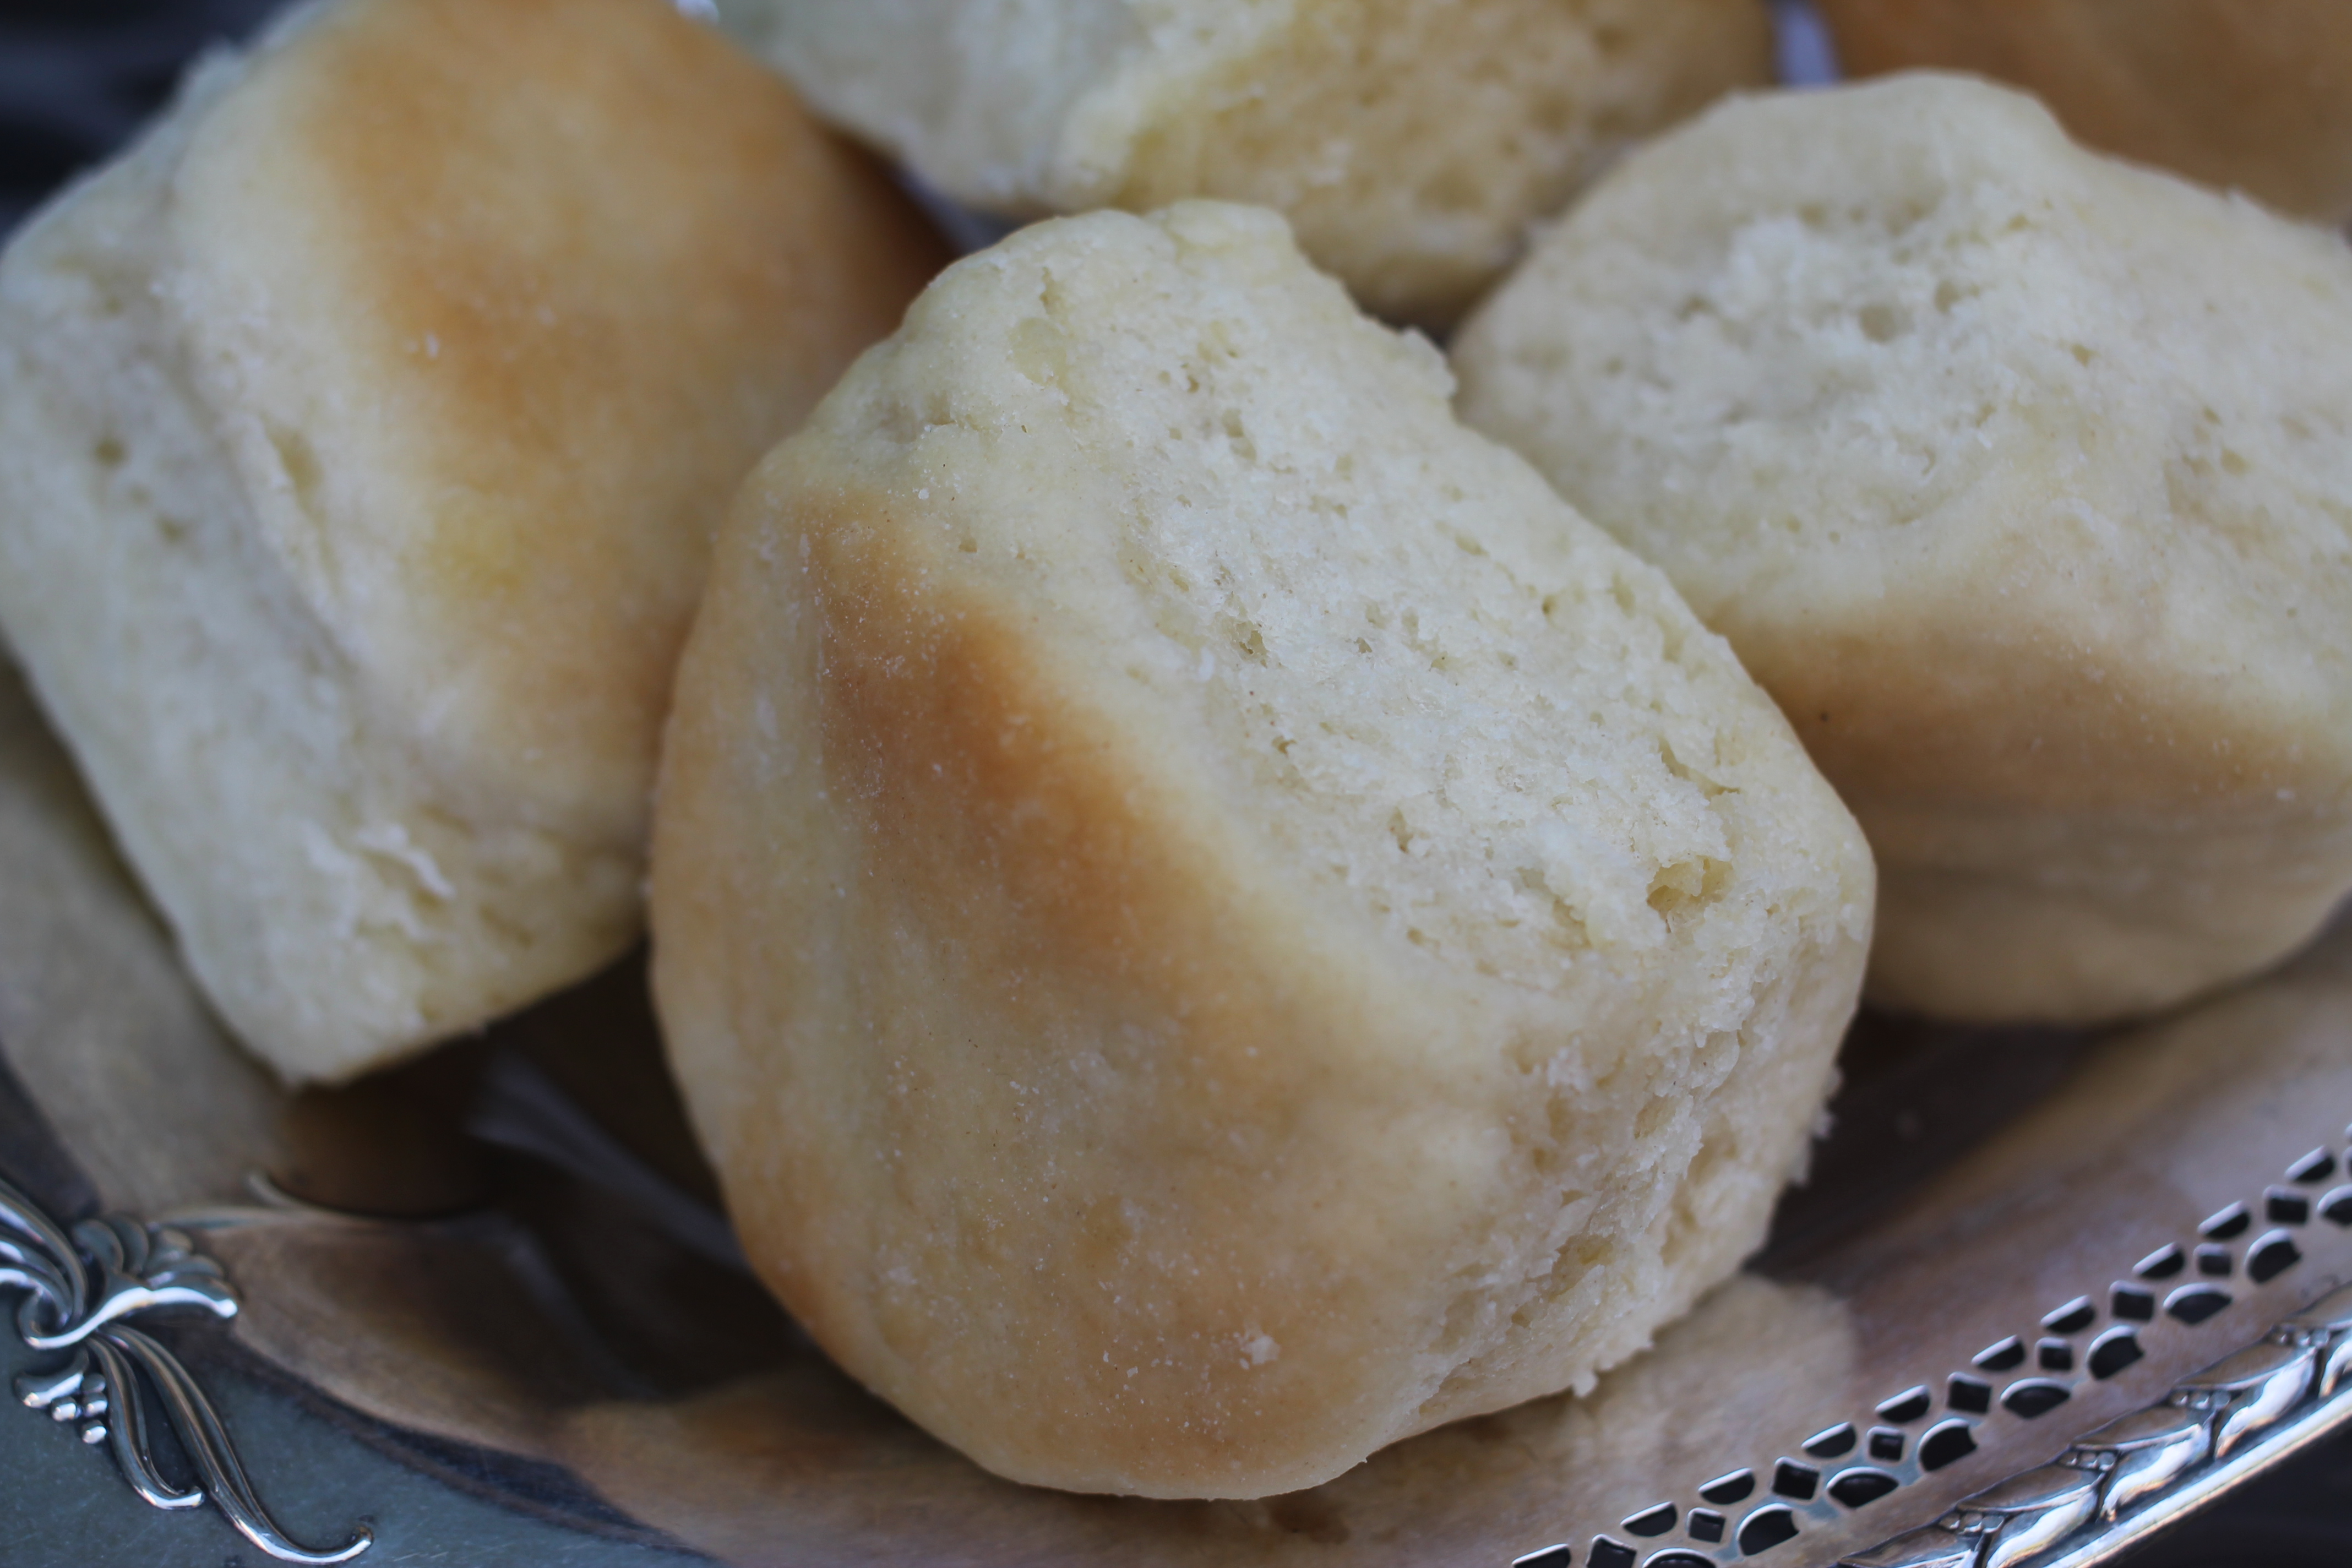
- Place rolls in oven and bake until golden brown (10-15 minutes), remove from oven and brush with melted butter.
- Grannie made it clear that you cannot handle the dough too much. She said to roll out scraps and make as many rolls as you can. She has make anywhere from 4-6 dozen from this recipe.
- To make a Parker House roll, cut a larger circle of dough, dip both side in butter then fold over and place in pan.
- Makes 4-5 dozen rolls.
- Once the rolls have been proofed and are ready to bake, you can cover tightly in foil and freeze for up to two months before baking.

My Grannie has been making these rolls since 1948. As I stood looking over her shoulder and taking notes, I felt like that little girl perched on the metal stool watching her continue to perfect the art of being Grannie.

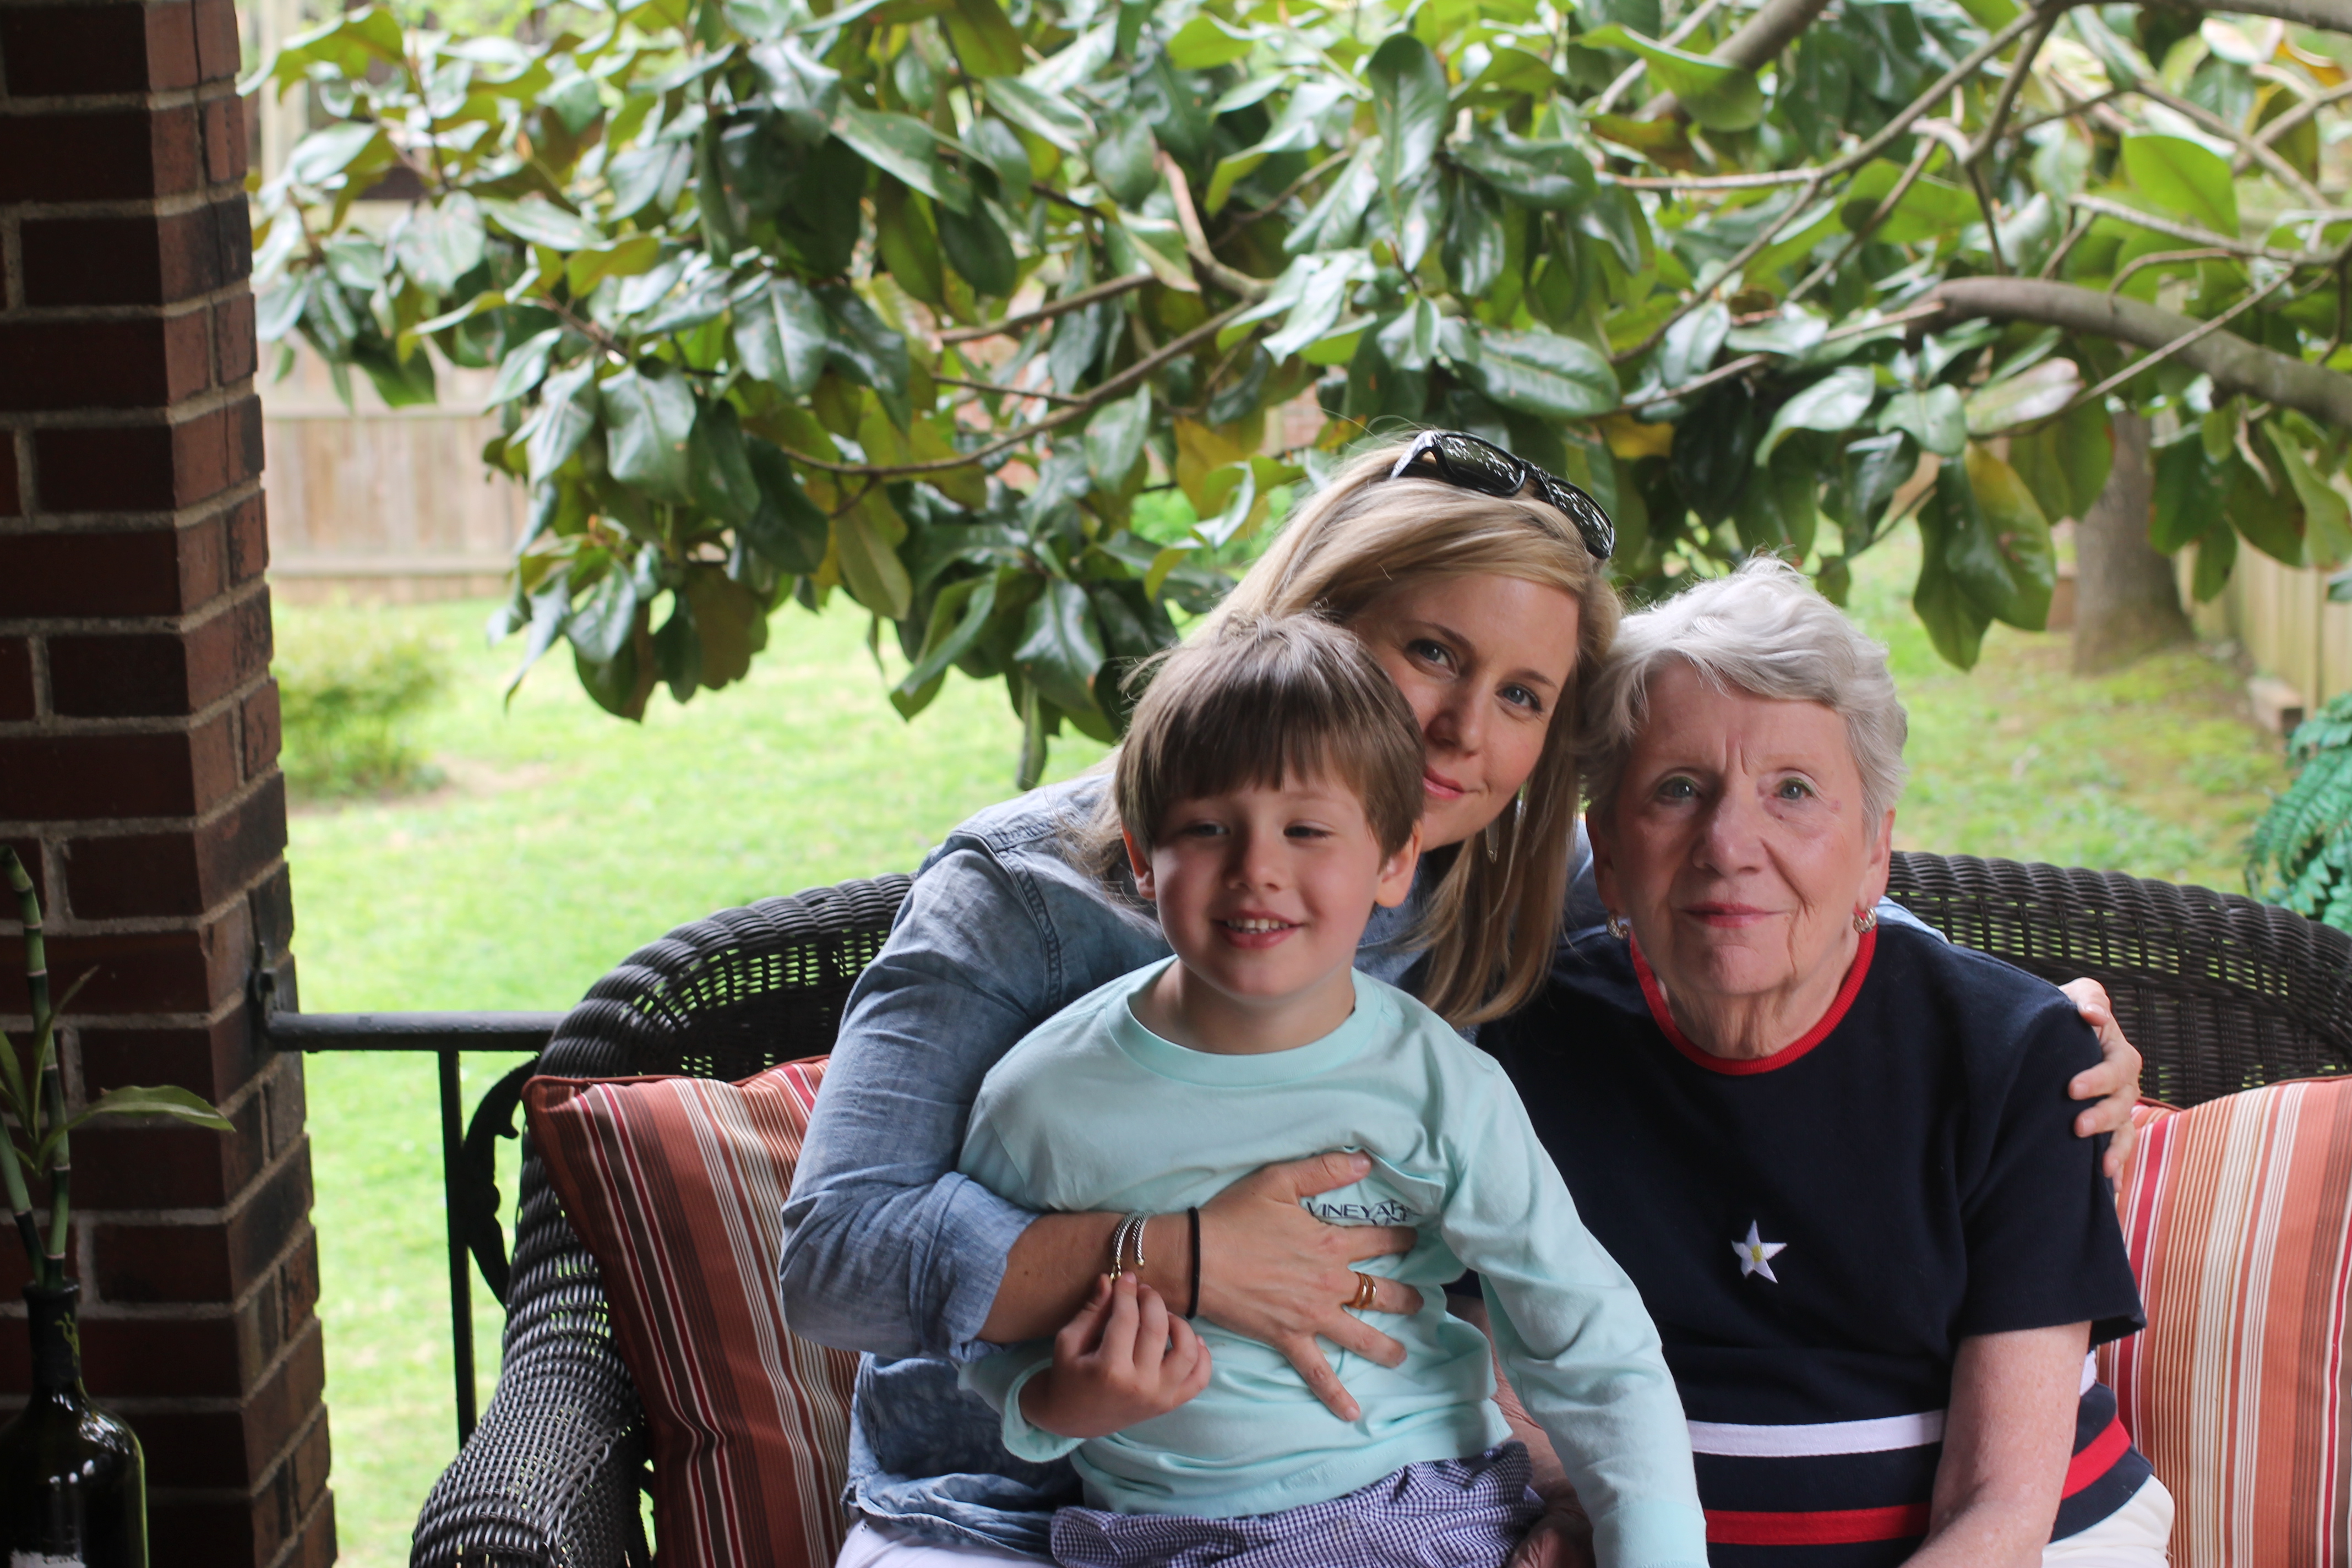
Love her hands…wonderful post.